HDD Installation:
a)
For 2.5” SATA HDD (SSD):
Put HDD onto the tray as shown on Picture A-1 and use the provided screws to
secure HDD on the tray one by one.
b)
For 2.5” SAS HDD or HDD’s thickness is more than 10.5mm:
Loose the cover-mounting screw and remove the top cover. Mount the SAS HDD
or the thick HDD on the open tray.
(Note: after SAS HDD installed, do not put back the top cover (see Picture A-2.).
Put the top cover in a safe place, in case you need it next time.)
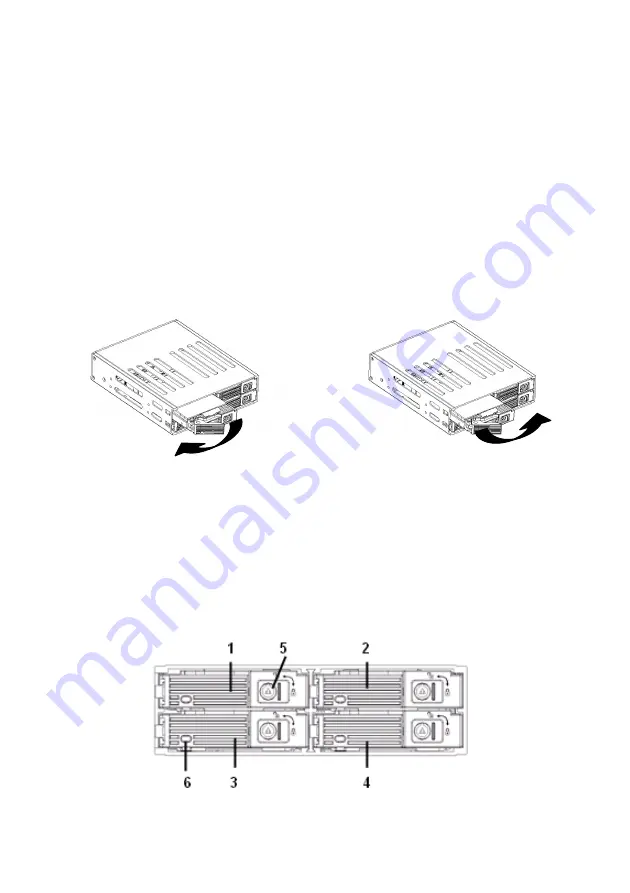
---Safety Lock---
The key lock design keeps the HDDs staying inside the unit and prevents HDDs being
taken out while they are running (See Picture B1 & B2.)
a) OPEN the HDD Tray:
Push the “Clicker Lock” on the front panel and pull the HDD tray out (see Picture B-1.)
b) LOCK the HDD Tray:
Slide in the HDD tray and press the front handle and use the key to lock the HDD tray
onto the unit one by one (see picture B-2.)
---Front Panel & Real View--- (See Picture C & D)
Picture B-1
Picture B-2
Lock
Open
Picture C


