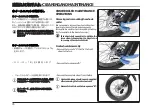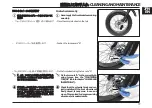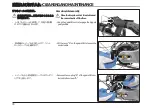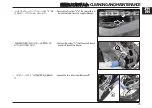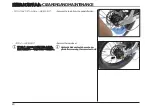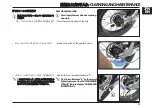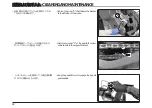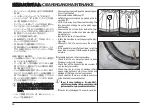
If the leak is located on the outer surface:
– Position the inner tube next to the wheel rim, complete with the tyre, in
the alignment in which they were fitted.
– Attempt to identify the area on the tyre that corresponds to the point
where the hole is located in the inner tube. Items such as thorns, small
stones or fragments of glass will often be found lodged in the tyre sur-
face.
– Carefully remove the object that caused the tear using a suitable tool.
– In the event of extensive damage or tears, replace the tyre.
Touching the inside of the tire with your fingers is not recom-
mended as it could be dangerous: any sharp objects left in the
tire could cause cuts or injuries. Avoid rapidly sliding the inside of
the tire with your fingers. Carefully touch the tire walls.
If it is necessary to replace the tyre:
– Remove it completely from the wheel rim.
– Fit the new tyre, inserting one side onto the wheel rim.
Make sure that the direction arrow on the tyre corresponds to the
direction of rotation.
If it is not necessary to replace the tyre:
– Inflate the new inner tube slightly so that it begins to take shape.
– Insert the valve through the appropriate hole in the rim. The valve must
face the centre of the wheel (see “Checking the tyre valves” chapter
“CHECKS AND INSPECTIONS”).
– Push the remaining wall of the tyre onto the wheel rim, starting at the
point where the valve is located.
– Push the opposing sides of the tyre onto the rim simultaneously, working
your way right around the perimeter and starting from the valve.
The further away from the valve you get, the greater the force re-
quired to push the tyre onto the rim. For this reason, it may be
necessary to use the tyre levers, while taking care not to damage
the inner tube.
漏れが外面にある場合
:
–
インナーチューブをタイヤと一緒にホイールリムの横に置き、装着され
た位置に合わせます。
–
インナーチューブに穴が開いている箇所をタイヤの上から確認します。
タイヤの表面には、とげや小石、ガラスの破片などが詰まっていること
がよくあります。
–
適切な工具を使って、引き裂けの原因となった物を慎重に取り除いてく
ださい。
–
損傷や破れがひどい場合は、タイヤを交換してください。
指でタイヤの内側を触るのは危険なので、お勧めしません。指でタ
イヤの内側を激しく滑らせないようにしてください。タイヤの壁には
慎重に触れてください。
タイヤ交換が必要な場合
:
–
ホイールリムから完全に取り外します。
–
新しいタイヤを装着し、片側をホイールリムに挿入します。
タイヤの向き矢印が回転方向と一致していることを確認してください。
タイヤ交換の必要がない場合
:
–
新しいインナーチューブを少し膨らませて、形が整い始めるようにしま
す。
–
バルブをリムの適切な穴に差し込みます。バルブはホイールの中心を
向いている必要があります(「タイヤバルブの点検」の章「点検と確認」
を参照)。
–
バルブがある位置から、タイヤの残りの壁をホイールリムに押し付けま
す。
–
タイヤの反対側の面を同時にリムに押し付けます。
バルブから離れるほど、タイヤをリムに押し付ける力が大きくなりま
す。そのため、インナーチューブを傷つけないように注意しながら、
タイヤレバーを使用する必要がある場合があります。
EN
清掃およびお手入れ
- CLEANING AND MAINTENANCE
85
JPN
Summary of Contents for Issimo
Page 1: ......
Page 11: ...ISSIMOFUN ISSIMOURBAN X X BMX X X X X X X X SAFETYI NF O RMATI ON 10...
Page 45: ...3 4 40 4 5 1 2 0 15 15km h Cruise Sport 3 USINGYOURBICYCLE 44...
Page 89: ...TROUBLESHOOTING LED 88...
Page 92: ...07 08 09 10 E bike 11 12 JPN EN TROUBLESHOOTING 95...
Page 93: ...13 14 15 21 25 TROUBLESHOOTING 96...
Page 94: ...26 27 30 HMI HMI 36 41 BMS 42 BMS 43 BMS 44 BMS 45 BMS TROUBLESHOOTINGITEN 97 JPN EN...

