Megadisk NAS Owner’s Manual
14
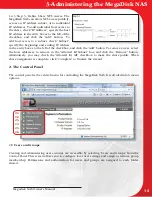
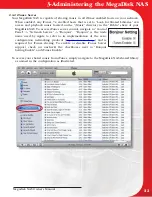
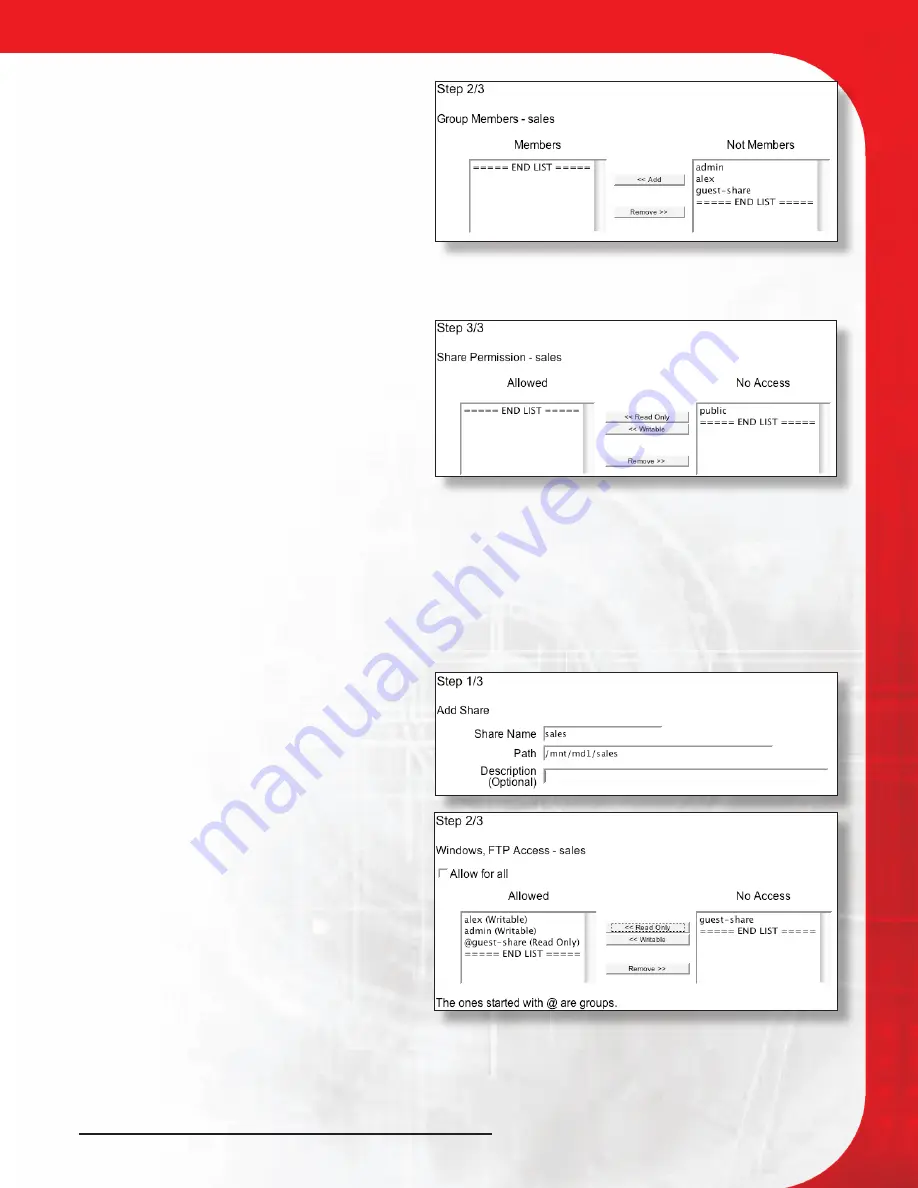
1.3.2. Step 2: Define group assignment.
When created, all available users will be
displayed in the “Not Members” section of
this window. To add user assignments to the
new group, click to select the groups to add
and click the “Add” button. To remove users
from the group, select the users to remove in
the “Members” box and click the “Remove”
button. When user assignment is complete,
click “Next” to continue.
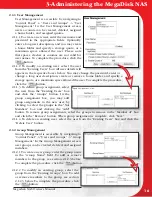
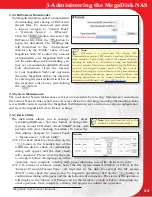
1.3.3 Step 3: Define Share Permissions. When
created, all available shares will be displayed
in the “No Access” section of this window.
To add share assignments to the new user,
click to select the shares to add and click
either “Read Only” to allow read only access,
or “Writeable” to allow read/write access. To
remove share assignments, select the shares
to remove in the “Allowed” box and click the
“Remove” button. When share assignment is complete, click “Next” to continue.
1.4 Add Share Wizard
The Add Share wizard is a 3 step process that is used to quickly create shares for NAS access.
It is accessible by navigating to “Basic” -> “Quick Setup” -> “Add Share”. The following are the
steps involved:
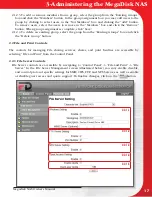
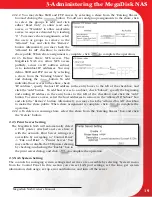
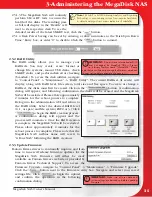
1.4.1 Step 1: Enter the share name in the
“Share Name” box. The MegaDisk NAS will
automatically assign a path, and you may enter
a share description in the “Description” box.
Click “Next” to continue.
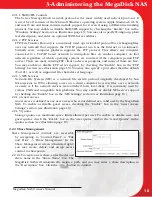
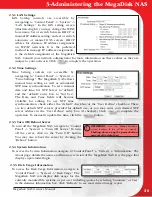
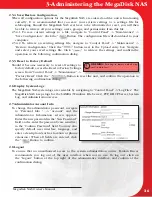
1.4.2. Step 2: Define SMB and FTP Access.
When the share is initially created, all
available users groups will be displayed in
the “No Access” section of this window. To
add user and group assignments to the new
share, click to select the groups to add and
click either “Read Only” to allow read only
access, or “Writeable” to allow read/write
access. Groups are denoted by a leading
“@”. To remove share assignments, select the
users or groups to remove in the “Allowed”
box and click the “Remove” button. Alternatively, you may check the “Allowed for All” checkbox
to make the share public. When share assignment is complete, click “Next” to continue.
3-Administering the MegaDisk NAS


