Megadisk NAS Owner’s Manual
22
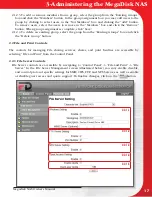
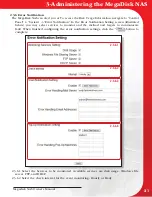
2.3.6.3 Notify via e-mail. The MegaDisk NAS can send e-mail to specific e-mail addresses if
a fault is detected with the system or monitored services. To enable e-mail notification,
check the “Enable” box. Enter your network’s SMTP server’s network IP address in the
“Error Handling Mail Server” entry box. SMTP (Simple Mail Transport Protocol) server is an
external server that relays your network’s outgoing mail. If you do not know your SMTP
server’s IP address, consult your network administrator. Lastly, enter up to 5 email recipients
in the “Error Handling Email Addresses” entry boxes. To test your email notification settings,
you may send a test email by clicking the “
” button.
2.3.6.4 Notify via Winpopup. The MegaDisk NAS can send Winpopup notification to specific
Windows and SMB enabled hosts capable of receiving SMB messages if a fault is detected
with the system or monitored services. To enable Winpopup notification, check the “Enable”
box, and enter up to 5 computer names in the “Error Handling Pop-Up Machines” entry
boxes. To test your Winpopup notification settings, you may send a test pop-up by clicking
the “
” button.
2.4 Network Service Setting
The controls for Network Service settings and services are accessible by selecting “Network
Service” menu from the Control Panel. In this section you can enable/disable the DHCP server,
iTunes and Bonjour, and BitTorrent.
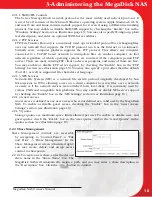
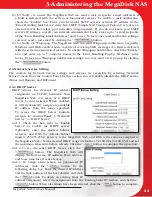
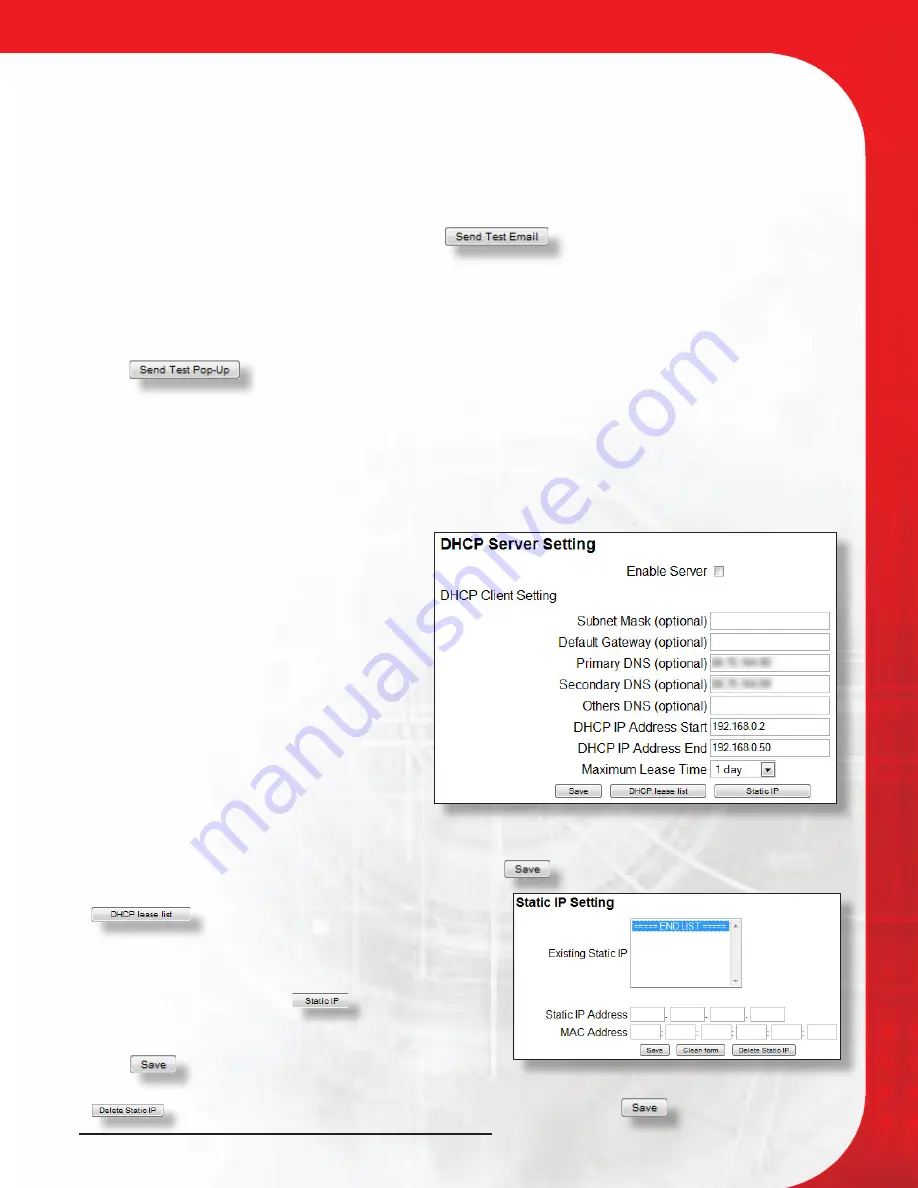
2.4.1 DHCP Server
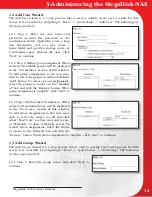
DHCP Allows for dynamic IP address
assignment on TCP/IP networks. Your
MegaDisk NAS can serve as a DHCP
server to your network. When enabled,
it will dynamically assign an available
IP address from the range specified.
To access the DHCP Server controls,
navigate to “Control Panel” -> “Network
Service” -> “DHCP Server”.
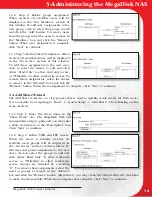
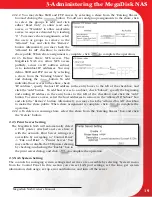
2.4.1.1 Check the box next to “Enable
Server” to enable the DHCP server.
Optionally, enter the desired Subnet,
Gateway, and DNS (by default, Subnet
mask is 255.255.255.0, gateway is the MegaDisk NAS, and DNS is the same as assigned to
the MegaDisk NAS.) Set the desired DHCP range (default is 192.168.0.2-192.168.0.50) and set
the maximum lease time before refresh. C
lick the “
” button to complete the operation.
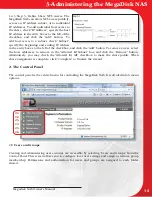
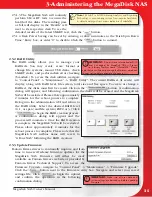
2.4.1.2 To see the active DHCP leases, click the “
” button. The MegaDisk NAS will
display the host name, IP Address, MAC address,
and lease time for all active leases.
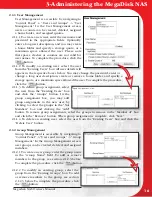
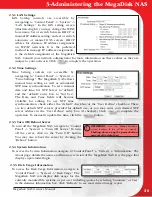
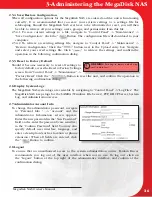
2.4.1.3 To assign static leases, or guaranteed IP
Addresses, click the “
” button. In the
following dialog box, Enter the desired IP Address
and the MAC address of the host desired, and click
the “
” button. To delete an existing Static IP
address assignment, select the assignment from the “Existing Static IP” listbox, and click the “
” button. When all settings have been entered, click the “
” button to complete.
3-Administering the MegaDisk NAS

