Megadisk NAS Owner’s Manual
29
3. Connecting to the shared printer
The MegaDisk NAS supports sharing of a wide selection of USB printers. The following instructions
will help you to connect to the networked USB printer
3.1 Printer Installation on Windows hosts
The following instructions are based on printer installation on a Windows XP based host. Other
Windows hosts are configured similarly.
3.1.1 Power on and connect your USB printer in to your MegaDisk NAS.
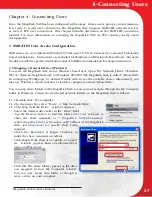
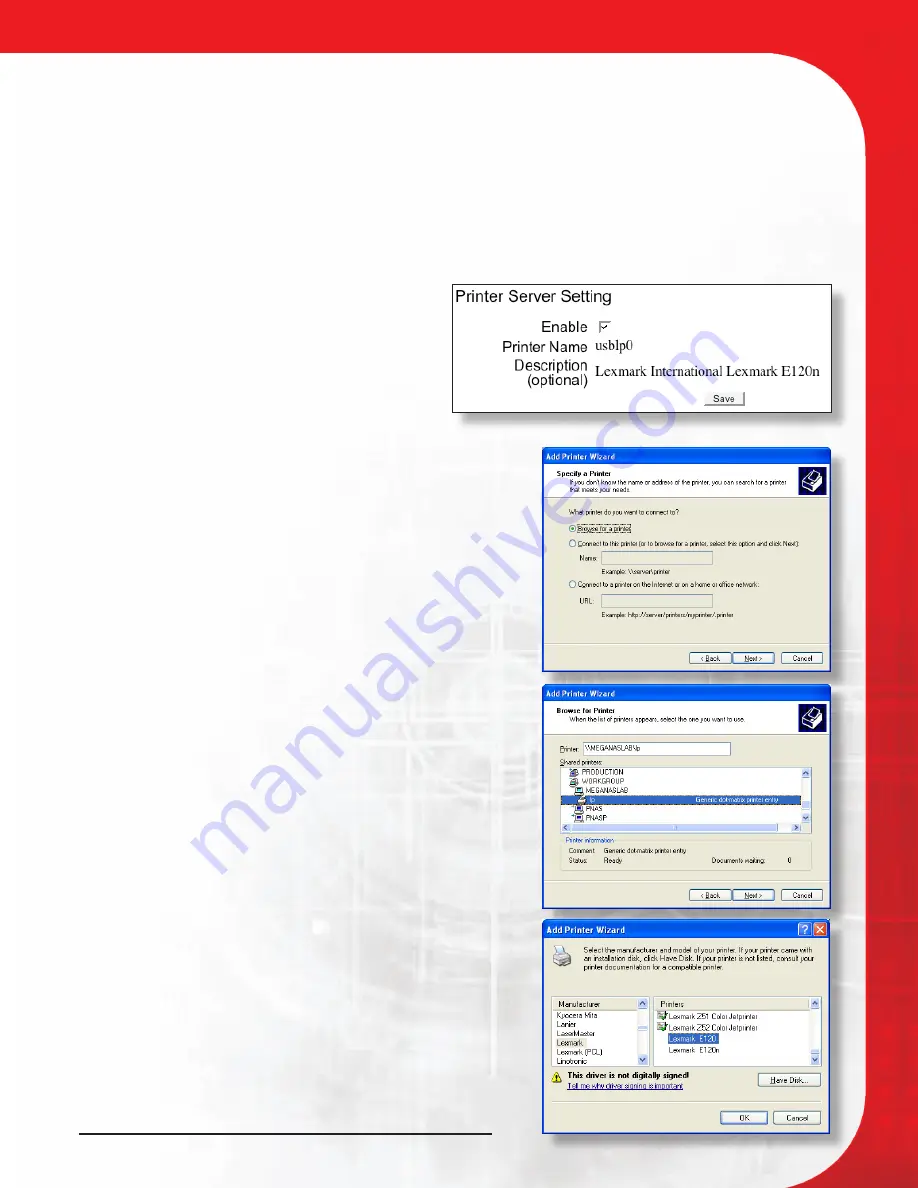
3.1.2 The MegaDisk NAS will automatically
detect a USB printer attached. Navigate to
“Control Panel” -> “File and Print” -> “Printer
Server,” note the make and model of the
printer, and verify that the
“Enable” box in
the print server dialog is checked.
3.1.3 Obtain and install your printer’s driver
appropriate to your computer.
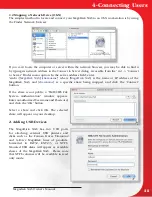
3.1.4 Begin the “Add a Printer” wizard accessible from “Start”
-> “Setting” -> “ Printer and Faxes” -> “Add a printer”.
3.1.5 Select “A network printer or printer attached to
another computer”, then Click “Next”.
3.1.6 Select “Browse for a printer” than Click “Next”.
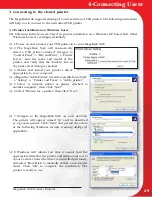
3.1.7 Navigate to the MegaDisk NAS on your network.
The printer will appear named “lp” and be described
as a generic printer. Click “Next” and permit the action
at the following Windows security warning dialogs (if
applicable.)
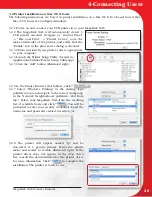
3.1.8 Windows will inform you that it cannot find the
appropriate driver for the printer, and will prompt you to
choose a driver. Select the driver you installed previously,
and select “Have Disk” to manually choose a new printer
driver. Click “OK” to complete the installation. The
printer is ready to use.
4-Connecting Users

