65
Plot and Store Routes
A
Route is a path of travel marked by Waypoints (locations) linked together in sequence.
The first step to lay in a course for a destination is to press the
Go To
button. The Go To
option is only visible when there is no active Route. When a Route has been specified as
active, then the label on this button changes to
Route
.
New Route
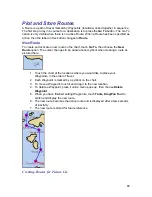
To create and activate a new route on the chart, touch
Go To
, then choose the
New
Route
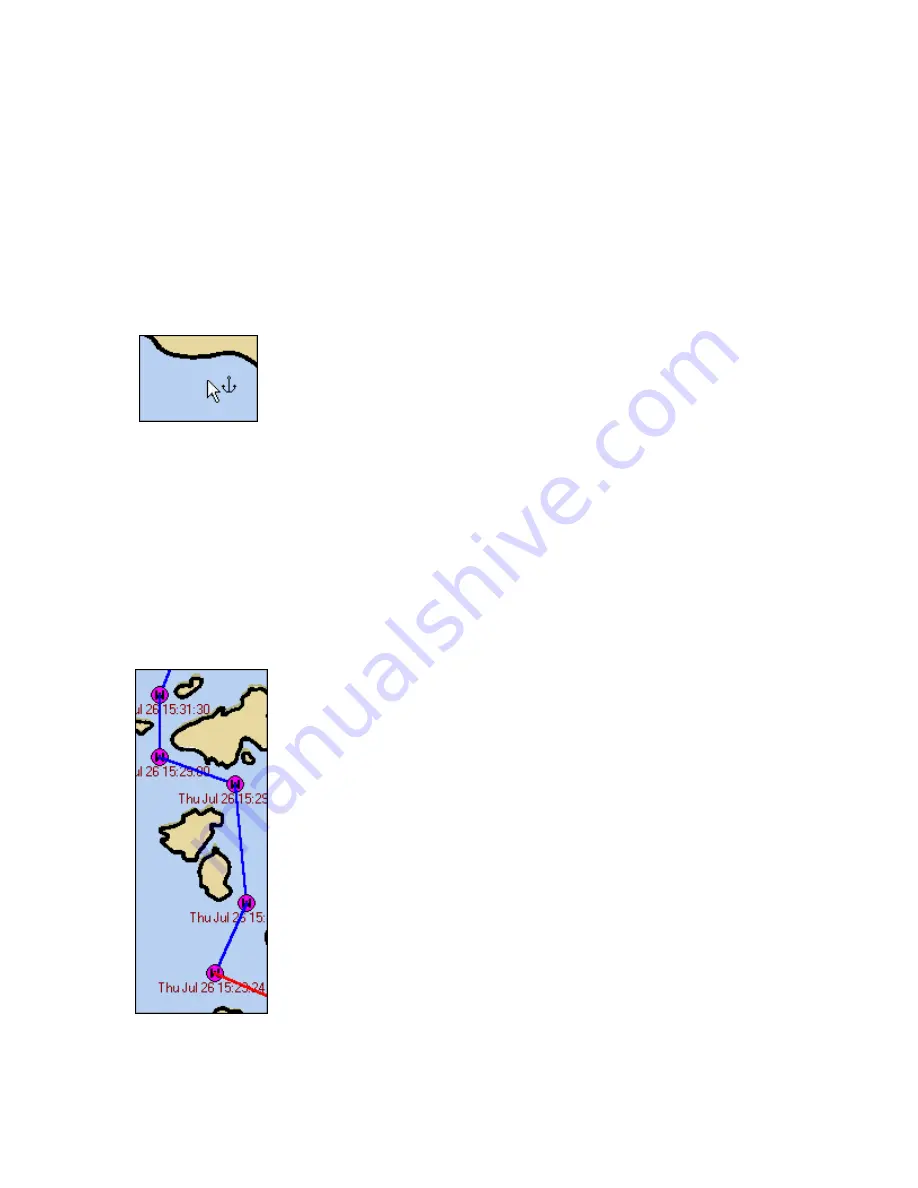
option. The cursor changes to an arrow/anchor symbol when creating a route as
pictured here.
1. Touch the chart at the locations where you would like to place your
Waypoints, in the order of travel.
2. Each Waypoint is marked by a symbol on the chart.
3. To move a Waypoint, touch it and drag it to the new location.
4. To delete a Waypoint, press it until a menu pops up, then choose
Delete
Waypoint
.
5. When you have finished setting Waypoints, touch
Tools, Drag/Pan Tool
to
switch and display the new route.
6. The new route becomes the active route and is displayed after a few seconds
of inactivity.
7. The new route is stored for future reference.
Creating Routes for Future Use
Summary of Contents for Maestro
Page 1: ...User s Manual TM IS0270 rev A ecr 8171 3 2010 ...
Page 2: ......
Page 8: ......
Page 50: ......
Page 68: ......
Page 86: ...Maestro Navigator 3 5 3 doc 82 ...
Page 90: ......
Page 94: ...Maestro Navigator 3 5 3 doc 90 ...
Page 122: ......
Page 140: ......
Page 142: ......


