Plot and Store Routes
67
x
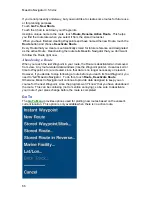
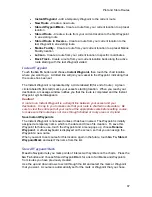
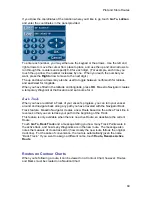
Instant Waypoint -
add a temporary Waypoint to the current route
x
New Route -
Create a new route
x
Stored Waypoint/Mark -
Create a route from your current location to a preset
location
x
Stored Route -
Create a route from your current location to the first Waypoint
in an existing route
x
Stored Route in Reverse -
Create a route from your current location to the
last Waypoint in an existing route
x
Marine Facility -
Create a route from your current location to a preset Marine
Facility location
x
Lat/Lon -
Create a route from your current location to specific coordinates
x
Back Track -
Create a route from your current location back along the active
route starting with the last Waypoint visited
Instant Waypoint
Touch the
Go To
button and choose
Instant Waypoint,
then touch the chart location
where you want to go. A dotted line will join your vessel to the Waypoint, indicating that
the course has been set.
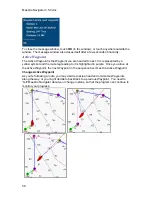
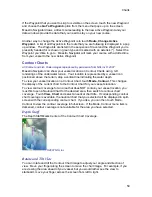
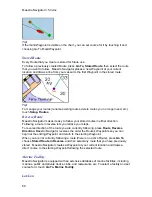
The Instant Waypoint is represented by a circle labeled
E
(for end of route). A green
circle labeled
S
(for start) marks your vessel’s starting location. When you reach your
destination, a message window notifies you that the route is completed and the Instant
Waypoint symbol disappears.
Caution!
A route to an Instant Waypoint is a straight line between your vessel and your
destination. It is up to you to make sure that your route is charted in safe waters. Be
sure to view the entire path of your route at the appropriate scale before setting course,
to make sure the route does not cross through shallow or rocky areas or dry land.
Save Instant Waypoints
The Instant Waypoint is not saved unless it has been named. The Waypoint is initially
assigned a temporary name, which is the date and time of its creation. To save this
Waypoint for future use, touch the Waypoint and a menu pops up; choose
Rename
Waypoint
. A virtual keyboard is displayed on the screen, so that you can assign the
Waypoint a new name.
When you want to set course for this location again in the future, touch
Go To, Stored
Waypoint/Mark
and select the name from the list.
Stored Waypoint/Mark
Maestro Navigator lets you mark points of interest with symbols on the charts. Press the
Go To
button and choose Stored Waypoint/Mark for a list of all Marks and Waypoints
from routes you have previously created.
Use the up and down arrows to scroll through the list and select the mark or Waypoint
that you want. A course is automatically set for the mark or Waypoint that you chose.
Summary of Contents for Maestro
Page 1: ...User s Manual TM IS0270 rev A ecr 8171 3 2010 ...
Page 2: ......
Page 8: ......
Page 50: ......
Page 68: ......
Page 86: ...Maestro Navigator 3 5 3 doc 82 ...
Page 90: ......
Page 94: ...Maestro Navigator 3 5 3 doc 90 ...
Page 122: ......
Page 140: ......
Page 142: ......


