8
Safety - 740, 840 & 840G Snowblower
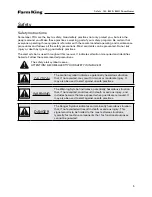
Safety Signs
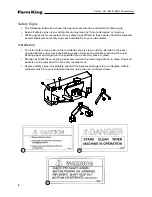
• The following illustration shows the approximate location and detail of safety signs.
• Keep all safety signs clean and legible and replace any that are damaged or missing.
• When original parts are replaced, any safety signs affixed to those parts should be replaced
as well. Replacement safety signs are available from your local dealer.
Installation
• To install safety signs, ensure the installation area is clean and dry. Decide on the exact
position before you remove the backing paper. Remove the smallest portion of the split
backing paper and align over the specified area. Carefully press in place.
• Slowly peel back the remaining paper and smooth the remaining portion in place. Small air
pockets can be pierced with a pin and smoothed out.
• Replace safety signs immediately should they become damaged, torn or illegible. Obtain
replacements from your authorized dealer using the part numbers shown.
1
2
3
SERIAL NUMBER
2
1
3
3
Summary of Contents for 740
Page 1: ...Snowblower Models 740 840 840G Operator and Parts Manual 092010 FK313 ...
Page 2: ......
Page 17: ......
Page 18: ...18 Parts 740 840 840G Snowblower 740 840 Snowblower Drawings ...
Page 19: ...19 Parts 740 840 840G Snowblower ...
Page 20: ...20 Parts 740 840 840G Snowblower 840G Snowblower Drawings ...
Page 25: ......
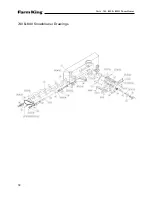
Page 26: ...26 Parts 740 840 840G Snowblower Snowblower PTO Drawing ...
Page 35: ......


