Operation - RT17, RT19 Tedder
24
Connecting to Tractor
Three-Point Hitch
Always inspect the tractor’s three-point hitch and
equipment three-point mounts before connecting.
Move the tractor drawbar into the storage position
or remove (if necessary) to prevent interference
with equipment operation (See the tractor’s
operator’s manual for the correct procedure).
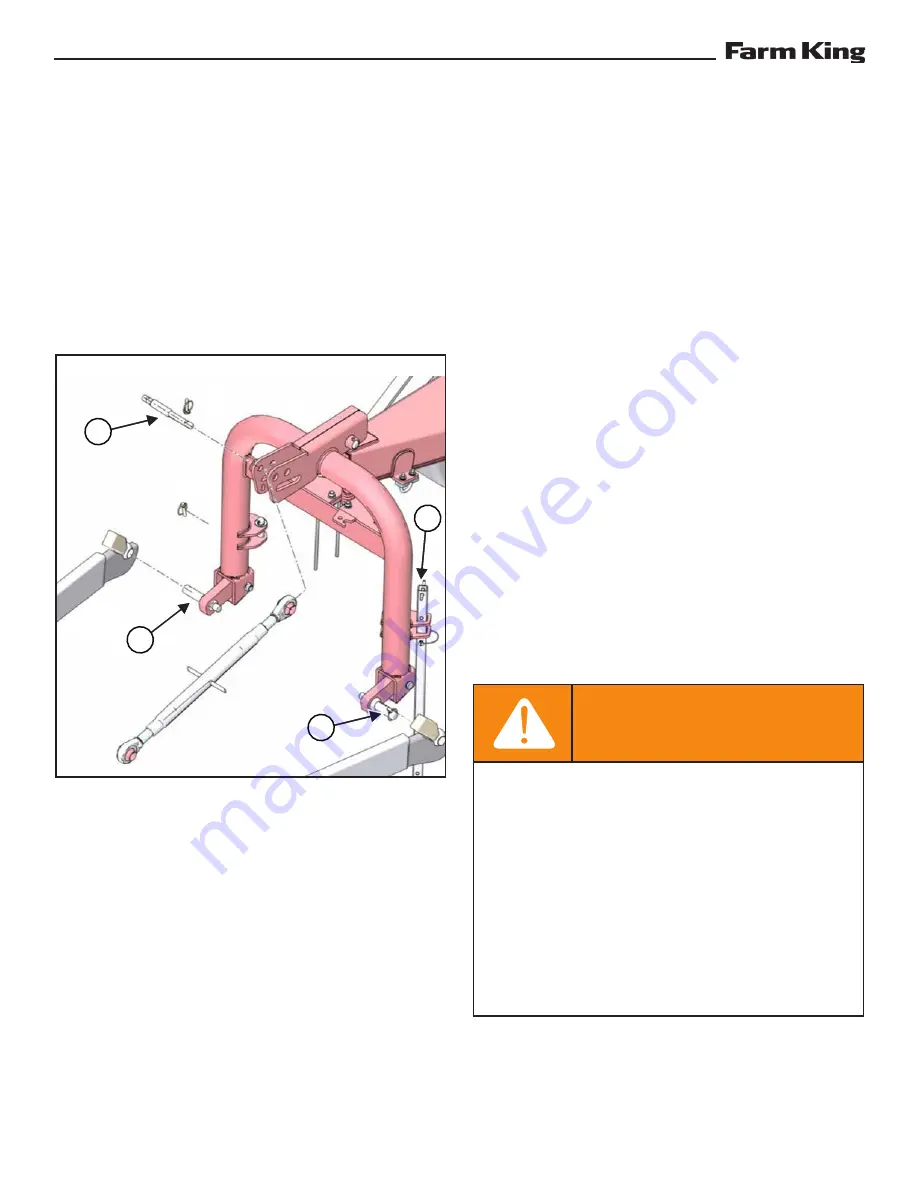
Figure 2
Remove the top implement mounting pin (Item 1)
and retaining clips
[Figure 2]
.
Remove the retaining clips from the left and right
lower mounts (Item 2)
[Figure 2].
Enter the operator’s position (See “Entering The
Operator’s Position” in Operation section).
Move the tractor into position in front of the
equipment. Move the tractor backwards, aligning
the tractor’s three-point hitch and equipment
three-point mounts.
Leave the operator’s position (See “Leaving The
Operator’s Position” in Operation section).
Install the left and right lower three-point mounts
of the tractor to the equipment left and right lower
mounting pins.
Reinstall the retaining pins.
Note:
Always use retaining pins with a locking
device.
Lower the top link of the three-point hitch until it
aligns with the implement upper mount.
Reinstall the mounting pin and retaining pin.
Note:
It may be necessary to lengthen or shorten
the top link to align it with the implement
mounting hole. (See the tractor’s operator’s
manual for the correct procedure.)
The implement can be leveled front to back by
adjusting the top link (See the tractor’s operator’s
manual for the correct procedure).
Adjust the lower link sway chains or blocks on the
tractor to restrict side movement of the equipment
when operating.
The support jack (Item 3)
[Figure 2]
must be fully
raised when operating.
WARNING
AVOID INJURY OR DEATH
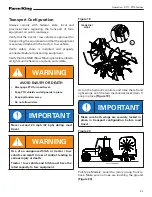
Before moving the tractor, look in all directions
and make sure no bystanders, especially small
children are in the work area.
Do not allow anyone between the tractor
and the equipment when backing up to the
equipment for connecting.
Keep fingers and hands out of pinch points
when connecting and disconnecting
equipment.
1
2
3
2
Summary of Contents for RT17
Page 1: ...092018 R0002 OPERATOR AND PARTS MANUAL Tedder Model RT17 RT19 ...
Page 2: ......
Page 6: ...Warranty Registration Form RT17 RT19Tedder 4 ...
Page 8: ...Introduction RT17 RT19Tedder 6 ...
Page 12: ...Introduction RT17 RT19Tedder 10 ...
Page 14: ...Safety RT17 RT19Tedder 12 ...
Page 20: ...Safety RT17 RT19Tedder 18 Equipment and Safety Decals GREASE POINT ...
Page 22: ...Safety RT17 RT19Tedder 20 ...
Page 24: ...Operation RT17 RT19Tedder 22 ...
Page 40: ...Maintenance RT17 RT19Tedder 38 ...
Page 46: ...Maintenance RT17 RT19Tedder 44 ...
Page 48: ...Parts Identification RT17 RT19Tedder 46 ...
Page 58: ...Parts Identification RT17 RT19Tedder 56 Pull Type Mechanical Angle Adjust Release Rope ...
Page 60: ...Parts Identification RT17 RT19Tedder 58 Pull Type Hydraulic Angle Adjust ...
Page 62: ...Parts Identification RT17 RT19Tedder 60 Mounted Type Guards ...
Page 64: ...Parts Identification RT17 RT19Tedder 62 Mounted Type Hitch PTO Release Rope ...
Page 66: ...Parts Identification RT17 RT19Tedder 64 Mounted Type Hydraulic Hoses Stabilizer Bars ...
Page 72: ...Parts Identification RT17 RT19Tedder 70 ...
Page 74: ...Specifications And Shipping Kit Numbers RT17 RT19Tedder 72 ...
Page 78: ...Specifications And Shipping Kit Numbers RT17 RT19Tedder 76 ...
Page 80: ...Warranty RT17 RT19Tedder 78 ...
Page 83: ......


