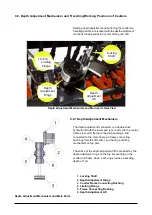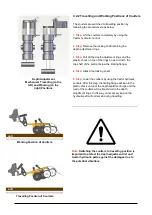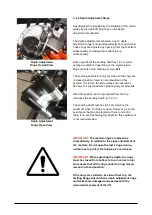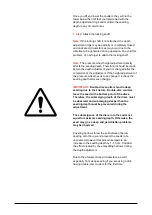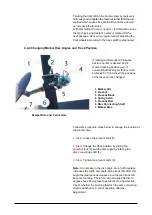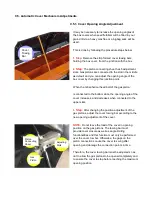
C.2.4 Seeding Depth Adjustment
Follow the procedure steps below for seeding depth
adjustment:
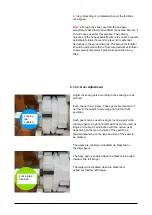
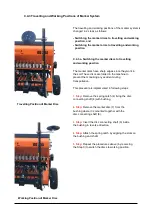
1. Step:
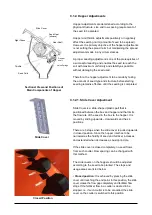
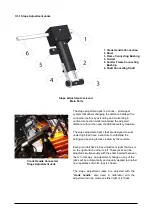
Remove the locking shaft.
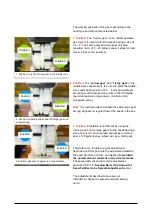
2. Step:
Open the plastic chock and 10 depth
adjustment rings on the top.
3. Step:
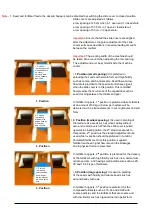
Lower the coulters on the ground when moving
on the field to be cultivated.
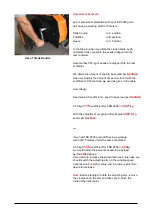
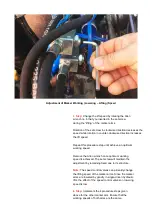
4. Step:
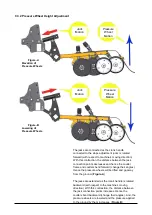
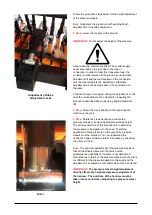
After adjusting the coulters to an appropriate
depth, stop without pulling them out of the soil (in
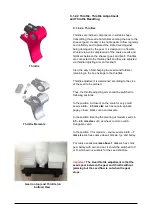
seeding position) and check the height of the pressure
wheels. Pressure wheels are too low if obstructing the
submerging of the discs and too high if not contacting
with the soil.
Adjust the pressure wheels to a position to press the
seeds but not to obstruct the submerging of the discs.
Note:
The optimum adjustment for the pressure
wheels enables all the wheels to rotate together with
the discs during movement. Simultaneous rotation of
the pressure wheels and discs are sufficient for
pressure on the seeds. The adjustment is accepted
as successfully completed when this achieved.
Since the pressure wheels also have depth limiting
functionality, it is recommended not to adjust them too
low. Excessive pressure to be created by the wheels
leads to damaging of the pressure wheel and its tire.
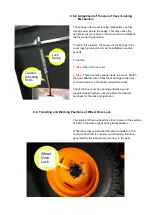
For detailed information on the height adjustment of
the pressure wheels: (Refer to: C.3. Pressure
Wheel Height Adjustment)
5. Step:
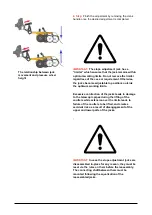
Check the submergence of the discs and seed
embedding depth after the adjustment of the pressure
wheels. If the depth needs to be increased or
decreased, make the necessary adjustment by using
the hydraulic controls on the tractor.
Repeat the steps 4 and 5 until the desired seeding
depth is achieved.
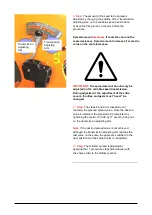
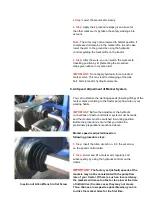
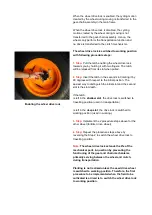
6. Step:
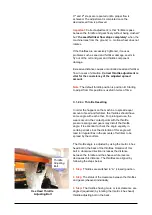
Fill the gap between the limiting flange and
lift with depth adjustment rings once the desired
seeding depth is achieved.
Summary of Contents for FDD 2500
Page 1: ......
Page 103: ...Seed Calibration Quick Reference Guide To ensure accuracy always do a manual calibration test ...
Page 104: ......
Page 105: ......

