15
POLY BUILDINGS
Revision date: 03.15.12
NOTE:
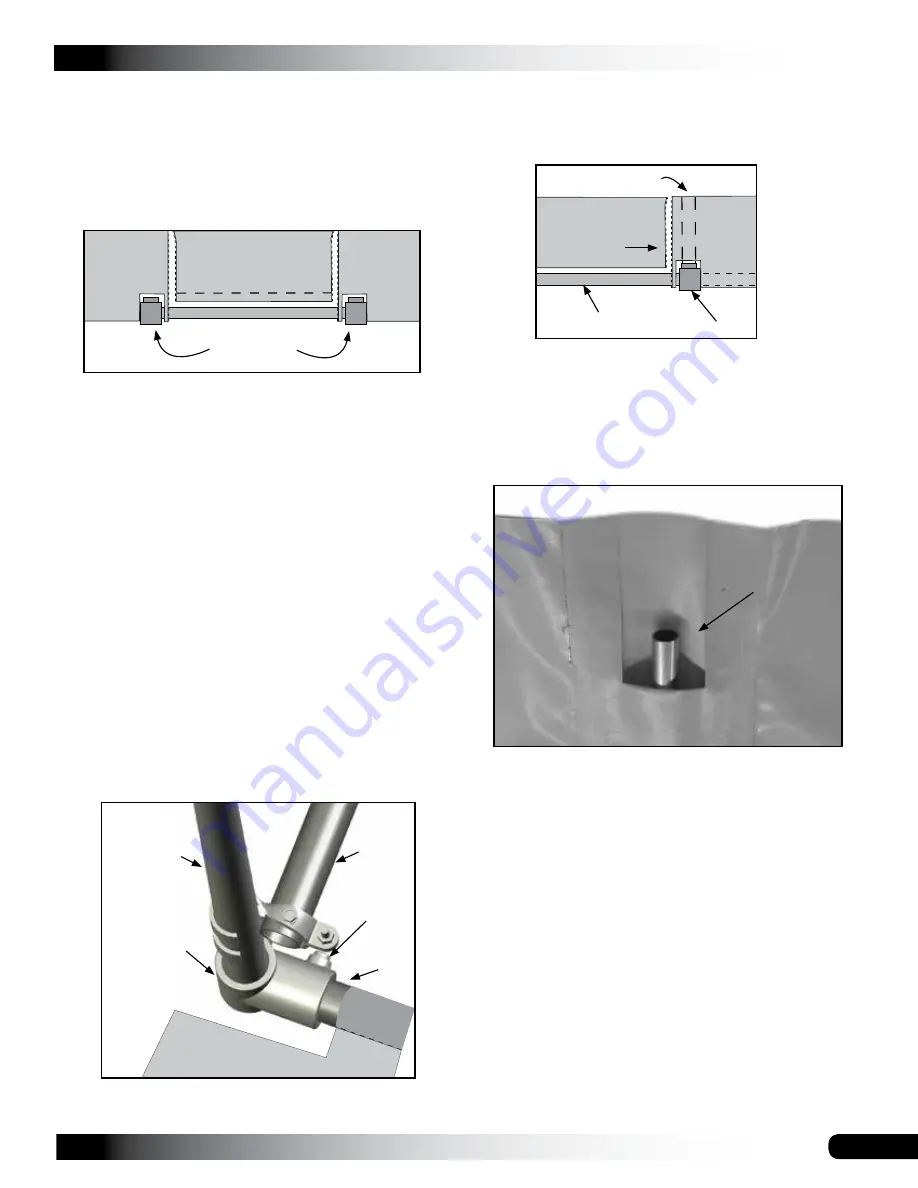
Do not slide the base conduit through the
pocket in the bottom of the zippered door.
Diagram not
to scale
.
8. Continue sliding the base conduit through the panel
pocket until it is centered as needed.
NOTE:
The pipe joints in the conduit must be secured
using Tek screws. Two layers of duct tape must be
wrapped over each pipe joint and Tek screw head.
Determine which pipe joints can be secured before
inserting the conduit into the pocket and which pipe
joints can be secured as the conduit is being slid into
the pocket. Secure the joints as instructed.
Once the conduit is installed with the tee fittings in
place and the conduit pipe joints are secured and
taped, pull the base conduit and end cover to the end
rafter.
9.
Insert the base conduit ends into the tee fittings on the
bottom of the end rafter legs. (Install the tee fittings if
this was not completed as instructed earlier.)
6.
Remove the two tee fittings and slide the base conduit
into the end panel pocket until the end is visible in the
first cutout below the first vertical conduit pocket.
7.
Slide a tee fitting onto the conduit, continue sliding the
conduit through the pocket until the end reaches the
next vertical pocket, and install the final tee fitting.
11. Insert a vertical conduit into a vertical pocket until the
end of the conduit can be inserted into the tee fitting.
12.
Insert the end into the tee fitting and tighten the screw
to secure the
vertical conduit in the tee fitting
.
NOTE:
Do not tighten the screw that secures the tee
fitting to the base conduit at this time. The vertical
conduit must be free to turn on the base conduit when
the panel is pulled up and into position.
13. Repeat the previous steps to install the remaining
vertical conduit.
NOTE:
If the upper end of each vertical conduit does
not extend from the top of the vertical pocket, trim the
pocket to expose the conduit.
Trim the pocket material
only; do not cut the end panel material
.
14. With assistance, lift each end of a vertical conduit and
push it up until it aligns with the end rafter. If desired,
secure a rope to the upper end of each vertical conduit,
throw the end of each rope over the end rafter, and pull
the panel up and into position.
ATTENTION:
Do not attempt to lift the panel into
position on a windy or stormy day. Injury or damage or
both may result.
Purlin
Set
Screw
Base
Conduit
Tee Fitting
End
Rafter
End Panel
Tee Fitting
Door Panel
Zipper
Base Conduit
Vertical Conduit
BACK END WALL PANEL INSTALLATION (CONTINUED)
10.
Tighten the screws of each end tee fitting to secure the
tee fittings to the end rafter and base conduit.
Upper Edge of End Panel
Vertical Conduit
Conduit
Base Conduit
Tee Fitting
Door Panel


