POLY BUILDINGS
8
Revision date: 03.15.12
ASSEMBLING THE RAFTERS
NOTE
: Assistance is required to assemble the rafters.
Gather the parts:
• Rafter pipe (#26R1901)
• Rafter pipe (#26R1902)
• Purlin end clamps (#102857)
• Band clamps (#QH1404)
• Tek screws
• Magnetic nut setter (3/8'' x 2-9/16")
Rafter Assembly Procedure
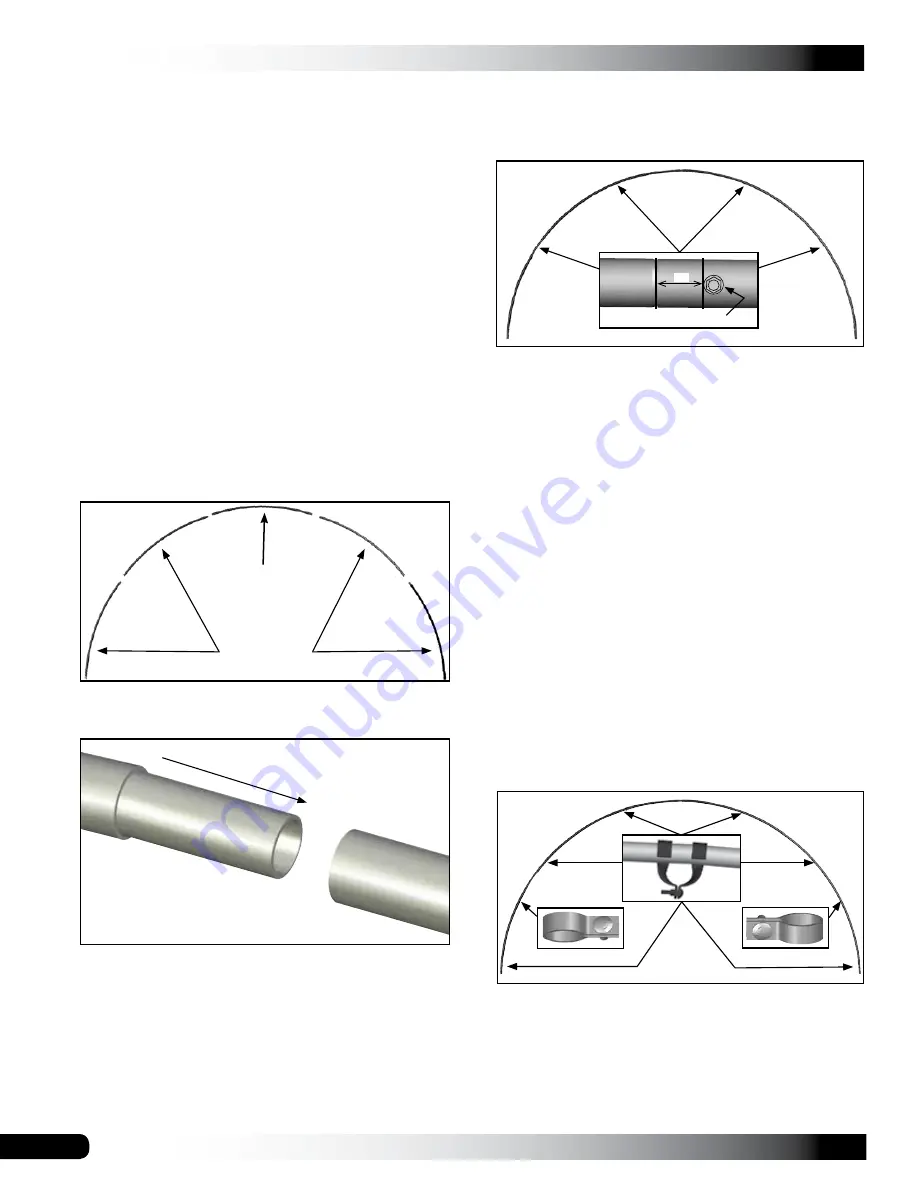
Each rafter assembly consists of five (5) rafter sections:
four (4) swaged sections, one (1) plain section.
1.
Select the five (5) pipes needed to assemble a rafter
and arrange these on a flat surface as shown below for
assembly.
2. Slide the swaged portion of each rafter pipe into the
plain end of the pipe as shown.
(#26R1901)
(#26R1902)
END RAFTER ASSEMBLY
In addition to the steps in the previous procedure, complete
the following steps
for the two end rafters only
.
1.
Take one of the assembled rafters and place it on a flat
surface.
2. Slide six (6) end clamps and two (2) band clamps onto
the rafter in the locations noted below. (Do not secure
the clamps to the rafter at this time. These clamps are
repositioned during the frame assembly when the
purlins are added.)
View of the end rafter and clamps as shown is from the
outside
when the frame is assembled.
NOTE:
Position all clamps as shown. Use a piece of
duct tape to keep the clamps from sliding when the
rafter is set in place if desired.
3. With the main rafter pipes seated at each joint and the
rafter positioned on a flat surface, secure each joint
using a single self-tapping Tek screw. Position Tek
screw approximately 1'' from pipe joint.
ATTENTION:
Install the screws so they will not touch
the cover once it is installed. This is typically on the
backside of the rafter, which will be the surface visible
from the
inside
of the shelter once the frame is
assembled.
Install the screw so that it secures the outer pipe to the
swaged end of the inside pipe at the joint.
4. Assemble all rafters as described and continue with the
additional steps to assemble the two end rafters.
1˝
Tek screw


