CHICK-INN
16
Revision date: 12.19.07
END PANEL INSTALLATION: BACK
This procedure describes one way to install the end panel
and pedestrian door. If wire mesh is installed, alter these
instructions as needed to account for that installation.
ATTENTION:
The solid end panel for the back is attached
in the same manner as the zippered panel of the front.
Unlike the front panel, however, the back panel is without a
pocket along the bottom.
Depending on the shelter, these panels may come taller
and wider than what is required to cover the ends. The
excess panel material can be removed (if desired) after the
panel is attached to the shelter frame.
Required tools and parts include:
• Solid end panel and Tek screws (#FA4472B)
• #CC6213 fabric clips remaining from previous
procedure (Step 1)
• Utility knife, nut setter (included), battery or electric
powered drill to install Tek screws
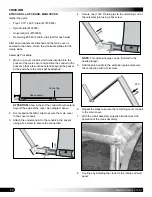
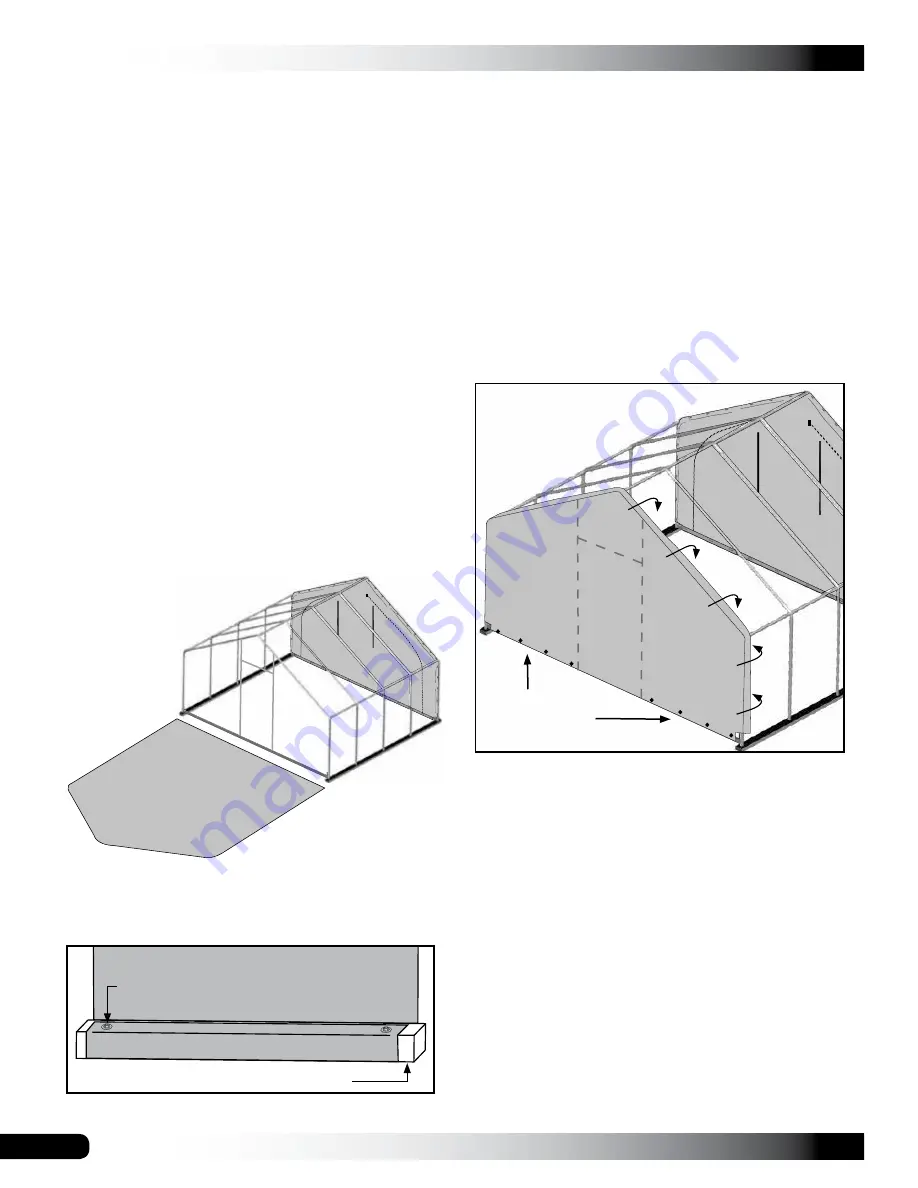
1. Locate the remaining end panel, unfold it on the ground
at the end wall of the shelter, and center it with the end
wall.
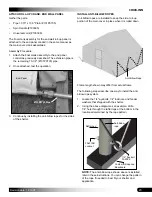
2. Pull the panel edge under the base rail of the end wall
frame and fold it up onto the top surface of the base rail
on the inside of the frame.
Base Rail of End Wall
Inside of
end panel.
Tek screw and
fender washer
ATTENTION:
If the base rail is on a perimeter frame,
such as treated-wood boards as recommended, insert
and pull the end panel material between the treated
board and the base rail.
The end panel can also be secured to the base rail
from the outside along the length of the base rail if you
are unable to pull it under the base rail.
3. Secure the panel to the top of the base rail using
evenly spaced Tek screws and fender washers.
ATTENTION:
Do not install screws within the rough
door opening.
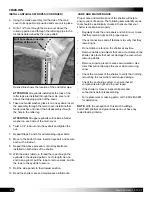
4. With assistance, lift the end panel up and over the end
rafter and stretch it into position.
5. Fold the edges around the rafter pipes and secure
the panel to the rafter pipes using the other half of
the #CC6213 fabric clips (from Step 1 in the previous
procedure) and Tek screws.
ATTENTION
: Trim the end panel as needed to
achieve the best fit around the rafter pipes, base rail
connections, and wire mesh (if installed).
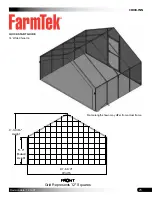
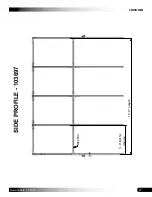
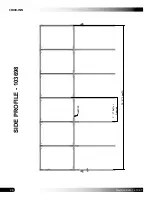
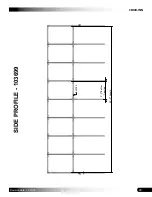
Frame length shown may differ from actual frame.
Secure end panel
here if needed.


