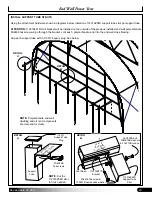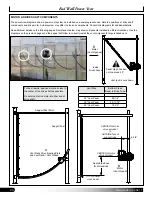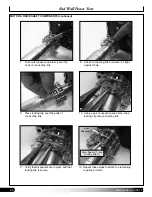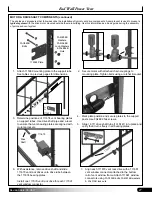
20
Revision date: 03.08.17
PREPARE THE VENT SEALS FOR INSTALLATION
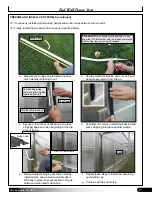
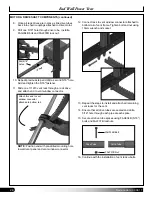
1. Move to one end of the assembled vent frame and mark
the center of the mullion.
NOTE:
Center line should run from top to bottom of
mullion.
Verify that vent is closed tight against the
seal surface.
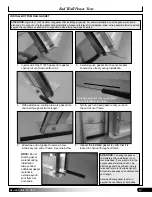
2. Take one AA15GYLXXXXXS01 vent seal and place
it against the marked mullion. Length differs with
vent dimensions.
3. With 3/8" between the vent seal and the seal surface
from top-to-bottom, mark the line position of the
mullion
on the vent seal
.
Vent Seal
Close vent tight
against seal
surface. Brace
in place.
Dashed line shows
the center line of the
mullion top-to-bottom.
Bottom Rail
Set a 3/8" gap
between vent seal
and seal surface.
Vent Seal
Center of
Mullion
Seal
Surface
Move
vent seal
down to
view line
Top Rail
Seal Surface
(previously
installed
R23P060)
Mullion
Cap
ATTENTION:
Some vent seals may include predrilled screw holes. Use these holes if present as they satisfy the
dimension requirements noted in the steps below.
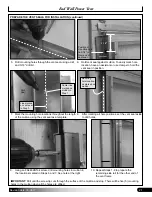
4. Evenly mark hole spacing no greater than 12" on-
center.
End holes to be 2-1/2" from end of rail.
Vent Seal
Dashed line
shows the line
marked on
the vent seal
top-to-bottom
in Step 3.
Set a 3/8" gap
between vent seal
and seal surface.
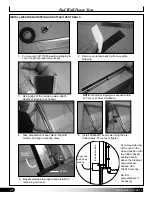
Move
Vent Seal
Up to View
Center
Line
Center line marked on
Mullion in Step 1.
Vent Seal
2-1/2"
OC
2-1/2"
OC
NOTE:
Move vent seal up or down to see center line marked
on mullion.
End Wall Power Vent


