7
Revision date: 03.08.17
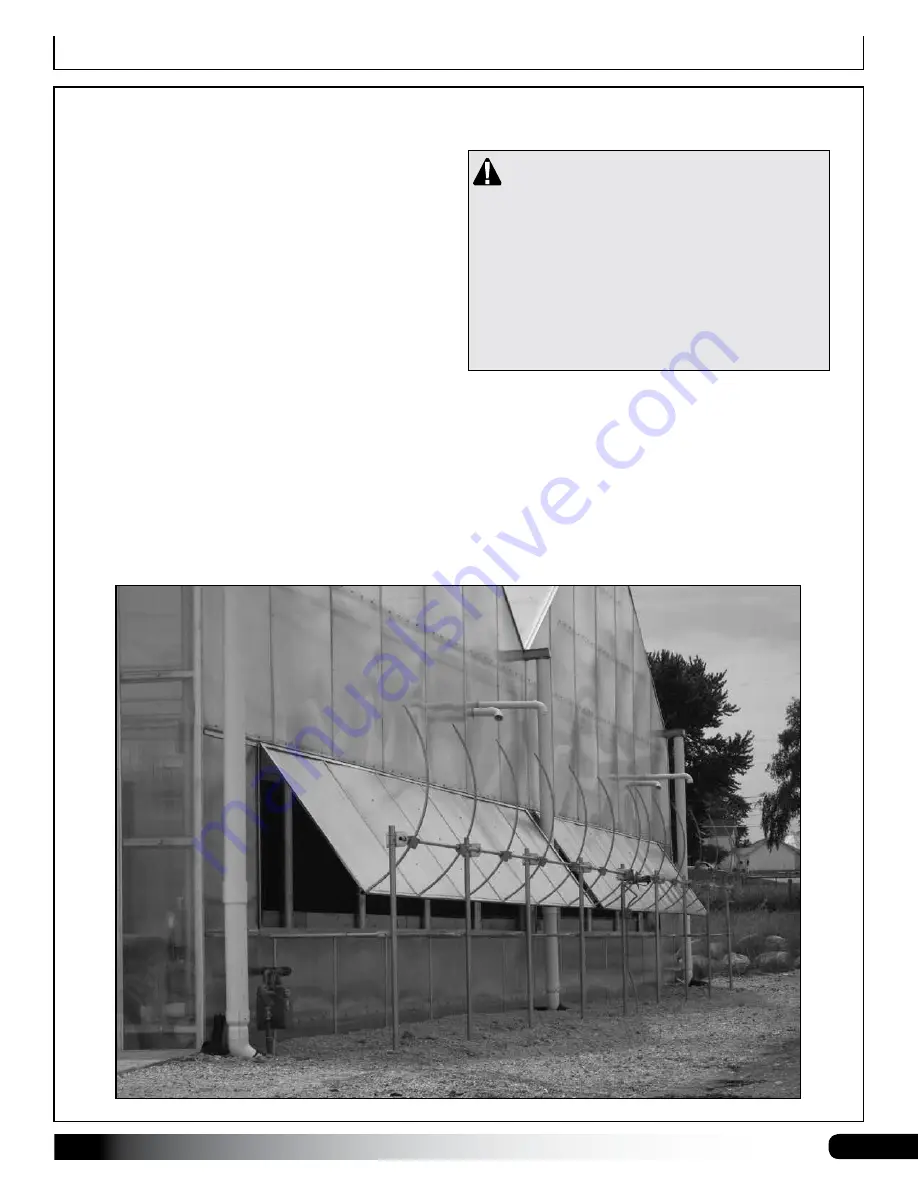
End Wall Power Vent
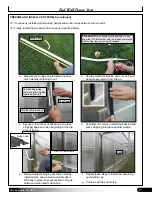
Vent sample above shows an outside mount of the power vent components.
ELECTRICAL WARNING
The vent frame is metal and will conduct electricity!
Exercise caution if working around or on the frame
with electric power tools.
Use cordless, battery-
powered tools.
CONSULT THE SERVICES OF A QUALIFIED
ELECTRICAL TECHNICIAN WHEN INSTALLING
ELECTRICALLY POWERED ACCESSORIES
NEAR OR FOR THIS VENT SYSTEM.
REQUIRED TOOLS
The following list identifies the main tools needed to
assemble the vent system and attach it to your building.
Additional tools and supports may be needed.
•
Tape measure and marker
•
Variable speed drill (cordless with extra batteries
works best) and drill bit set.
•
Small hammer and gloves
•
Level 6' (or longer) preferred
•
String line (or chalk line)
•
Square to check vent frame during assembly
•
Wrench or socket set (standard and metric)
•
5/16" and 3/8" nut driver (included)
•
Scissors or utility knife to cut gasket material
•
Ladder or work platform to work at the height of the
vent mounting surface.
POWER VENT SYSTEM INSTALLATION
Vent size requires specific dimensions for the vent
opening.
Consult the technical drawings
for critical
dimensions and to position and install this vent system.
For other applications, consult the information and
diagrams at the back of this guide for additional critical
dimensions.
This following pages include important information needed to safely assemble and maintain the system. Please read
these instructions
before
you begin.


