• The use of the center column significantly reduces the rigidity of the tripod. We recommend that you avoid using the
center column. If you need higher working heights, we recommend using a larger tripod. Make sure that a such a
tripod is also stable.
• For scans close to the ground, slide all leg segments into each other before setting the leg angle to flat. The rubber
feet have a recess that helps to achieve full-surface contact, even with a flat leg angle. To do this, turn the feet
individually by hand.
• Ensure that the twist-lock sleeves for leg length adjustment, the central wing nut of the tripod shoulder, and the
tripod head are always tightly screwed together.
• To achieve a better grip on hard surfaces, slightly tension the tripod legs before starting a scan. Tension the legs by
holding two of the three tripod legs as close to the ground as possible with your hands, pulling them slightly apart
from each other and away from the third leg, then pressing them into the ground.
• Under windy conditions, use sandbags to stabilize each foot of the tripod. You can also stretch a rope or shock cord
between the tripod’s center hook and a weight, switchable magnetic base, or existing anchor point.
Troubleshooting
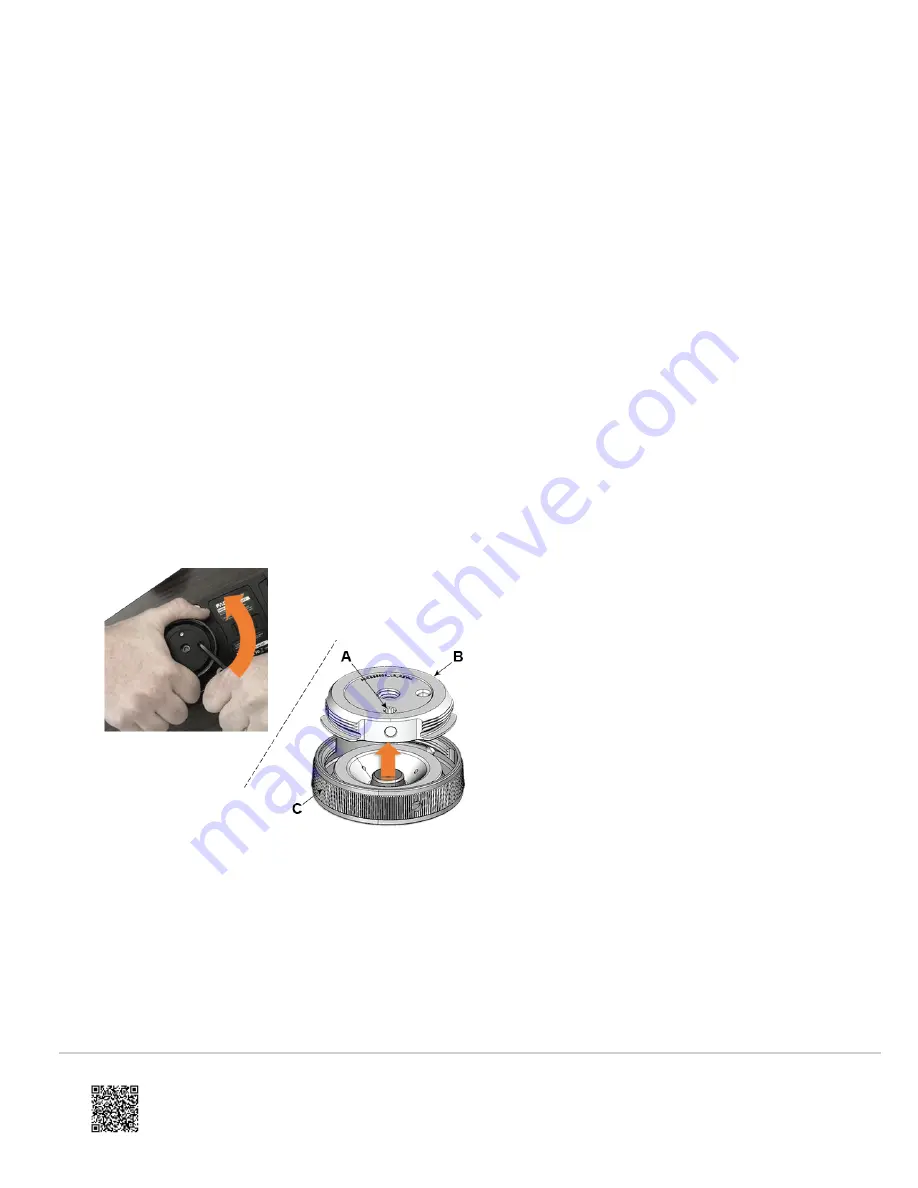
When attempting the remove the scanner from the tripod, in some instances the entire quick release assembly can
begin to rotate making it impossible to separate the two quick release halves. If this occurs:
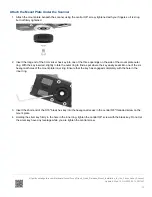
1. Continue rotating the outer ring clockwise (to the right) until the scanner and the complete quick release assembly
is free of the tripod.
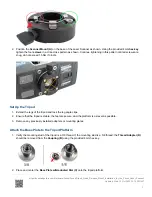
2. Set the scanner upside down on a sturdy surface. Insert the 3/16 hex key into the
hex socket (A)
of the
base
plate (B)
. While firmly holding the knurled
outer ring of the mount plate (C)
, rotate the 3/16 hex key in a counter-
clockwise direction to separate the base plate from the mount plate.
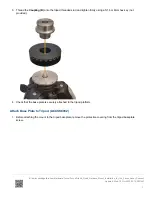
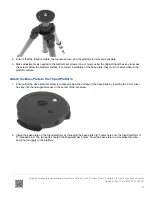
3. Once separated, reinstall the base plate per the steps in the above section, Attach the Base Plate to the Tripod
Platform. When reinstalling, be sure the base plate is firmly tightened to the platform of the tripod (Step3) and then
firmly tighten the set screw (Step 4).
Tripod Quick Release Mount (ACCSS6040)
Video
In this 3-minute YouTube video tutorial, learn how to unpack and set up the FARO Focus3D Laser Scanner on the
Updated: Wed, 12 Oct 2022 22:14:00 GMT
15


