FARO
®
Laser Scanner Manual
29
Chapter 6: Getting Started
The mount plate is now securely attached to the scanner.
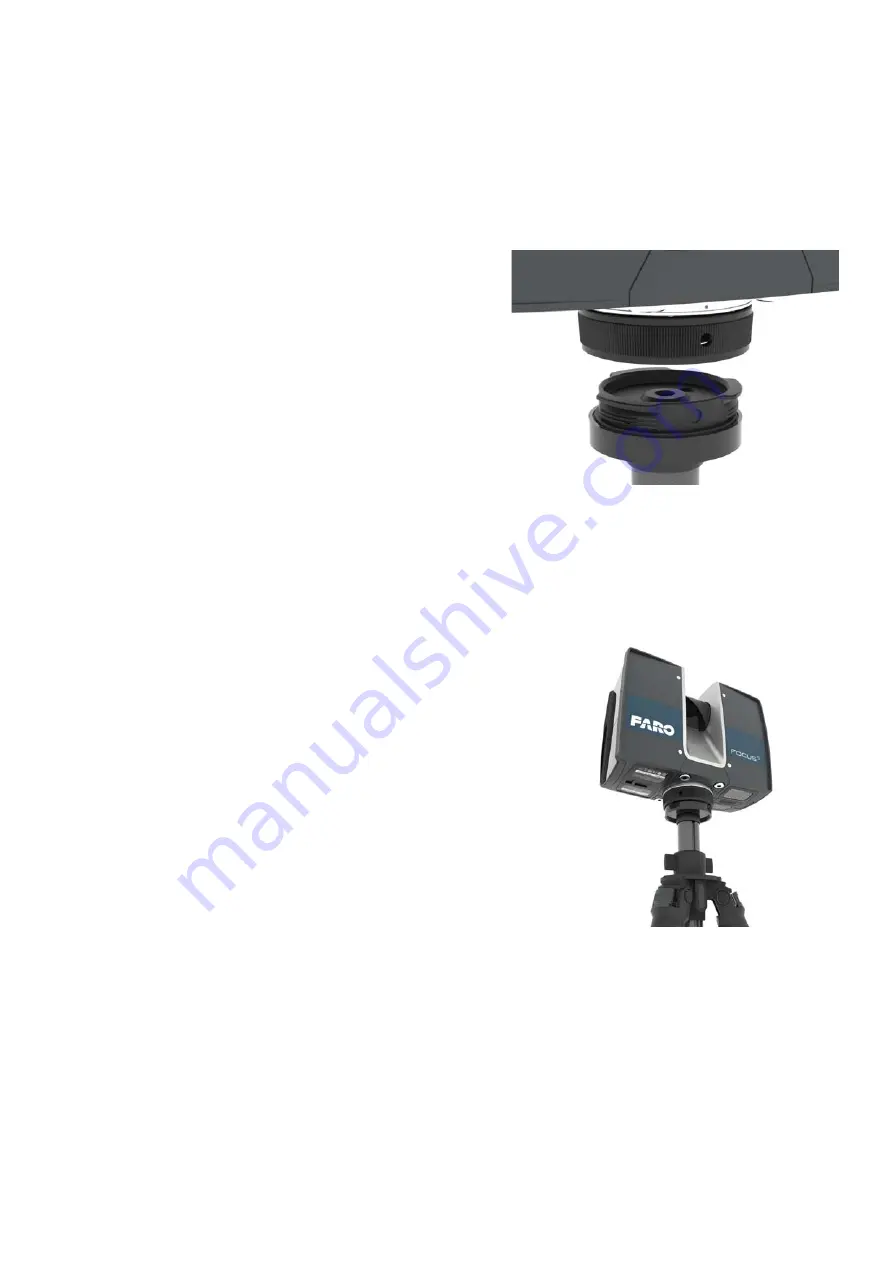
4. Mount the
scanner
1. Align one of the three holes
of the threaded collar with
the corresponding mark of
the base plate.
2. Put the scanner on the base
plate.
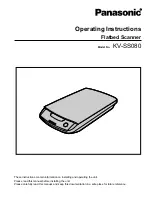
3. Turn the scanner to change
its orientation so that it fits
your individual needs for the
scan. Then tighten the
threaded collar firmly. Test if
the scanner is correctly
locked in place by gently
attempting to lift it from the
tripod.
The scanner is now physically set up for scanning. Before you begin to scan,
check the outer casing for any signs of damage or distortion. Check mirror for
damage due to scratches, cracks, distortion and inspect for cleanliness.
Summary of Contents for FocusM 70
Page 6: ...FARO Laser Scanner Manual 1...
Page 12: ...FARO Laser Scanner Manual 7...
Page 58: ...FARO Laser Scanner Manual 53...
Page 132: ...FARO Laser Scanner Manual 127...
Page 146: ...FARO Laser Scanner Manual 141...
Page 156: ...FARO Laser Scanner Manual 151 Chapter 12 Disposal Figure 12 114 WEEE Symbol...
Page 166: ...FARO Laser Scanner FocusS Manual 161...
Page 170: ...FARO Laser Scanner Manual 165...
Page 172: ...FARO Laser Scanner Manual 167...
Page 193: ...Appendix F Certifications...
Page 194: ...F 1 CE Conformity...


