4. Before scanning, be sure to calibrate the camera as outlined in the
below.
Calibration
Before any scan projects are created it is required to calibrate the PanoCam after installation. The calibration routine will
automatically perform a 1/5 / 2x quality scan, 1 PanoCam picture and an internal camera color capture with even
weighted metering.
• The calibration scan should be done in an indoor environment (office, room, etc.)
• Walls should have a distance of a few meters to the scanner
• There must be visible objects / patterns well distributed around the floor, walls, and ceiling to receive an optimal
calibration
• Avoid plain white walls, dark environments, and moving objects
After the calibration scan is complete the scan must be processed in SCENE and evaluated for proper color registration.
If the processed scan does not have proper color overlay repeat the calibration scan and processing in SCENE.
Calibration should be repeated if the camera or mount was removed from the scanner or was subject to impacts or
extreme temperature changes. It is also recommend to repeat the calibration periodically or if color overlay errors are
detected.
Scanning
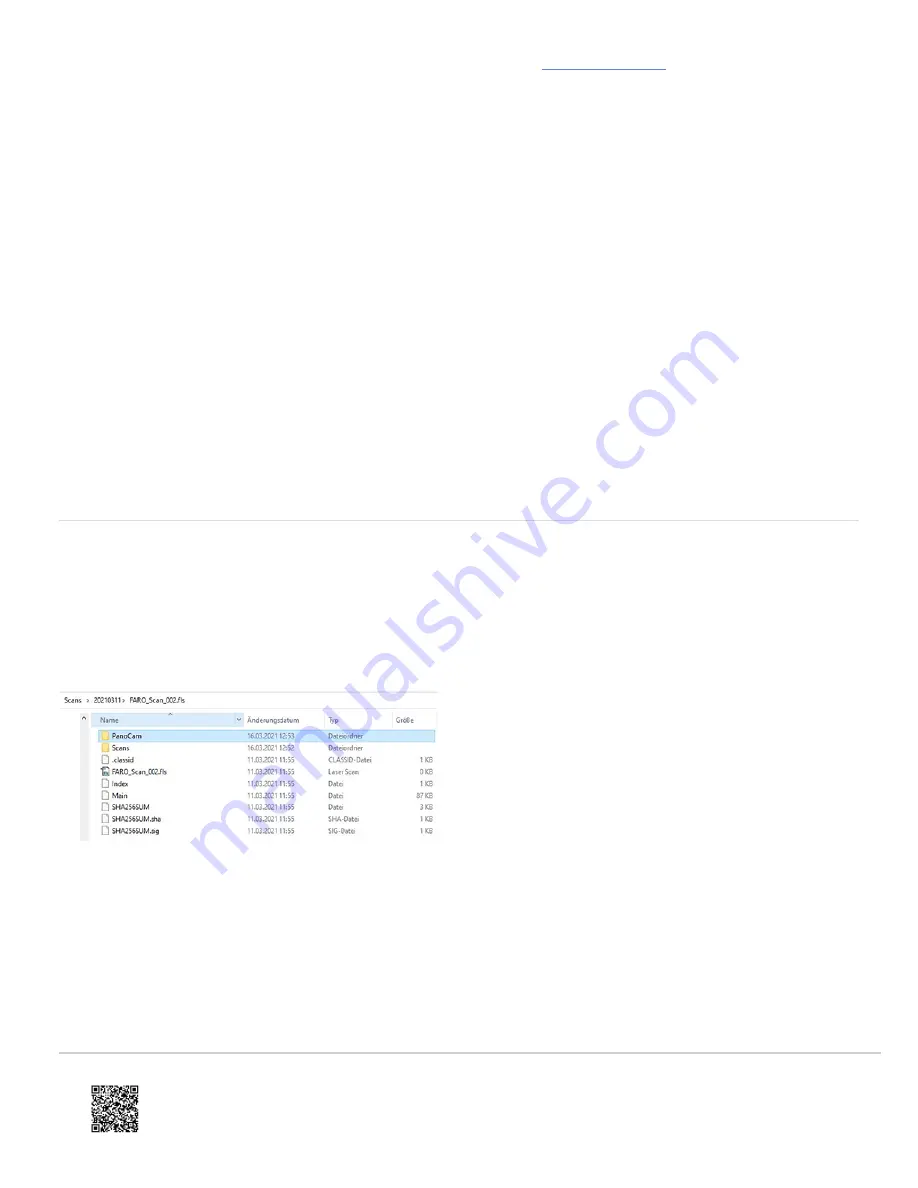
Once the PanoCam has been enabled and properly calibrated, images will be captured automatically as part of the
normal scan process. Images are automatically transferred (and removed from the storage of the camera) to the Laser
Scanner upon completion of each scan. PanoCam images are stored in the "PanoCam" subfolder within the scan
project.
Updated: Wed, 27 Oct 2021 07:49:01 GMT
3


