En
FARO Photon Laser Scanner – User’s Manual
49/68
Revised: April 10, 2008
© 2008 FARO Scanner Production GmbH
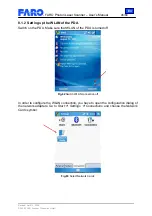
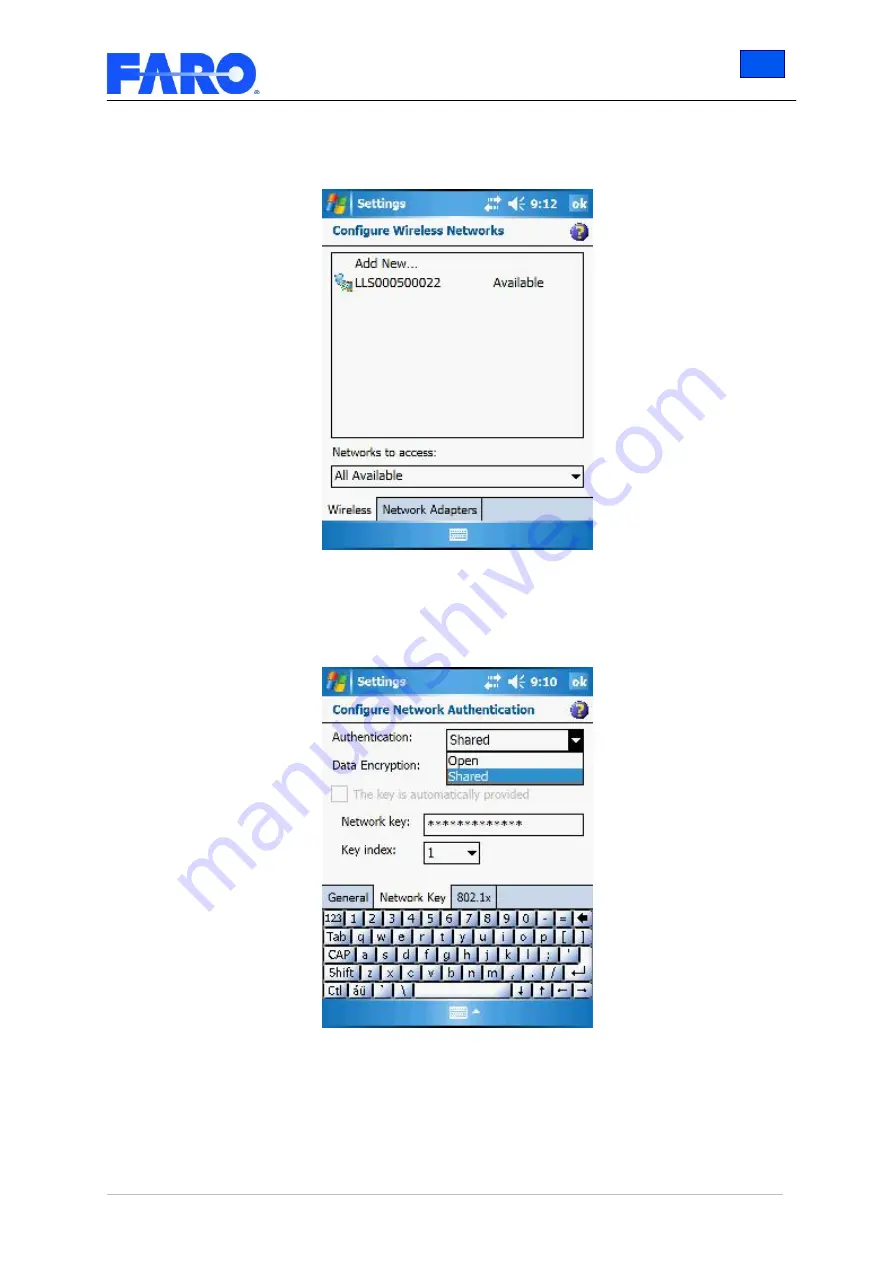
Now you have to change the authentication mode of the WLAN connection. Go to
Start
Æ
Settings
Æ
Connections
and touch the
Network Cards
symbol.
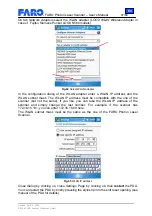
In the appearing “
Configure Wireless Networks
” dialog touch the existing WLAN
connection.
Fig.69
Configure wireless network
A new window opens. Change to tab
network key
.
Change Authentication mode from “
open
” to “
shared
”. Click
ok
.
Note: On this page you can also enter the WEP key if the “new network found” message
did not appear after you have switched on the WLAN of the PDA.
Fig.70
Change authentication mode
Now you should be able to connect to the FARO Photon Laser Scanner via WLAN.
To check this, open Opera or Internet Explorer and enter the IP of the WLAN Adapter of
the Scanner (not the IP of the PDA). You should now see the start screen of FARO
Record Mobile.

