En
FARO Photon Laser Scanner – User’s Manual
32/68
Revised: April 10, 2008
© 2008 FARO Scanner Production GmbH
7 Color Option
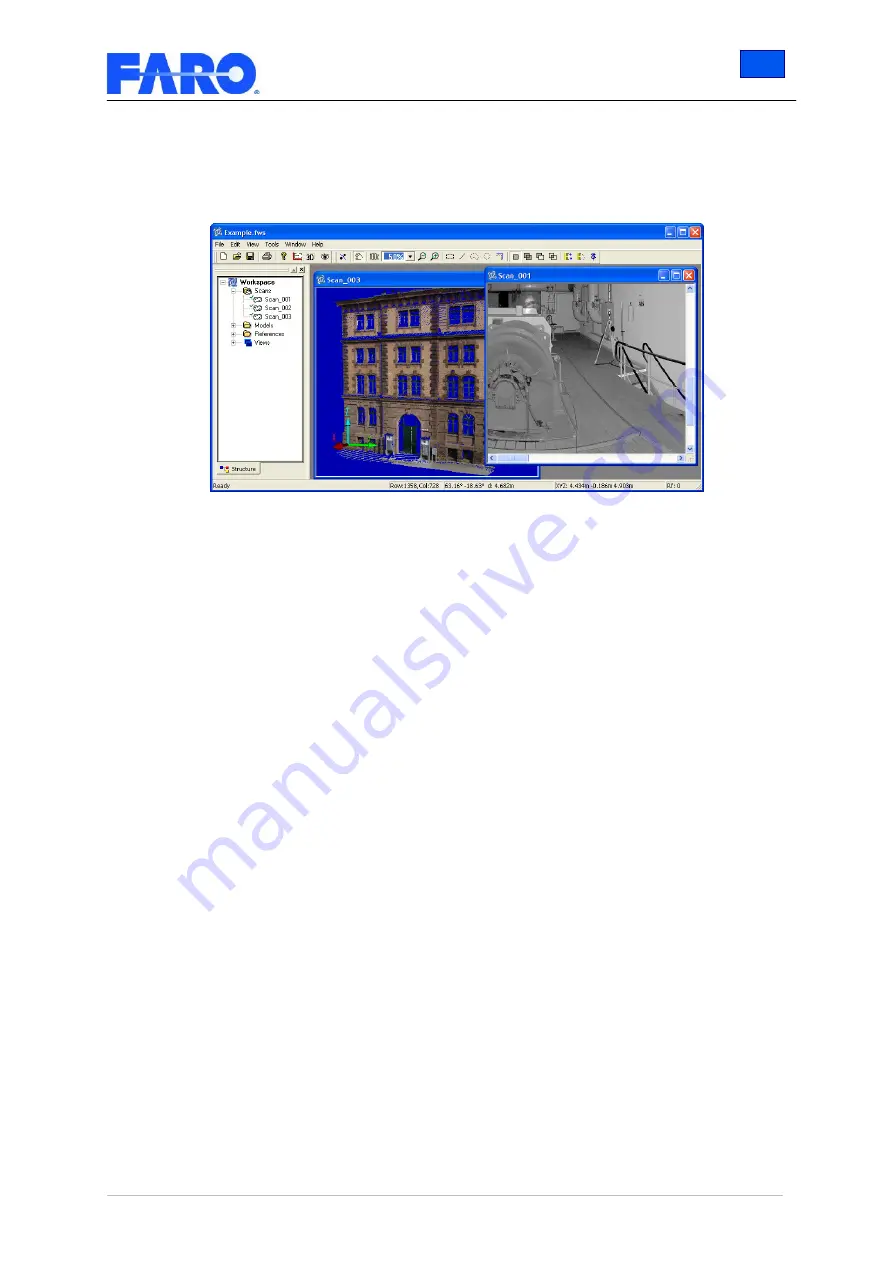
With the color option, you can take scans in which each scan point has not only its 3D
information, but also color value associated with it.
Fig.38
Scans with color
This is done by combining the ordinary scanner with a digital camera. The digital
camera is hooked onto the scanner and controlled by the scanner software. When a
color scan is taken, the scanner first performs a normal scan and determines a
balanced exposure setting. Finally in another turn the digital pictures are taken.
7.1 Initial Setup of the camera
Before you can use the digital camera, you have to ready the camera. Have a look at
the Nikon D200 quick start guide and perform the following steps:
•
Charge the battery.
•
Insert
the
battery.
•
Choose a language and set the clock.
•
Attach the lens (AF Fisheye Nikkor 10.5mm 1:2.8G lens).
•
Insert the memory card.
•
Format the memory card.
Be sure to do this at least 2 hours before you want to use the camera, as charging an
exhausted battery takes some time.
7.2 Setup before scanning
The first time you want to use the camera for scanning, you have to change certain
settings of the camera. It is recommended to check these settings each time before you
use the camera again.
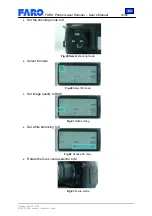
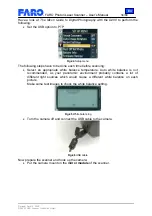
Please have a look at the
Nikon D200 Quick Start Guide
to see how to perform the
following steps:

