7
4)
SET UP THE DISPENSER
1. Power on the main switch at the back.
2. The color master application will start automatically.
Notice:
If it does not start automatically, make sure that the tablet power
cable is plugged in
INSTALLATION FOR THE DISPENSER (CONT.)
5)
INITIAL INSTALLATION OF CANISTERS
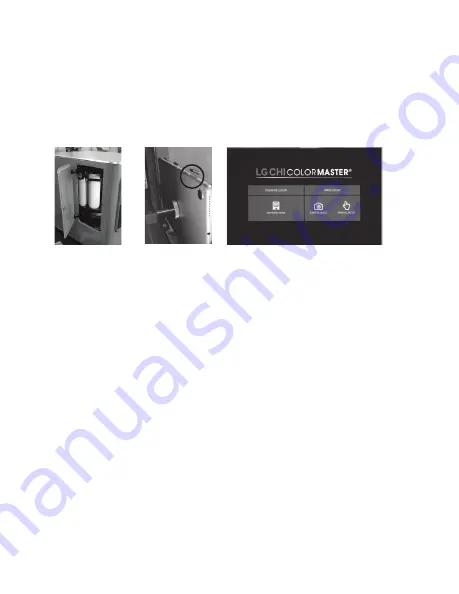
1. In the COLOR MASTER application, go to
MANAGEMENT
tab
2. Select
REPLACE
to install canister
*The selected canister will move to the left side door
3. Open the left side door and pull the canister mounting handle out then
lift up
4. Match the nozzle to the slot in the canister holder and insert canister
(see picture 4)
5. Pull down and push in the canister mounting handle
6. Close the door and select
YES
that the canister has been replaced
7. Repeat steps 2-6 for all 12 canisters
8. Select
CALIBRATION
once all canisters have been installed
*Calibration tab will be flashing
9. In the calibration window, all of the canisters should be automatically
check marked. If not, select the
ALL
checkbox.
Select
START
to begin cleaning.
10. Select
OK
once cleaning is completed
NOTICE:
Do not use a clear or transparent bowl for cleaning. If a bowl is not on the scale,
a prompt will appear.
WARNING
:
For safety reasons, rotation will not take place with an open door.
Close the door after each replacement/new position.
Do not shake the machine or the dispenser may be damaged while calibrating.
3.
4.
English


