III. ENGINE REPAIR
18
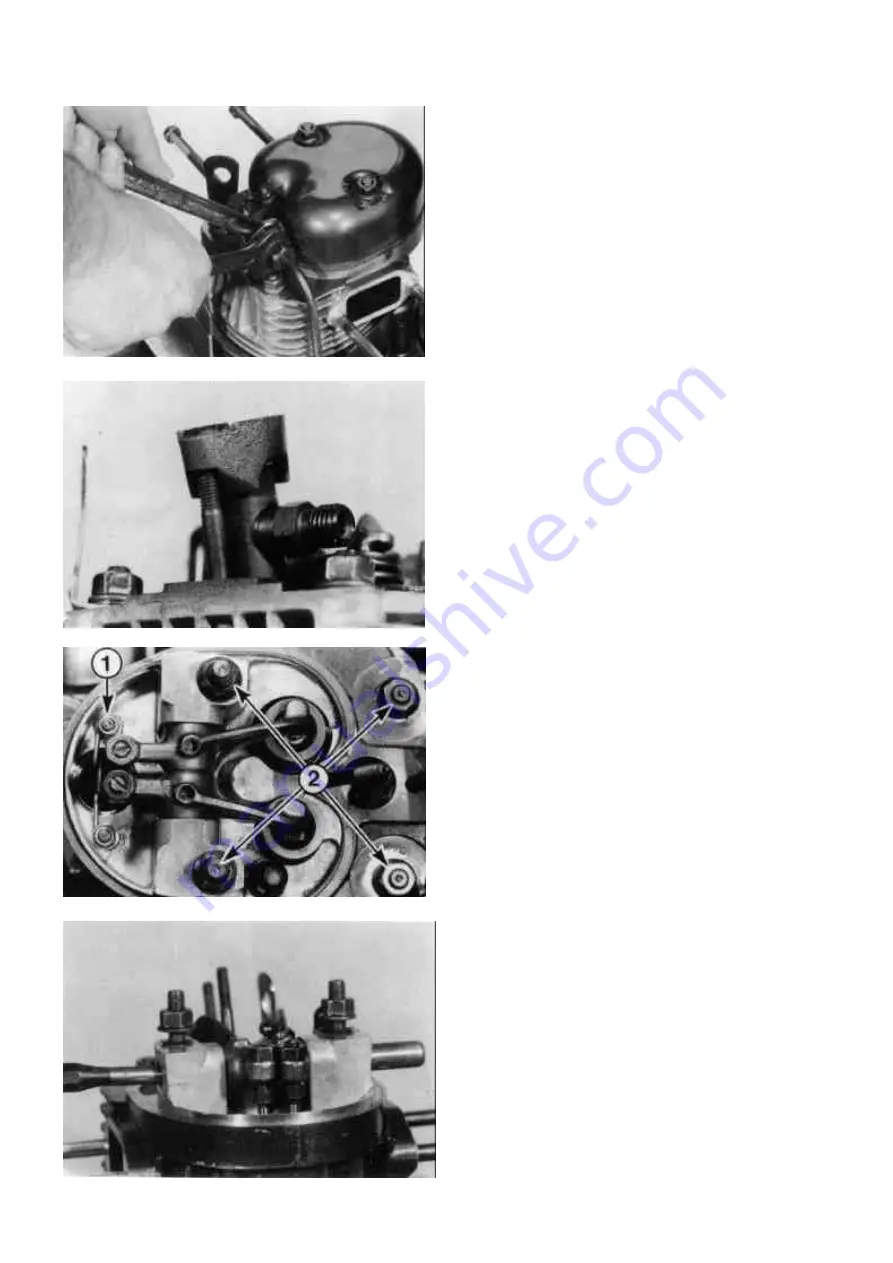
Loosen the high pressure line at the injector
in the same way.
(Figure 8)
9. Fuel injector
Remove the two hex nuts and their
lockwashers from thr injector clamp. and pull
out the injector. If the injector sticks in the
hand, use a soft faced hammer and tap
slightly on the injector. Do not use too much
force, as this may damage the injector.
Attention: Undder the injector a special
packing washer is located which must
also be removed.
10. Cylinder head
Remove the two locknuts and washers (1)
holding the protection tubr retaining spring.
Next loosen the four cylinder head nuts (2).
(Figure 10)
Drive out the rocker arm bolt with a drift pin
and a hammer. Remove the rocker arms and
push rods.(Figure 11)
Summary of Contents for 15D Series
Page 8: ...III 1 DISASSEMBLY 10...
Page 9: ...II TECHNICAL DATA 11...
Page 15: ......
Page 27: ...III ENGINE REPAIR 28 III 2 DIMENSION TABLE WEARING PARTS...
Page 28: ...III ENGINE REPAIR 29...
Page 29: ...III ENGINE REPAIR 30...
Page 30: ...III ENGINE REPAIR 31...
Page 31: ...III ENGINE REPAIR 32...
Page 32: ...III ENGINE REPAIR 33...
Page 33: ...III ENGINE REPAIR 34...
Page 34: ...III ENGINE REPAIR 35...
Page 35: ...III ENGINE REPAIR 36...
Page 36: ...III ENGINE REPAIR 37...
Page 37: ...III ENGINE REPAIR 38...
Page 38: ...III ENGINE REPAIR 39...
Page 39: ...III ENGINE REPAIR 40...
Page 40: ...III ENGINE REPAIR 41...
Page 41: ...III ENGINE REPAIR 42 III 3 ENGINE REASSEMBLY...
Page 73: ...74...
Page 74: ...75...
Page 75: ...76...
Page 76: ...77...


