MONTAGE
25
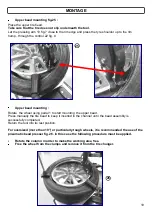
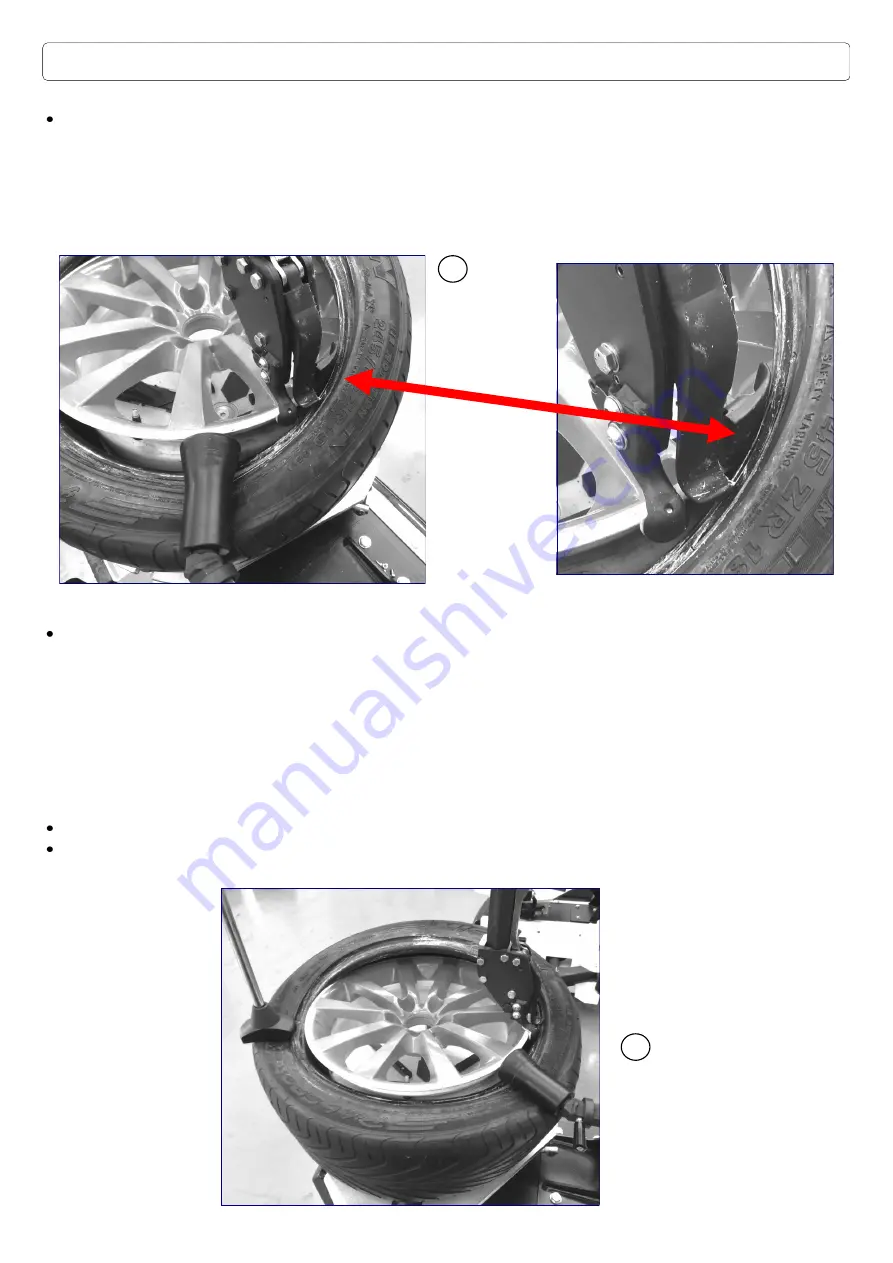
Upper bead mounting fig.25 :
Place the upper tire bead.
Take care that the tire does not slip underneath the tool.
Let the pressing arm 19 fig.7 close to the rim edge and press the tyre shoulder up to the rim
hump, through the control 22 fig. 8.
Upper bead mounting :
Rotate the wheel using pedal 1 to start mounting the upper bead.
Press manually the tire bead to keep it inserted in the channel until the bead assembly is
successfully completed.
Return the tool into its rest position.
For oversized (more than 19”) or particularly tough wheels, it is recommended the use of the
pneumatic bead presser fig. 26. In this case the following procedure must be applied.
Rotate the column in order to make the working area free.
Free the wheel from the clamps and remove it from the tire changer.
19
26
Summary of Contents for RASE.TOP.2248
Page 13: ...DECALCOMANIE 13 9 10 1 2 3 4 9 23 8 5 6 10 11 12 13 18 14 15 16 17 17 19 20 21 22 7...
Page 38: ...LABELS 13 9 10 1 2 3 4 9 23 8 5 6 10 11 12 13 18 14 15 16 17 17 19 20 21 22 7...
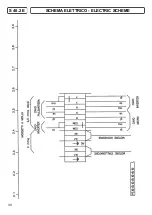
Page 52: ...SCHEMA ELETTRICO ELECTRIC SCHEME 27 S 40 2 P...
Page 53: ...28 SCHEMA ELETTRICO ELECTRIC SCHEME S 40 2 P...
Page 54: ...SCHEMA ELETTRICO ELECTRIC SCHEME S 40 2 E 29...


