21
SMONTAGGIO
-
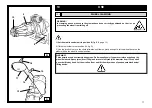
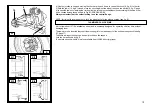
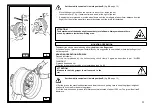
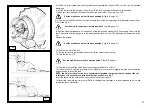
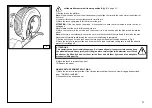
Insert the lever (17, fig. I) between rim and bead, at the right of the tool.
- Keeping the lever pressed, move the wheel down until the rim edge is at about 5mm. distance from the
finger tool
- Let the wheel rotate counterclockwise, keeping the lever pressed, until the bead is fully detached.
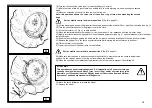
- Move the tool arm to rest position, then bring it to the inner side of the wheel.
-
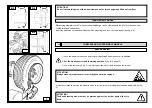
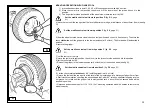
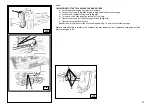
turn the finger tool by 180°, insert it between rim and bead (see fig. L) and move it until the bead gets
close to the rim front edge (it is recommended to perform this operation while rotating the wheel)
move the rim from tool of about 4-5 cm. as to prevent the tool from releasing the bead.
Tubeless tyres can be removed in two different ways:
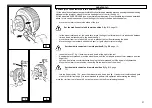
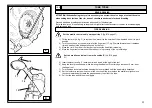
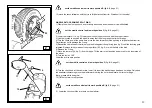
1) If the wheel doesn’t present any particular difficulty, after bead breaking proceed pushing the bead breaking
disk against the tyre inner side until the two beads get out of the rim (see fig. H).
2) if the wheel is a SUPERSINGLE type, or particularly hard anyway, it is not possible to proceed as described
above. In this case it is necessary to use the finger tool and proceed as described below:
- move the tool arm to the outside plane of the tyre
-
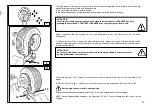
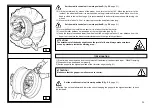
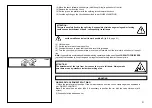
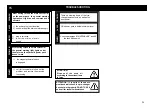
let the wheel rotate and, at the same time, move the finger tool forward until it is introduced between
rim and bead, well anchored to the bead (see fig. I)
- move the rim from tool of about 4-5 cm. as to prevent the tool from releasing the bead.
-
Move the finger tool outward until the red spot in it gets close to rim outer edge.
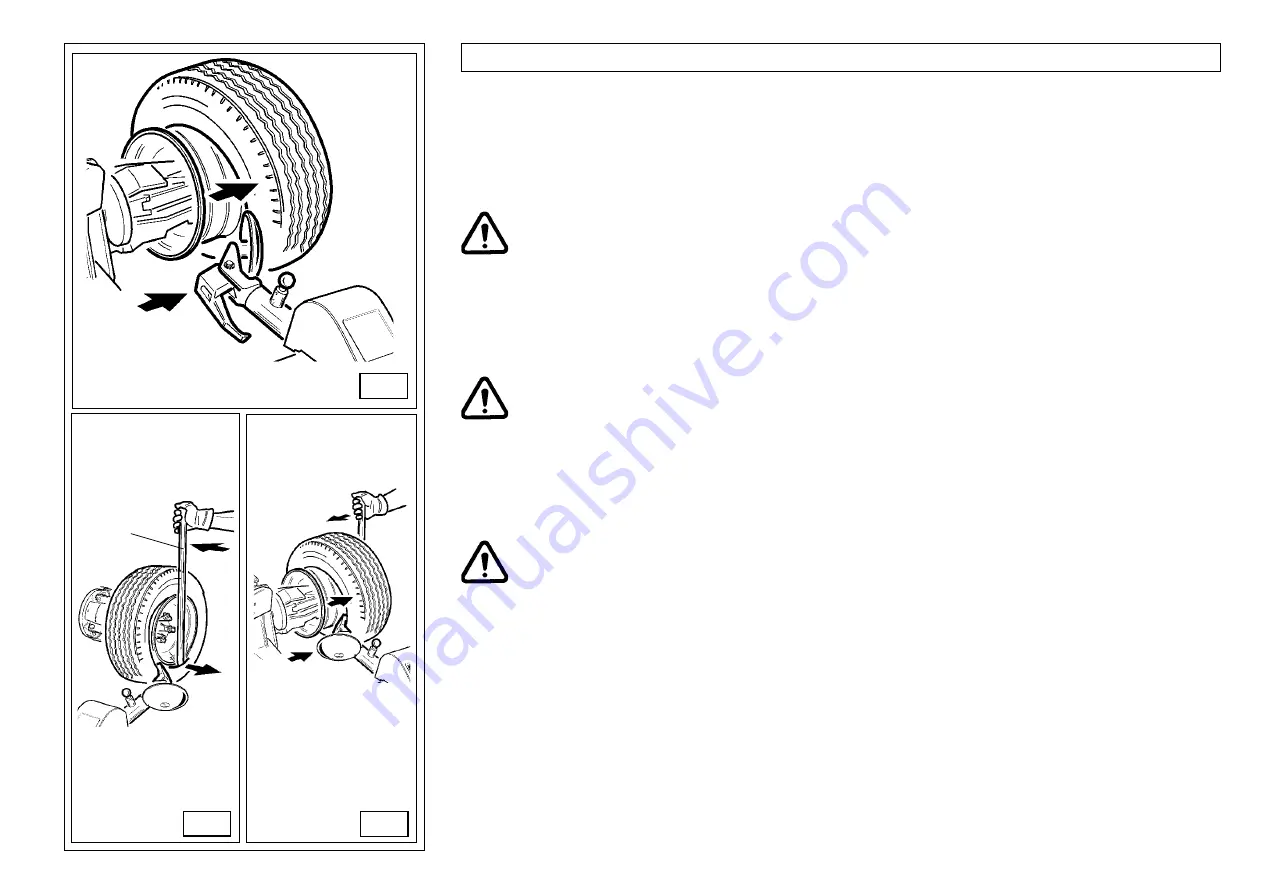
Set the mobile control unit in work position C
(fig. B/8, page 13)
Set the mobile control unit in work position B
(fig. B/8, page 13)
Set the mobile control unit in work position D
(fig. B/8, page
13)
L
H
I
17


