25
13.3
TUBR TYRES
BEAD BREAKING
ATTENTION! When deflating the tyre it is necessary to unscrew the valve ring nut so that the valve,
when setting back inside of the rim, doesn’t constitute an obstacle for bead breaking.
Proceed with bead breaking operations as described for Tubeless tyres.
But, with tube tyres, it is necessary to stop the disk right after the detachment of the disk to avoid damaging
both valve and tube.
1)
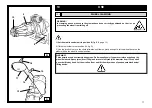
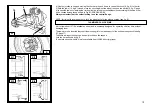
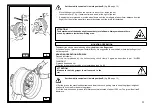
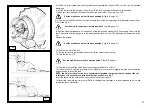
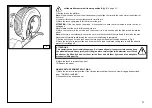
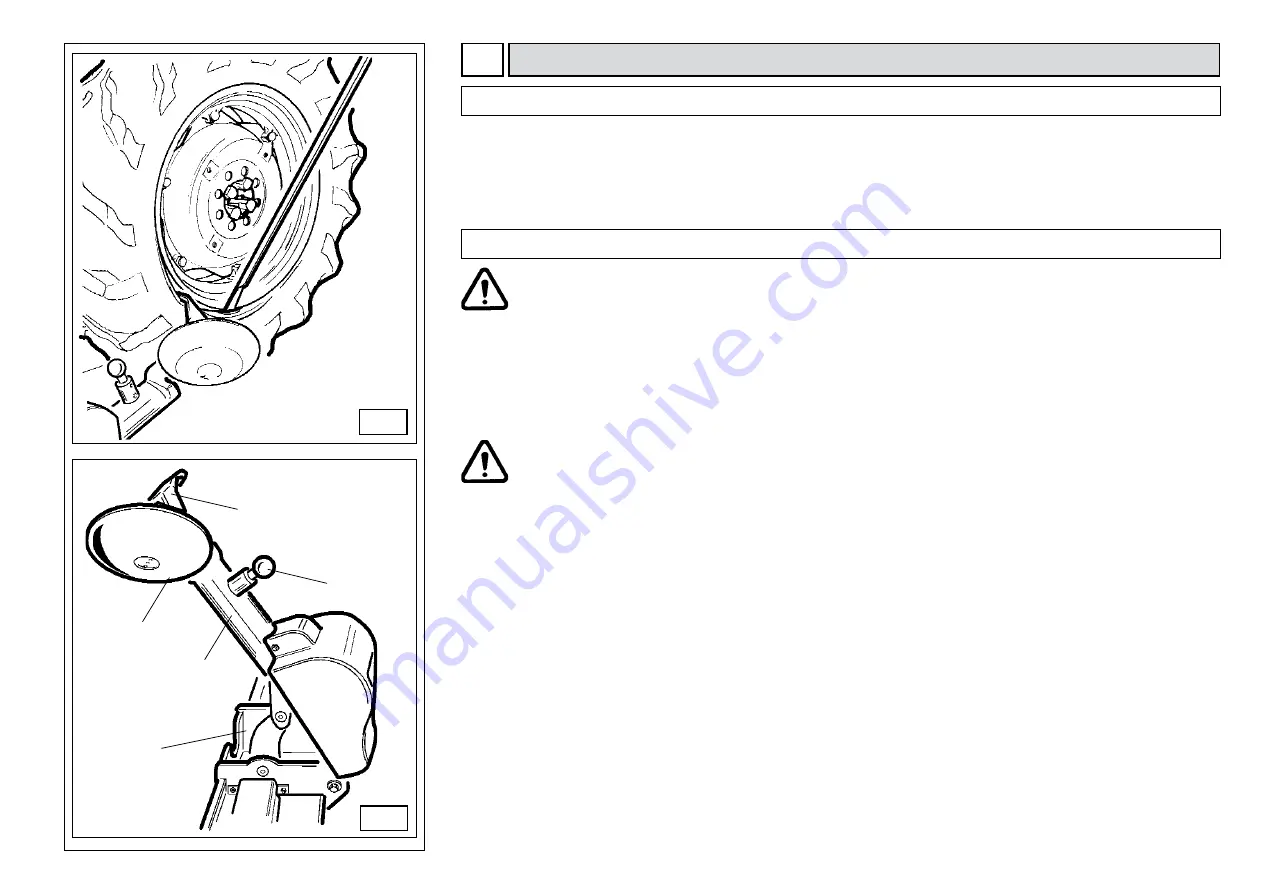
Tilt the tool arm (14, fig. D) to rest position, move it to the outside of the wheel and hook it in work
position.
2)
Turn the chuck and, at the same time, let the finger tool (17, fig. D) move forward to set it between
rim and bead until the bead gets hooked by the tool.
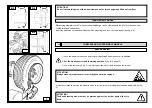
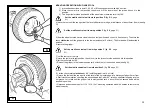
3) Move the rim 4-5 cm from tool in order to prevent the bead from releasing.
4)
Move the finger tool outwards until its red spot is in proximity of the rim outer edge
TYRE REMOVING
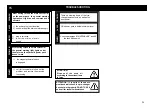
Set the mobile control unit in work position C
(fig. B/8, page 21)
5)
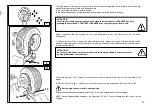
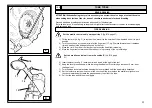
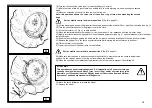
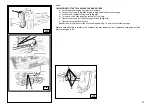
Insert the lever (see fig. P) between rim and bead, at the right of the tool.
6) Keep the lever pressed down, while lowering the wheel until the rim edge is at about 5 mm. from
the finger tool.
7) Turn the wheel counterclockwise keeping the lever pressed until the bead is fully detached.
8)
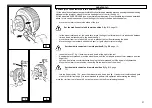
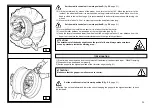
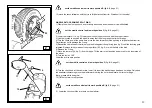
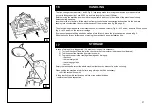
Set the tool arm in rest position. Lower the chuck until the tyre rests on the platform; slightly move
the chuck inwards as to create the gap necessary to pull out the tube.
9) Pull out the tube and lift the wheel again.
Set the mobile control unit in work position B
(fig. B/8, page
21)
D
P
18
19
17
14
13


