31
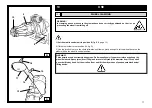
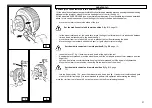
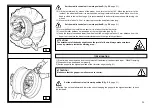
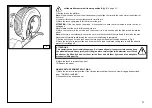
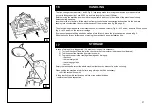
12) Move the chuck leftward until the tyre (with the split ring) is pulled out of the rim
13) Remove the rim from the chuck
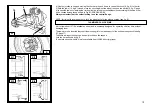
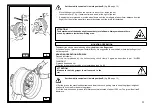
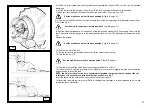
14) Set the tyre on the platform with the split ring turned toward the chuck
15) Lock the split ring on the chuck as described in par. WHEEL CLAMPING
ATTENTION:
The tyre is unsafely fixed to the split ring. Any possible strain during moving and/or locking
could cause a detachment of it and, consequently, its fall down.
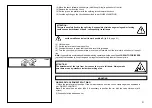
set the mobile control unit in work position D
(fig. B/8, page 21)
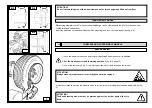
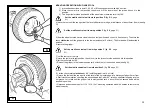
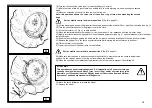
16) Lift the wheel
17) Set the tool arm back to work position
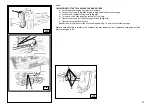
18) Position the chuck in a way that the disk is level with tyre bead
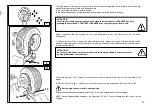
19) Turn the chuck and, at the same time, move the disk forward until the tyre is fully pulled out of the split
ring
Note:
it is possible to avoid this double bead breaking operation with the use of item
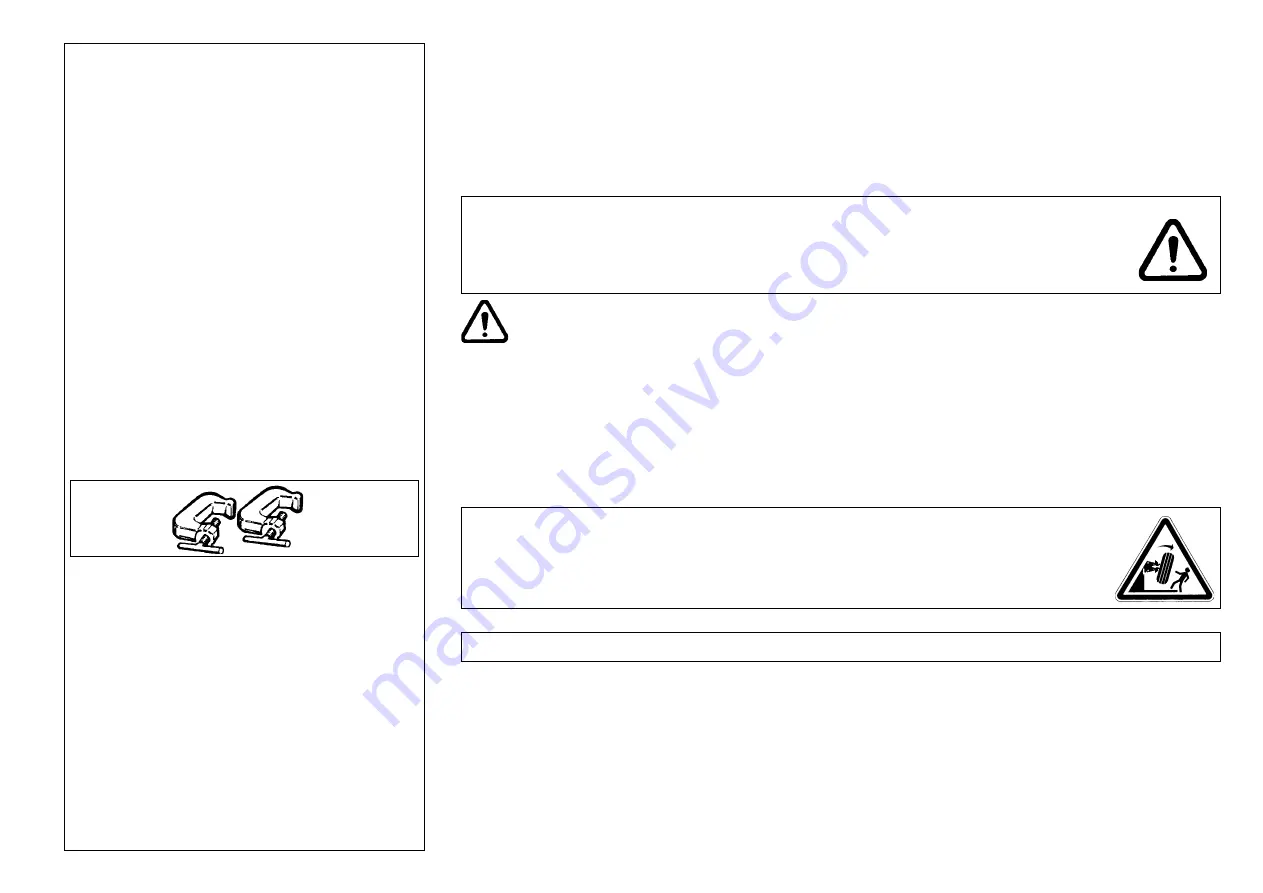
136/90 KIT OF GRIPPERS
(optional) that enables to fix split ring and rim together so detaching them at the same time.
ATTENTION!
The detachment of the tyre from rim causes the tyre to fall down. Always make
sure there are no by-standers inside the working area.
MOUNTING
WHEELS WITH 3-SEGMENT SPLIT RING
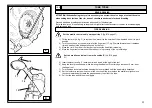
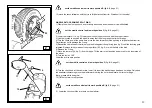
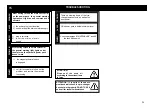
1) Move the tool arm to rest position. If the rim was removed from the chuck, clamp it again as described in
par. “WHEEL CLAMPING”
Note
: If the wheel has an inner tube it is necessary to position the rim with the valve slot down (at 6
o’clock)
2) Grease both tyre beads and rim.
1
36/90

