SS WSC21
5
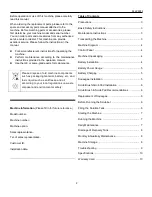
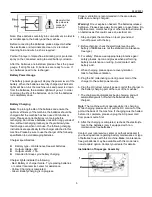
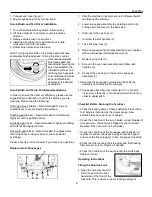
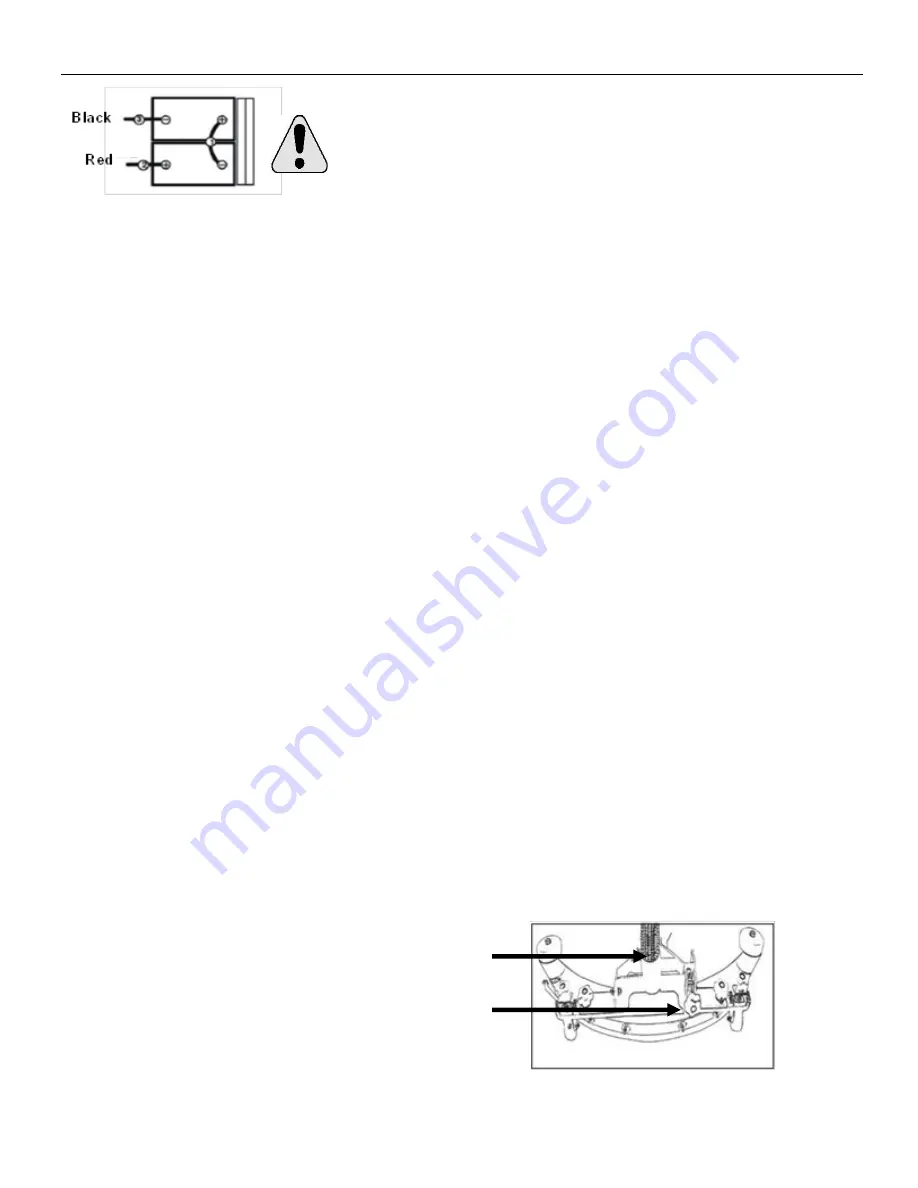
Note: Place batteries carefully into compartment in order to
avoid damage to the battery and the machine.
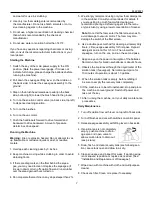
Before connecting the batteries, please inspect whether
the electrodes and terminals are clean. Use terminal
cleaning fluid and wire brush as required.
Paint a thin layer of metal-free lubricating oil or protective
spray on the connected wiring to avoid battery corrosion.
After the batteries are installed, please check the power
gauge. If all lights are lit, batteries are ready for use. If
not, batteries need to be recharged.
Battery Power Gauge
The battery power gauge will display the power level of the
battery. When the batteries are fully charged, all indicator
lights will be on. As the machine runs and power is drawn
from the batteries, the indicator lights will go out. In order
to prolong the life of the batteries, do not let the batteries
run completely down.
Battery Charging
Note:
To prolong the life of the batteries and ensure the
optimum efficiency of the machine, the batteries should be
charged after the machine has been used 30 minutes or
more. Please do not let batteries run too low before
recharging. Do not leave batteries unused for long periods of
time, without recharging routinely, as they will slowly lose
their charge even when not in use. The following charging
instructions are specifically for the charger attached to this
machine. Please be sure to use the charger of the following
specification to avoid damaging batteries.
Charger specifications:
Battery type
– maintenance free wet batteries
Output voltage - 24V
Output current - 15A
Intended for deep cycle battery charging
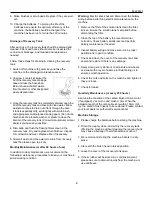
Charger lights indicate the following:
- Red: Battery or charger failure. Try replacing batteries
or contact local service center for assistance.
- Yellow: Charging is completed.
- Green: Battery charging is in progress.
Proper ventilation is recommended in the area where
batteries are being charged.
Warning!
Fire or explosion hazard. The batteries release
hydrogen. Please keep away from spark or open flame. Do
not place tools, metal shavings or other metal instruments
on batteries as this could cause an electrical arc.
1. Stop and park the machine on level ground and
turn off power with the key.
2. Before charging, check the electrolyte level in each
battery (if batteries are not the standard maintenance-
free type).
3.
For safety: Please wear appropriate protective gear:
safety glasses, apron and gloves when performing
battery maintenance or wiring. Avoid contact with
battery acid.
4. When charging, please open recovery/solution
tank to facilitate ventilation.
5. Plug the AC (alternating current) power cord of the
charger to the outlet/power source.
6. Plug the DC (direct current) power cord of the charger to
the battery charging port at the rear of the machine.
7. The charger will automatically begin charging, and will
automatically switch off when the batteries are fully
charged.
Note:
The machine will not operate while it is charging.
While charging, please do not pull the DC cord out of the
port at the back of the machine. If charging must be halted
before it is complete, please unplug the AC power cord
from power source first.
8. After the charging is completed, recheck the electrolyte
level in the batteries (only if equipped with non-
maintenance-free batteries).
Contact your local service center or authorized dealer if
you have questions regarding battery maintenance or type
of batteries to use with this machine.
Note:
maintenance-
free gel batteries may be available with this model as a
non-standard option. Contact your dealer for details.
Installation of Squeegee Assembly
1
2
Be careful that
the poles are
connected
properly!


