SS WSC21
6
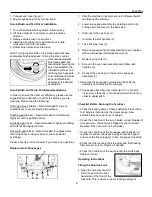
1. Connect vac hose into port.
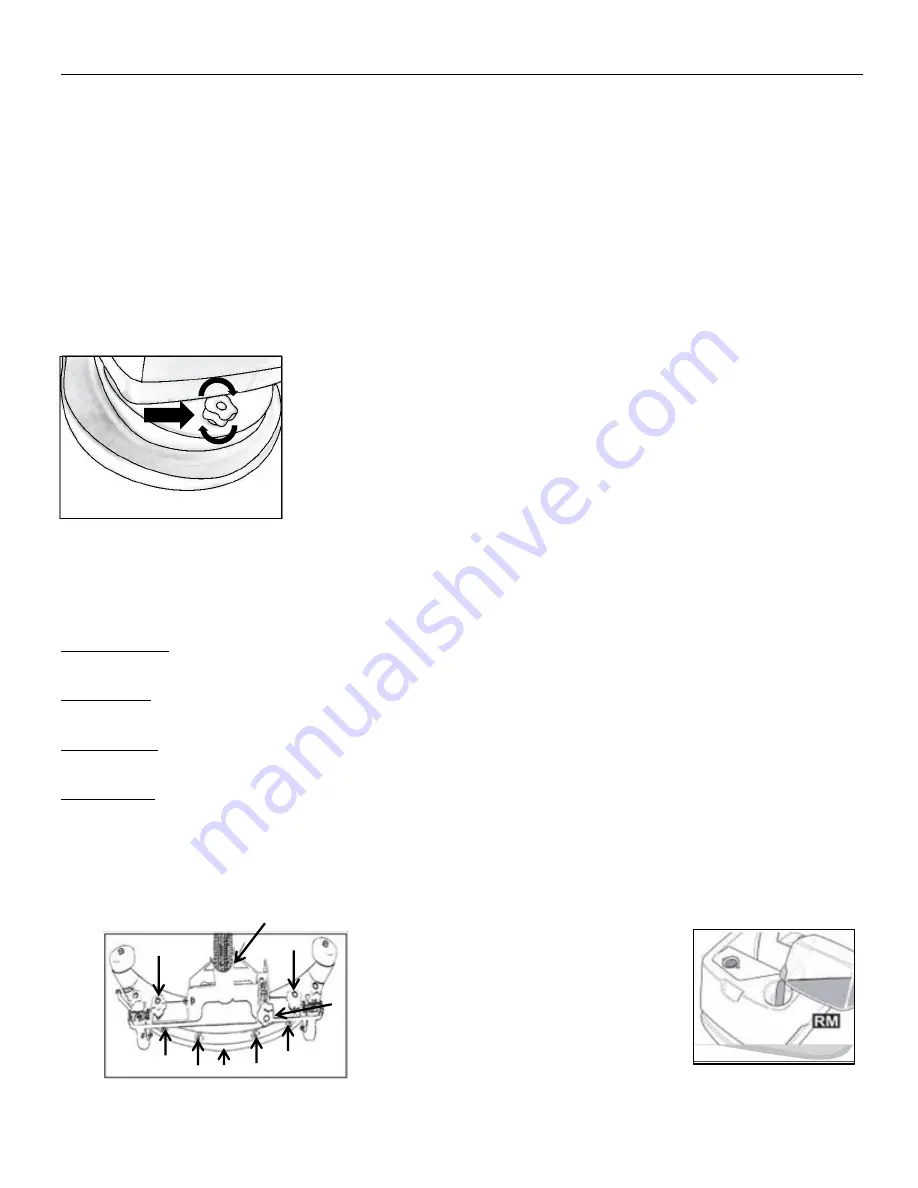
2. Adjust squeegee pitch by turning knob.
Scrub Brush and Pad Driver Installation
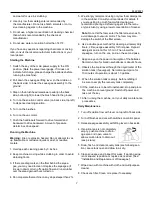
1. Turn off machine with key switch. Remove key.
2. Lift brush plate 45° and rotate counterclockwise
direction.
3. Remove scrub brush or pad driver.
4. Install new scrub brush or pad driver and rotate
clockwise until it fits into place.
5. Rotate brush plate back into place.
Note: Turning the star knob on the brush head clockwise
accelerates brush/pad speed. Turning the knob counter-
clockwise decelerates
brush/pad speed. We
recommend lowering the
brush speed before the
installation process and
returning brush speed to
normal afterward. Adjust
knob until brush/pad
operates at the desired
speed/pitch.
Scrub Brush and Scrub Pad Recommendations
In order to ensure the optimum efficiency, please use the
suggested type of brush or pad for the surface you are
cleaning. Please read the following:
Soft nylon brush (white)
– Recommended for use on
coated floors to avoid abrading the surface.
Polishing pad (white)
– Recommended for maintaining
highly smooth or polished floors.
Scrubbing pad (red)
– Recommended for lightly scrubbing
dirt without damaging the floor.
Grit scrub pad (black) - Recommended for aggressively
removing heavy buildup or base or super-powerful
scrubbing.
Please consult your local dealer if you have any questions.
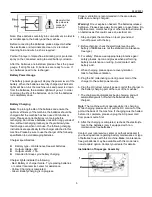
Replacement of Squeegee
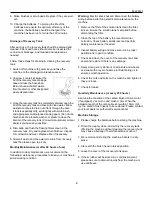
1. Park the machine on level ground, turn off power switch
and take out the start key.
2. Lower squeegee assembly to operating position by
pulling down the lever on the back side.
3. Disconnect the vac hose (1).
4. Unscrew the star handles (2).
5. Take out wing nuts (3).
6. Remove squeegee from bracket and flip over or replace
with new squeegee if all edges are worn (4).
7. Replace wing nuts (3).
8. Screw in the vac hose assembly and tighten star
handles (2).
9. Connect the vac hose to the port on squeegee
assembly (1).
10. Examine the squeegee and adjust so that it fits the
assembly and meets the floor properly
11. Squeegee assembly may rotate up to 5° in order to
clean more efficiently. Turn the adjustment knob (5) in
order to adjust pitch.
Checklist Before Running the Scrubber
□ Check the battery power. Charge batteries if less than a
full charge is indicated by the power gauge. New
batteries take about 6 hours to charge.
□ Check the condition of the scrub brush or pad. Replace if
they are worn. (Pads may be flipped over and reused.
Replace if they are worn on both sides.)
□ Check the condition of the squeegee and reposition or
replace if needed. (Squeegee edge should be square
and meet the floor properly). Clean squeegee if needed.
□ Check that the recovery tank is empty and that floating
filter screen is clean. Replace if needed.
□ Check the condition of the skirt around the scrub deck.
Replace if worn.
Operating Instructions
Filling the Solution Tank
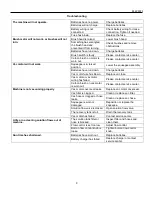
1. Open the recovery tank lid.
Note the port on the right
hand side of the front of the
machine. This is where to pour cleaning detergent
1
2
2
3
3
3
3
5
4


