For more product information visit |
www.FatShark.com
| All Rights Reserved
Common tools
• Allen/Hex wrenches
• Socket wrenches
• Solder
• Soldering iron
• Sponge
• Zip ties
Binding
In the event the Shark Quad needs to be bound (connected) to
the radio, follow the steps below. The Shark quad can also be
bound to any Fly Sky Compatible transmitter.
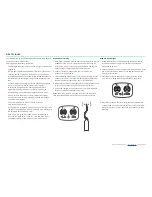
1.
Turn on the radio. The LED on the radio will turn green to
indicate that the radio is on.
2.
While holding down the BIND button on the quadcopter, plug
it in. A red LED on the shark’s heart will blink rhythmically. This
means that the aircraft is in binding mode.
3.
Ensuring that the radio is already on, hold down the power button
for 10-15 seconds until the green LED starts to blink quickly. That
puts the radio in binding mode.
4.
With both units in binding mode, the systems should
automatically pair within seconds. The heartbeat of the shark
will change pattern to reflect this, but be advised: it may
happen quickly.
5.
No other indication will show that the radio and quadcopter
are bound. To test the bind, power off the entire system then
turn everything back on. At this point, try testing the ARM
switch on the top right corner of the radio to check to see if
the switches are configured. Flip the arm switch a few times
to see if the quadcopter blades power up. If the propellers
don’t spin up, the switches will need to be configured in
BetaFlight.
For more information on switch configuration in BetaFlight,
click here for more instructions
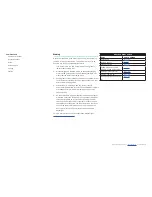
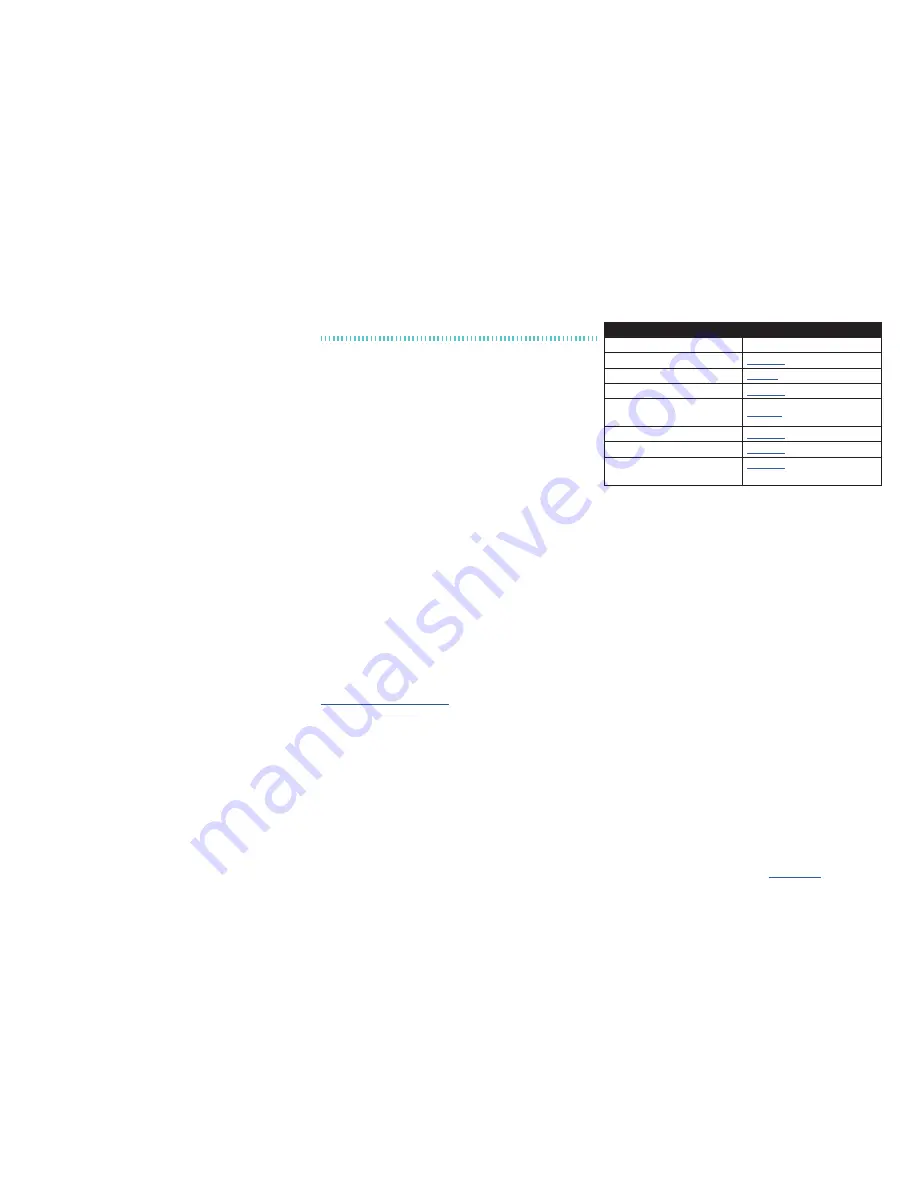
REPLACEMENT PARTS
PART
PART NUMBER
Shark Quad
FSV2703
Recon Headset
FSV1131
Fat Shark Radio
FSV2704
2s 260 mAh Shark Quad
Battery (2) and USB charger
FSV1819
Replacement Motors (4)
FSV2709
Spare Propellers (8)
FSV2706
Racing Gates and Gate Holders
(2)
FSV2705


