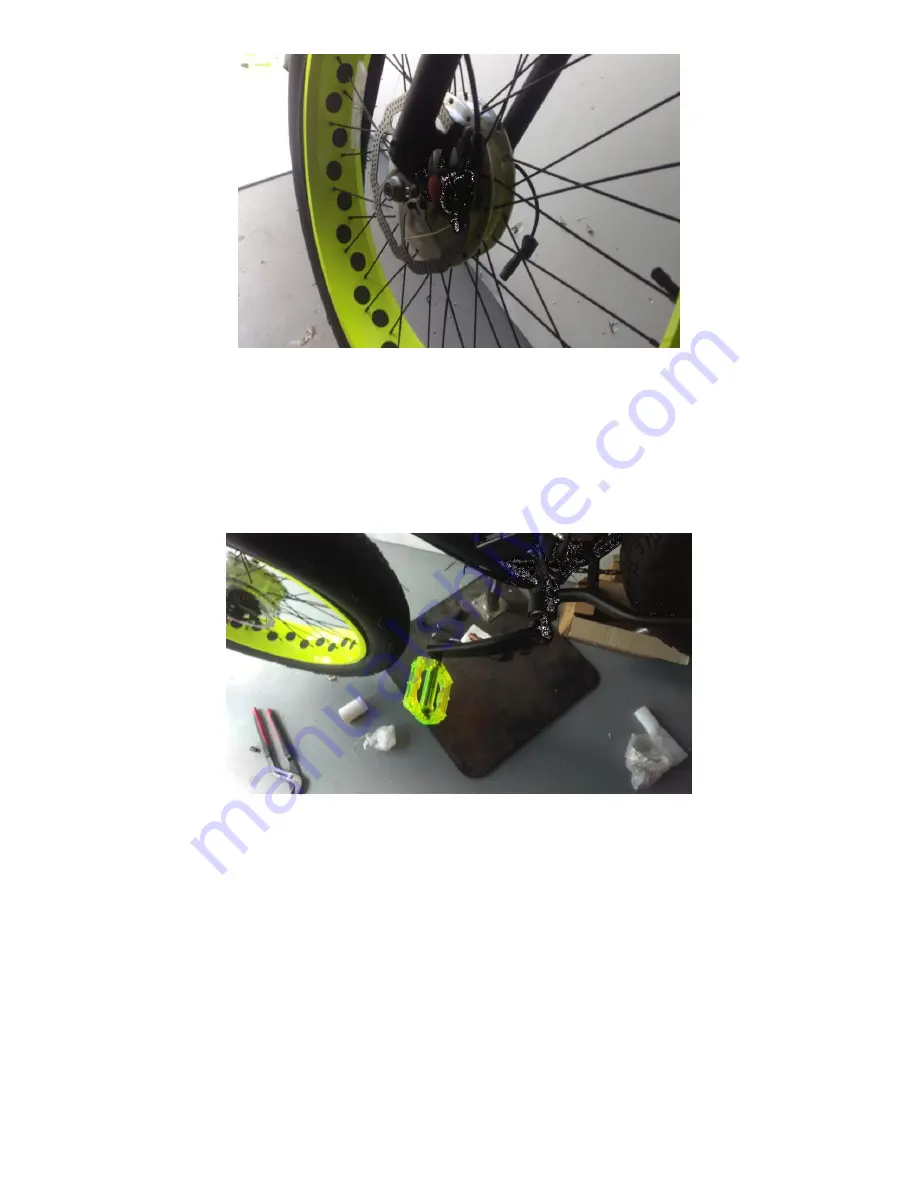
Pull the wire through the unfastened allen nut and braking system, fastening it back to
keep tension. Adjustments can be made by pulling the end of the metal wire with pliers.
14) Last but not least are your pedals which were packaged together in your component box.
Locate your pedals and find the L and R which should be marked on each individual pedal. You
put your pedals on in a forward motion, and go into the threaded holes in your crank. Start by
guiding the pedals in, it’s important not to force them on as they should go on rather easy. Hand
tighten them as much as possible, and when you can't anymore fasten them with an adjustable
wrench.
15) Now that everything is installed on your new e-bike, it’s time to tie up the loose ends. All of
your cables can be zip tied to the designated areas that run alongside the frame of your bike.
You can now inflate your tires as well, as we recommend a PSI of anywhere between 15-20.
When inflating your tires, make sure that they are set in your rim when inflating them. Check on
them every few pumps to make sure the tire itself is actually set inside of the rim. Make sure
your chain is in place as well.
16) You can now plug in the electrical components of your new e-bike. The plugs are color
coded and take note of the prongs inside of each adapter. Try to line them up as best as possible
before attaching them. These metal receptors can be damaged if they are not aligned properly.
You will see a display manual on how to set up your display in this packet. Make sure to read it
and follow the directions in order to set up your display properly.


