Step 8 -
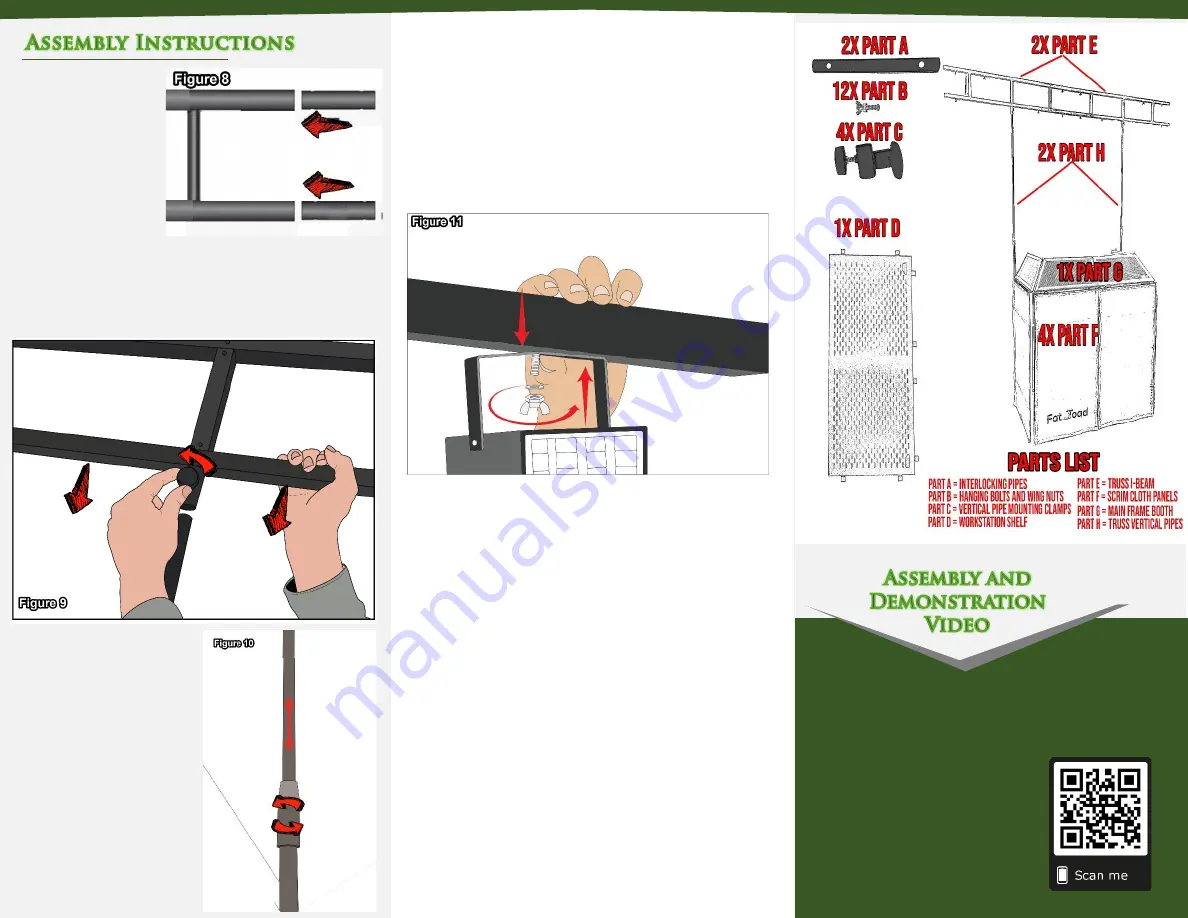
Then place
the
other
I-beam
(
PART E
) onto the
center
connectors
(
PARTS A
&
E
) and
secure the remaining
bolts, washers, nuts
and wingnuts. (
Figure
8
)
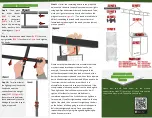
Please scan the QR Code below for the product
demonstration video. Or go to the URL shown here and find
the product video. www.FattoadPro.com/Videos
Step 9
–
Place the connected I-beam (
PART E
) onto the
upright poles (
PART H
) as shown in
Figure 9
and tighten
the knobs.
Step 11
–
Install the remaining bolts into the predrilled
holes on the I-beam in the positions you want your lights
using a phillips head screwdriver and hand wrench. Then,
place your light or accessory over the bolt and use the
wingnut to secure
(Figure 11).
The stand is rated to hold
60lbs. Overloading the stand could cause structural
failure leading to damage of the stand, your equipment,
or even yourself.
Step 10
–
To raise or lower
the lighting truss, loosen the
hand knob near the
connection of the upright
poles (
PART H
) (
Figure 10
).
Be sure to raise and lower
these poles evenly to avoid
damage to your stand, your
lights, or yourself.
Please note that hardware bolts to assemble the stand
maybe screwed into the parts themselves. So, for
example, if you are missing a bolt that goes into the
bottom base support tube, then look at the end of the
bottom base support tube and you will see that hardware
bolt is already screwed into the stand. All you need to do
is unscrew that bolt and then screw it back in to
assemble the two parts that connect on that end. If the
stand is wobbly loosen up each bolt on the stand slightly.
Then tighten up 1 bolt all the way as much as it will
tighten. After that start on the next bolt that is
completely opposite of the 1st bolt that you tightened.
For example, if you first tightened up the bolt in the top
right of the stand, then next start to tighten up the bolt
on the bottom left. Keep going in order of the opposite
bolt that you tightened up last. Once you are done,
repeat the process of going through and tightening up
the bolts one more time.


