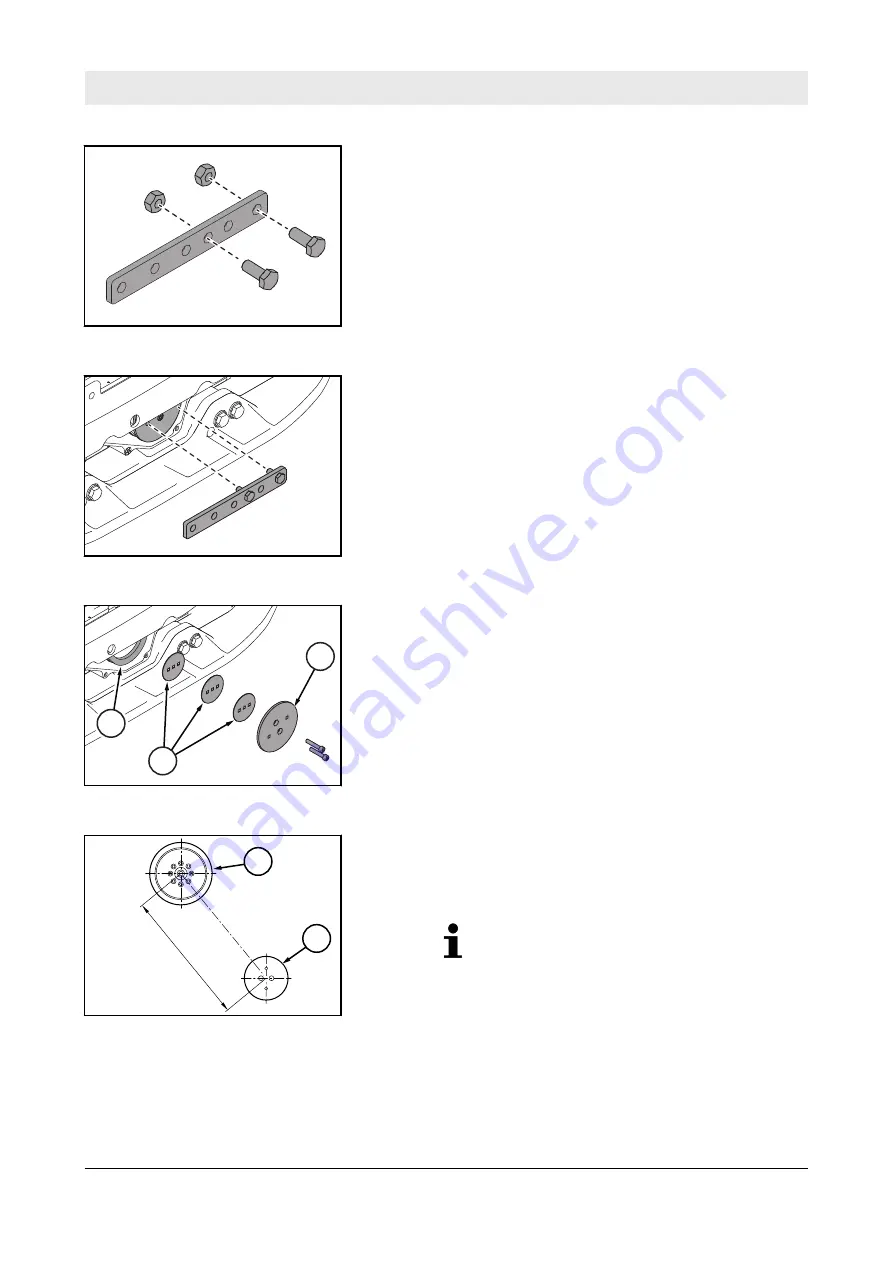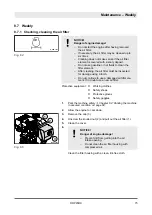
5.
Insert two M8 screws according to the required hole spacing
and tighten them with two M8 nuts.
6.
Insert the locking lever into the V-belt pulley.
7.
Unscrew the V-belt pulley (1).
8.
Replace the V-belt (3).
9.
If necessary, reassemble the spacers (2) that may have been
removed.
10.
Position the V-belt pulley and screw in the screws.
11.
Insert the locking lever into the V-belt pulley and tighten the
V-belt pulley, tightening torque: 35 Nm (26 ft
·
lbf).
12.
Check the centre distance (x) between the centrifugal clutch
(1) and the V-belt pulley (2).
ð
Nominal value:
384
±
1 mm (15.1
±
0.04 in)
If the centre distance is incorrect, contact
our customer service.
B-695-0146
Fig. 74
B-695-0137
Fig. 75
1
2
3
B-695-0137
Fig. 76
B-692-0183
x
1
2
Fig. 77
Maintenance – Annually / every 250 operating hours
DRP45DX
80
Summary of Contents for DYNAPAX DRP45DX
Page 6: ...Table of contents DRP45DX 6...
Page 7: ...1 Introduction Introduction DRP45DX 7...
Page 11: ...2 Technical data Technical data DRP45DX 11...
Page 15: ...3 Concerning your safety Concerning your safety DRP45DX 15...
Page 41: ...4 Indicators and control elements Indicators and control elements DRP45DX 41...
Page 47: ...5 Checks prior to start up Checks prior to start up DRP45DX 47...
Page 53: ...6 Operation Operation DRP45DX 53...
Page 61: ...7 Loading transporting the machine Loading transporting the machine DRP45DX 61...
Page 64: ...Loading transporting the machine Lashing the machine to the transport vehicle DRP45DX 64...
Page 65: ...8 Maintenance Maintenance DRP45DX 65...
Page 102: ...Maintenance As required DRP45DX 102...
Page 103: ...9 Troubleshooting Troubleshooting DRP45DX 103...
Page 114: ...Troubleshooting DCI faults DRP45DX 114...
Page 115: ...10 Disposal Disposal DRP45DX 115...
Page 117: ......
Page 118: ......


