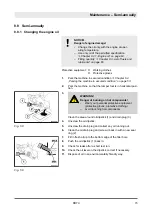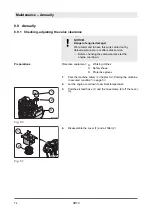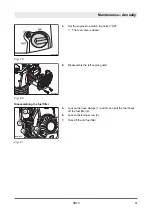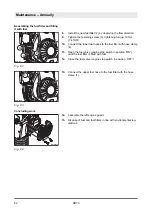
4.
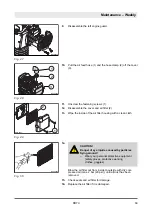
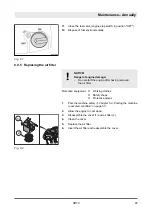
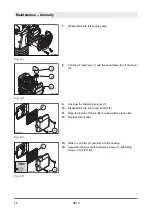
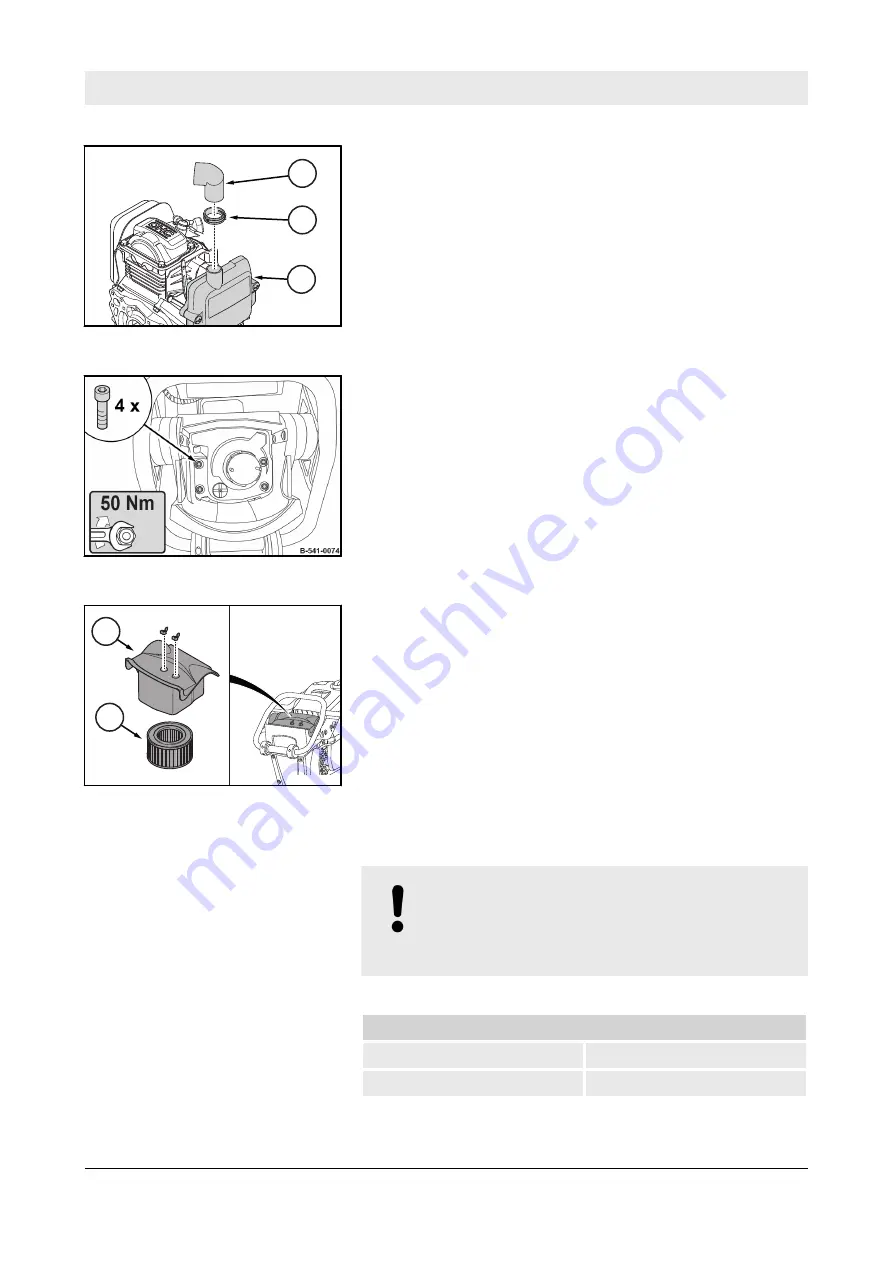
Connect the air hose (1) with the hose clamp (2) to the cover
(3).
5.
Assemble the fastening screws, tightening torque: 50 Nm
(37 ft
·
lbf).
6.
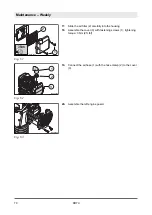
Assemble air filter (2) and cover (1).
7.
Wait another 20 minutes before starting the engine.
8.
After a short test run, check the engine for leaks.
8.9.2 Replacing the spark plug
NOTICE!
Danger of engine damage!
–
Do not use spark plugs with incorrect heat
value.
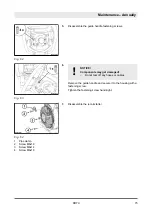
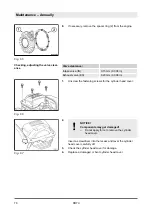
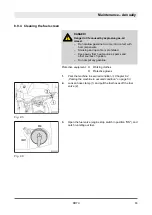
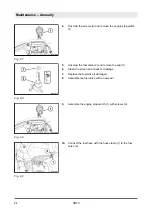
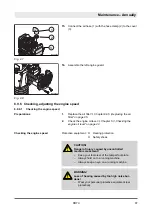
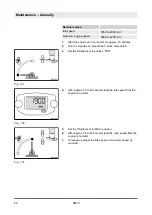
Recommended spark plugs:
NGK
CR5HSB
DENSO
U16FSR-UB
1
3
2
B-541-0072
Fig. 75
Fig. 76
2
1
B-541-0073
Fig. 77
Maintenance – Annually
DR7X
79
Summary of Contents for Dynapac DR7X
Page 2: ...2 ...
Page 6: ...Table of contents DR7X 6 ...
Page 7: ...1 Introduction Introduction DR7X 7 ...
Page 11: ...2 Technical data Technical data DR7X 11 ...
Page 15: ...3 Concerning your safety Concerning your safety DR7X 15 ...
Page 37: ...4 Indicators and control elements Indicators and control elements DR7X 37 ...
Page 39: ...5 Checks prior to start up Checks prior to start up DR7X 39 ...
Page 45: ...6 Operation Operation DR7X 45 ...
Page 56: ...Operation Operating hour meter engine rpm meter DR7X 56 ...
Page 57: ...7 Loading transporting the machine Loading transporting the machine DR7X 57 ...
Page 61: ...8 Maintenance Maintenance DR7X 61 ...
Page 96: ...Maintenance As required DR7X 96 ...
Page 97: ...9 Setting up refitting Setting up refitting DR7X 97 ...
Page 99: ...10 Troubleshooting Troubleshooting DR7X 99 ...
Page 106: ...Troubleshooting What to do if the engine has flooded DR7X 106 ...
Page 107: ...11 Disposal Disposal DR7X 107 ...
Page 109: ......
Page 110: ......

