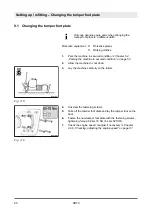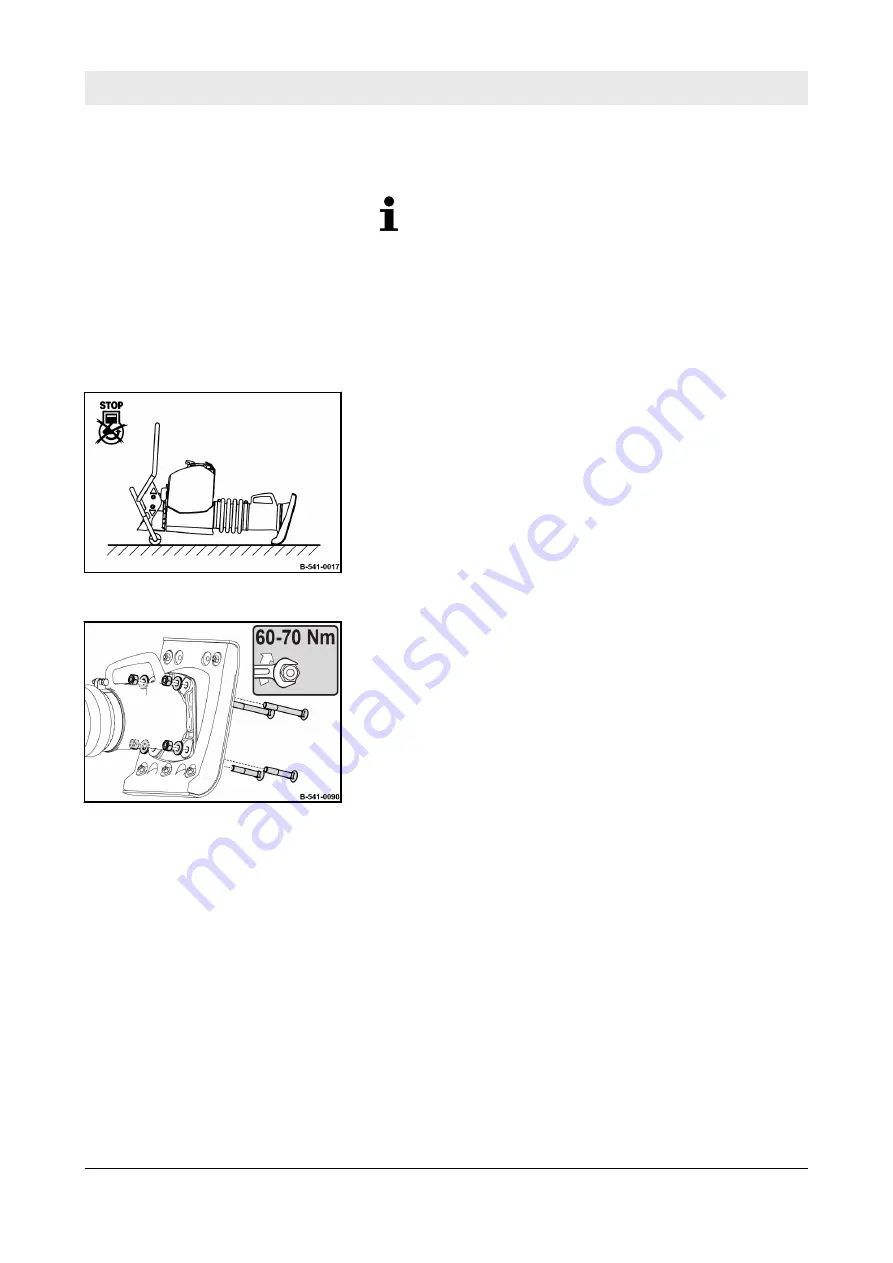
9.1 Changing the tamper foot plate
Only use genuine spare parts when changing the
tamper foot plate to a different width.
Protective equipment:
n
Protective gloves
n
Working clothes
1.
Park the machine in secured condition
„Parking the machine in secured condition“ on page 53
.
2.
Allow the machine to cool down.
3.
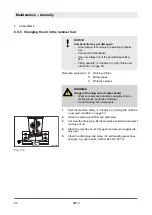
Lay the machine carefully on the rollers.
4.
Unscrew the fastening screws.
5.
Take off the tamper foot plate and lay the tamper foot on the
floor.
6.
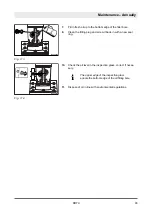
Fasten the new tamper foot plate with the fastening screws,
tightening torque: 60 bis 70 Nm (44 bis 52 ft·lbf).
7.
Check the engine speed, readjust if necessary
8.9.6 „Checking, adjusting the engine speed“ on page 87
Fig. 118
Fig. 119
Setting up / refitting – Changing the tamper foot plate
DR7X
98
Summary of Contents for Dynapac DR7X
Page 2: ...2 ...
Page 6: ...Table of contents DR7X 6 ...
Page 7: ...1 Introduction Introduction DR7X 7 ...
Page 11: ...2 Technical data Technical data DR7X 11 ...
Page 15: ...3 Concerning your safety Concerning your safety DR7X 15 ...
Page 37: ...4 Indicators and control elements Indicators and control elements DR7X 37 ...
Page 39: ...5 Checks prior to start up Checks prior to start up DR7X 39 ...
Page 45: ...6 Operation Operation DR7X 45 ...
Page 56: ...Operation Operating hour meter engine rpm meter DR7X 56 ...
Page 57: ...7 Loading transporting the machine Loading transporting the machine DR7X 57 ...
Page 61: ...8 Maintenance Maintenance DR7X 61 ...
Page 96: ...Maintenance As required DR7X 96 ...
Page 97: ...9 Setting up refitting Setting up refitting DR7X 97 ...
Page 99: ...10 Troubleshooting Troubleshooting DR7X 99 ...
Page 106: ...Troubleshooting What to do if the engine has flooded DR7X 106 ...
Page 107: ...11 Disposal Disposal DR7X 107 ...
Page 109: ......
Page 110: ......

