11
To ensure the accuracy of the detection results, please use the test
piece code in the packing box or test strip bottom for calibration of
instrument when replacing with a new test strip, and the specific operation
procedures are as follows:
Step 1: Open the test strip package and take out the new test piece code.
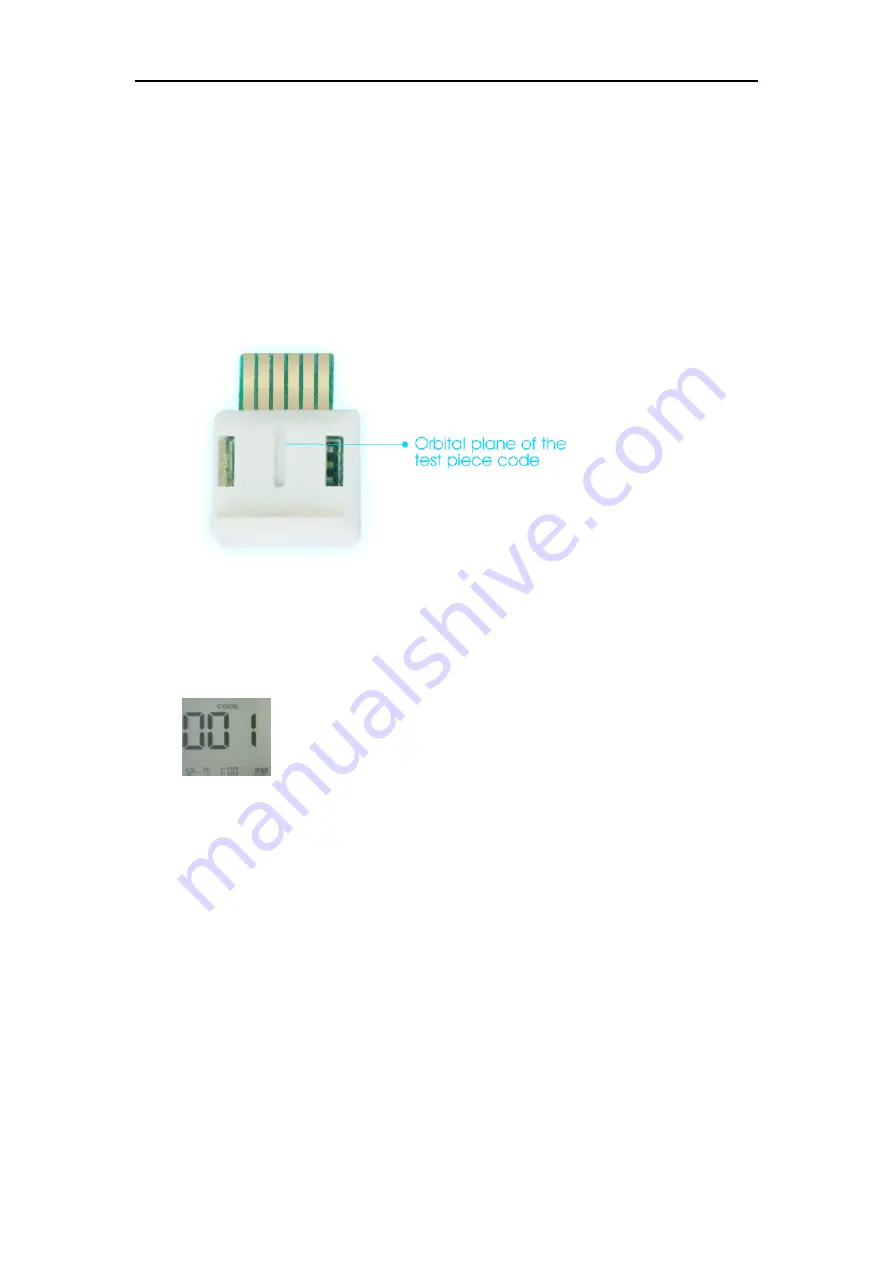
Step 2: Insert the test piece code into the test piece code jack and push to
the end. (Please face the orbital plane of the test piece code towards the back
of the Blood Glucometer, as shown below)
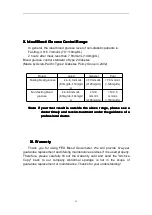
Step 3: When you hear the sound of “beep”, the screen will display the test
piece code (as shown below and the number of the test piece code should be
consistent with the test piece code number on the test piece package).
Step 4: Press the on/off key and tester will be shut down; at this time, you
can start blood glucose test.
2.4 Start the blood glucose test
After calibrating the test piece code, start the blood glucose test (if the
storage temperature of Blood Glucometer has great differences with test
environment temperature, the tester and test strip are required to maintain
balance in the test environment for over 30min).
Step 1: remove the cap of lancing pen.
Step 2: insert a new lancing needle.
Step 3: unscrew the protective cap of the needle.
Step 4: cover the cap of lancing pen back.
Step 5: adjust the lancing depth of the lancing pen according to the
thickness of skin; from
1 to 5, the pen is gradually inserted deeper and
generally 3 is chosen.
Step 6: pull the lancing stopper back (don’t use excessive force in case of


