PosiDRIVE Security Gate
ZMA-330, Ver. 6
Installing the Gate Arm •
27
6.
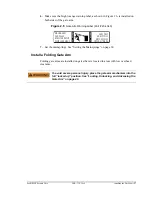
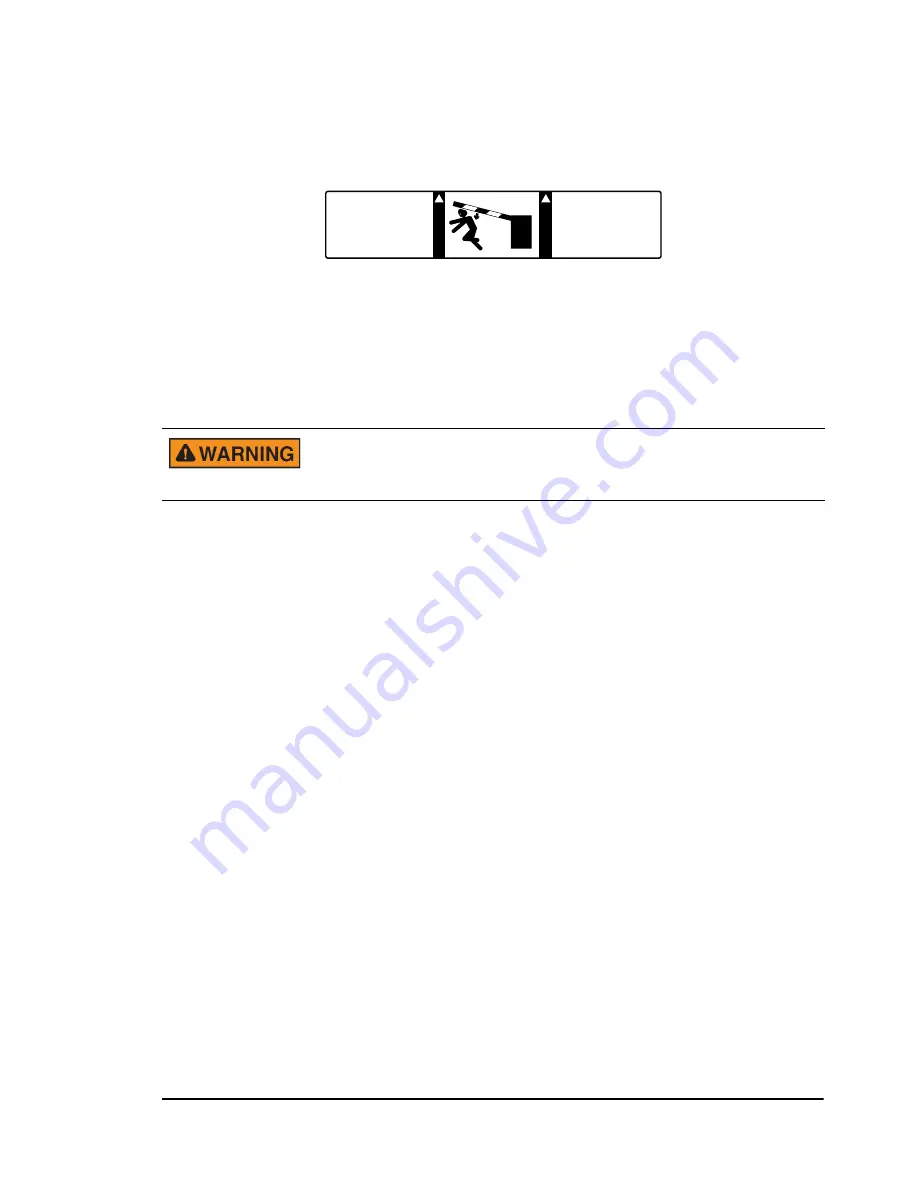
Make sure the bright orange warning label, as shown in Figure 2.6, is installed on
both sides of the gate arm.
Figure 2.6
Gate Arm Warning Label (Part # 20-4343)
7.
Set the mainsprings. See “Setting the Mainsprings” on page 38.
Install a Folding Gate Arm
Folding gate arms are installed on gates that are located in areas with low overhead
clearance.
To avoid severe personal injury, place the gate arm mechanism into the
full “locked up” position. See “Locking, Unlocking, and Advancing the
Gate Arm” on page 49.
!
W
A
R
N
I
N
G
MOVING ARM
CAN CAUSE
BODILY HARM OR
VEHICLE DAMAGE.
W
A
R
N
I
N
G
CARS ONLY:
NO BICYCLES
MOTORCYCLES
OR PEDESTRIANS.
!
Summary of Contents for PosiDRIVE
Page 1: ...PosiDRIVE Security Gate Installation Operation and Maintenance Manual ...
Page 2: ......
Page 26: ...18 Removing the Enclosure Cap ZMA 330 Ver 6 PosiDRIVE Security Gate ...
Page 64: ...56 Aligning the Drive Mechanism ZMA 330 Ver 6 PosiDRIVE Security Gate ...
Page 68: ...60 Accessing the Distributor Resource Center ZMA 330 Ver 6 PosiDRIVE Security Gate ...
Page 90: ...82 Requesting a Repair ZMA 330 Ver 6 PosiDRIVE Security Gate ...
Page 94: ...86 Index ZMA 330 Ver 6 PosiDRIVE Security Gate ...
Page 95: ......


