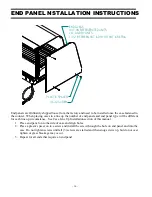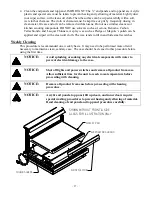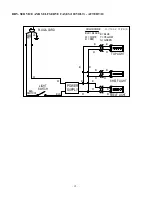
- 19 -
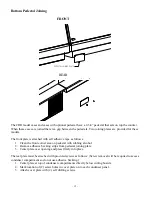
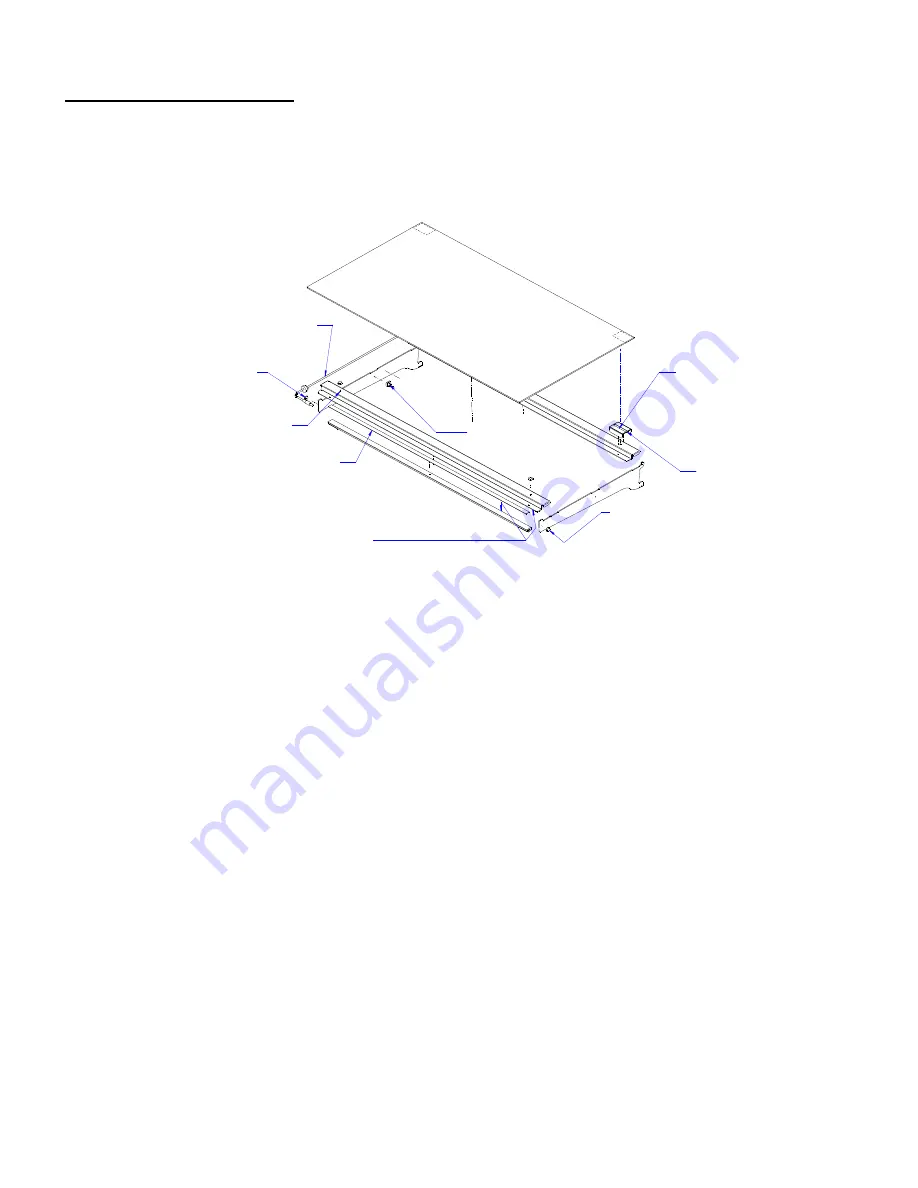
Glass Shelves Installation
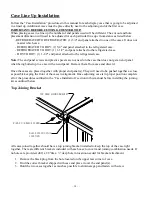
PLUG CORD INTO LIGHT & RUN LIGHT
CORD ON INSIDE OF SHELF BRACKET
& SECURE IN CORD CLIP
CLEAN ANY SURFACE AREA
THAT BUMPER OR CLIP WILL
ATTACH TO WITH ALCOHOL
PRIOR TO ATTACHMENT
CORD CLIP
(CLEAN SHELF BRACKET SURFACE
WITH RUBBING ALCOHOL PRIOR
TO APPLYING)
USE RUBBING ALCOHOL TO
CLEAN SURFACE AREAS OF
SHELF SUPPORT WHERE
BUMPERS WILL BE ATTACHED
USE RUBBING ALCOHOL TO
CLEAN SURFACES OF SHELF
SUPPORT & LED LIGHT PRIOR
TO ATTACHMENT
DOUBLE SIDED TAPE
GLASS SHELF RETAINERS (2), CLEAN
GLASS WITH RUBBING ALCOHOL
& ATTACH RETAINER ON BOTTOM,
BACK CORNER OF GLASS
(GLASS SHELF OPTION ONLY)
AFTER RETAINERS ARE ATTACHED, RETAINERS
STRADDLE REAR SHELF SUPPORT
ALIGN BACK & SIDE EDGES OF RETAINER
WITH BACK & SIDE EDGES OF GLASS PRIOR
TO ATTACHMENT
ATTACH CLEAR BUMPERS TO
BOTH OUTSIDE SURFACES OF
SHELF BRACKETS TO PROTECT
GLASS FROM DAMAGE
1.
For first time installation attach (2) glass shelf holders to each glass shelf.
Remove backing from tape located on flat side of glass shelf holder. Position the
glass shelf holders in the (2) far corners of glass. Repeat for each glass shelf.
Attach a clear bumper on both sides of the light housing top surface for the front
of the glass to set on. This step may have already been performed at the factory
for you.
NOTE: Clean area of glass where glass shelf holder is to be located with rubbing alcohol and let air
dry before installing shelf glass holder.
2.
With rear sliding doors removed, place front of glass shelf onto front shelf light.
(On front shelf support for models without shelf lights.)
3.
Let the rear of the glass shelf onto the rear shelf support so that the glass shelf
holder straddles the rear shelf support. If clear plastic clips were factory-installed
on top of rear shelf support, remove and discard clear plastic clips.
4.
Repeat steps 2 & 3 for each tier.


