background image


6


z


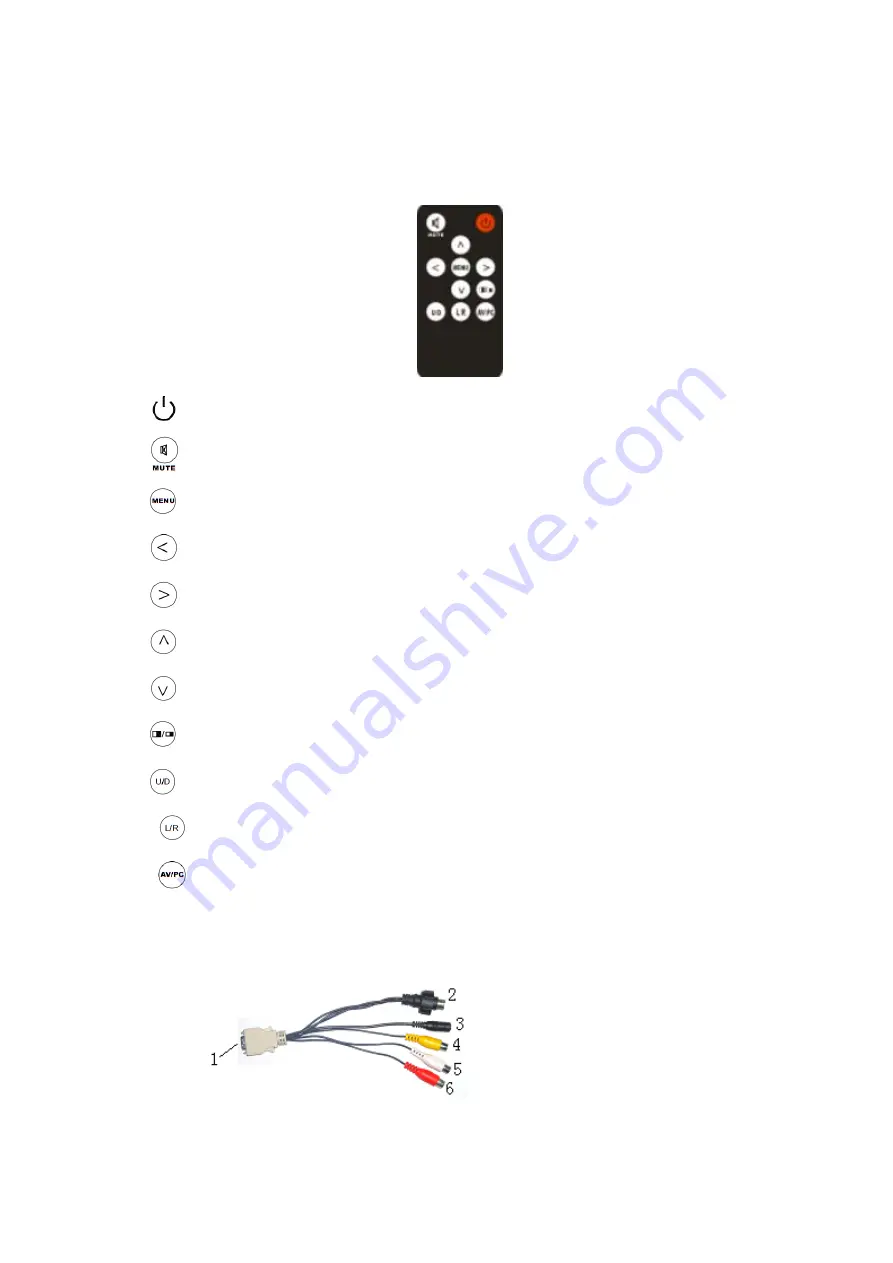
Remote controller


Picture 2 

1.

Power on/off   

2.

: MUTE 

3.

: To activate OSD menu. 

4.

: Volume down or to adjust the value of setting function 

5.

: Volume up or to adjust the value of setting function 

6.

: Selection key, to adjust the brightness directly. 

7.

: Selection key, to adjust phase directly. 

8.

: Aspect ratio switch,4

3/16:9 

9.

UP/ DOWN Switch   

10.

Right/Left Switch 

11.

A 1/AV2/ PC Switch 

V


z


Matched cable 


AV cabl

Picture 3 (

e) 

put jack of the unit 

 
1.  SKS input end connect the SKS in

Summary of Contents for FW619AHT

Page 1: ...TFT LCD COLOR MONITOR Manual of operation 1 ...

Page 2: ...ng We hope that you will have the enjoyment of your new mini color TFT LCD To ensure the best use of the un is handbook carefully beforehand it please read th CAUTION 1 Please use the adapter attached in the accessory 2 Do not expose this product to direct sunlight heat or humid conditions 3 Keep away from strong light while using this product so as to obtain the lease simply wipe with a of other ...

Page 3: ...TOR 3 z REMOTE CONTROLLER 6 z MATCHED CABLE 6 z CONNCETION 7 2 MENU OPERATION 7 3 PARAMETER 12 5 TROUBLE SHO Product description Description of monitor Picture 1 A 1 Indicator light 2 Power on off 3 PC AV switch 4 5 Infrared receiving window Volume down or to adjust the value of setting function ...

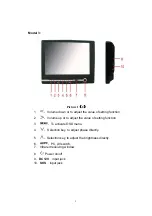
Page 4: ...k optional KS input jack Model 2 10 DC12V input jac 12 S Picture 1 B 1 Infrared receiving window 2 Power on off 3 tion Volume up or to adjust the value of setting func 4 Volume down or to adjust the value of setting function 5 irectly Selection key to adjust the brightness d 6 To activate OSD menu 7 Selection key to adjust phase directly 8 PC AV switch 9 DC12V input jack 10 SKS input jack ...

Page 5: ...unction 2 Volume up or to adjust the value of setting function 3 To activate OSD menu 4 Selection key to adjust phase directly 5 Selection key to adjust the brightness directly 6 PC AV switc wi h ndow 8 7 Infrared receiving Power on off 9 DC12V input jack 10 SKS input jack ...

Page 6: ...on 5 Volume up or to adjust the value of setting function 6 Selection key to adjust the brightness directly 7 Selection key to adjust phase directly 8 Aspect ratio switch 4 3 16 9 9 UP DOWN Switch 10 Right Left Switch 11 A 1 AV2 PC Switch V z Matched cable AV cabl Picture 3 e put jack of the unit 1 SKS input end connect the SKS in ...

Page 7: ...f A V cable should be connected with related signal as ows to the 9 pin jack of picture 4 1 Black 9 pin plug of picture 3 is connected end the arrowhead the VGA signal input r the VGA port at the back of compute comp end connects the USB port of the 2 Yellow RCA jack connect video signal 1 3 Red RCA jack connect video signal 2 White RCA jack connect audio signal onnect DC12v power note that the po...

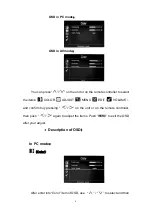
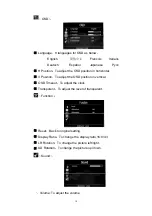
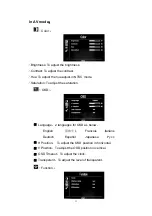
Page 8: ...o select the items COLOR JU AD ST MENU EDIT VOLUME and confirm buy pressing on the unit or on the remote controller then push again to adjust the items Push to exit the OSD after your adjus Description of OSD t In PC mode Color of OSD use After ter int olor item en o C to select and then ...

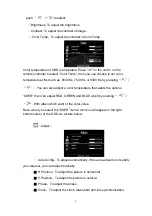
Page 9: ... adjust a color temperature that wants the option U R then can adjust RED GREEN and BLUE s SE at will by pushing With attain which want of the color value Note when you select the USER item a mini box will appear in the right bottom corner of the OSD As picture below Adjust djust is not satisfy your req re in horizontal Phase To adjust the phase Clock To adjust the clock make field and line synchr...

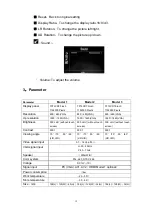
Page 10: ...sition To adjust the OSD position in horizont V Position To adjust the OSD position in vertica ansparent To adjust the level of transparent Function Reset Back to original setting Display Ratio To change the display ratio 16 9 4 3 LR Rotation To change the picture left right UD Rot n To atio change the picture up down Sound Volume To adjust the volume ...

Page 11: ...he hue adjust in NTS aturation To adj OSD Lan al ion in vertical st the level of transparent guage 2 languages for OSD as below English 简体中文 Francois Italians Deutsch Español Japanese Pycc H Position To adjust the OSD position in horizont V Position To adjust the OSD posit OSD Timeout To adjust the clock Transparent To adju Function ...

Page 12: ...A 800 480 VGA Up resolution 440 VGA 440 VGA 440 VGA 1920 1 1920 1 1920 1 Brightness without touch without touch without touch 300 cd screen 300 cd screen 300 cd screen Contrast 500 1 500 1 500 1 Viewing angle 70 70 50 60 L R U D 60 70 70 50 60 L R U D 70 70 50 L R U D Video signal input 0 Ω 7 1 4Vp p 75 VGA signal input H 30 60kHz V 60 75Hz Speaker 250mW 8Ω Color system PAL 4 43 NTSC 3 58 Voltage ...

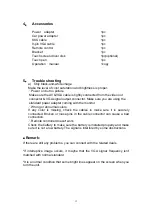
Page 13: ...n driver d 1pc Operation manual Trouble shooting a Only black and white image Make the level of color saturation and brightness is proper Power on but no picture M le is tightly connected ake sure the AV VGA cab connector VGA signal output connector Make sure you are using the standard power adapter coming with the monitor Wrong or a If any color is missing check th connected Broken or loose pins ...

Reviews: