3.
Wings.
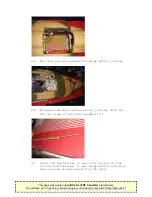
Epoxy(or use Hysol glue) the control horns into the
control surfaces. Also do the hinges (Apply Vaseline to
the pivot points to keep the epoxy or Hysol out). Trial
fit them and check adequate amount of movement available
and epoxy in place.
Fit the servos using the brackets and screws supplied for
the flap servos. The aileron and rudder servos are
epoxied to the hatches(This method has a disadvantage if
servo maintenance is required later!!) Make sure the
servos are centered and fit the servo horns. Check the
length of the control rods and adjust as necessary. The
clevises are at the servo horns and the ball fittings at
the control surface horns.To avoid the rods from working
loose “lock” one of the threaded ends by applying epoxy
or metal epoxy to the thread. The other end can then
still be adjusted if required.
4.
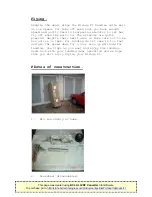
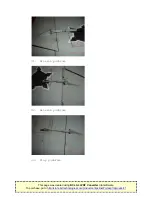
Elevators.As this aircraft is equipped with all flying
elevator a failure can easily cause a crash. That is why
at least 25kg torque servos are required.I suggest to
reinforce the former inside the aft fuselage where the
elevators attach with epoxy and carbon fibre to eliminate
any flexing in this area especially if you like to fly
fast!! Make a baseplate from 5mm plywood sanded to the
contour of the aft fuselage where you plan to glue the
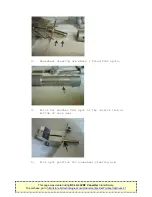
servo. Fit the ball fitting to the elevator horn and for
additional security also add a nylock nut behind. Fix the
servo to the baseplate using epoxy and hardwood blocks or
metal fittings. Make sure the servo is centered and mark
the approximate position of the horn on the side of the
rear fuselage. Epoxy the whole unit in place. Attach the
rod and clevis or ball fitting at the servo end. Apply
threadlockerwhere applicable as a failure of the elevator
servo will cause a crash. Make sure the movement is full
and free. Use a spacer on the rod between the fuselage
and the elevator if needed. Tighten with the 2 hex screws
and don’t forget the threadlocker! Use aluminium tape to
protect the servo leads running forward towards the
receiver.
5.
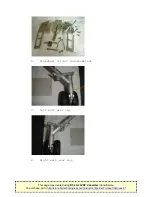
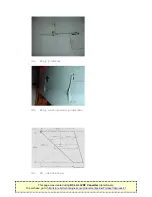
Fin and rudder. Epoxy the control horn in place and the
hinges as with the wings. It is difficult to get the
rudder into position due to the sweep and I cut away a
square at the base side of the fin to allow the rudder to
go into position. Also use Vaseline on the leading edges
of the rudder to avoid it getting stuck to the rear of
the fin!! Trial fit before doing the real thing. Test the
screw that fits into the forward fin attachment shaft
This page was created using BCL ALLPDF Converter trial software.
http://store.bcltechnologies.com/productcart/pc/instPrd.asp?idproduct=1


