background image

13

more precise control.

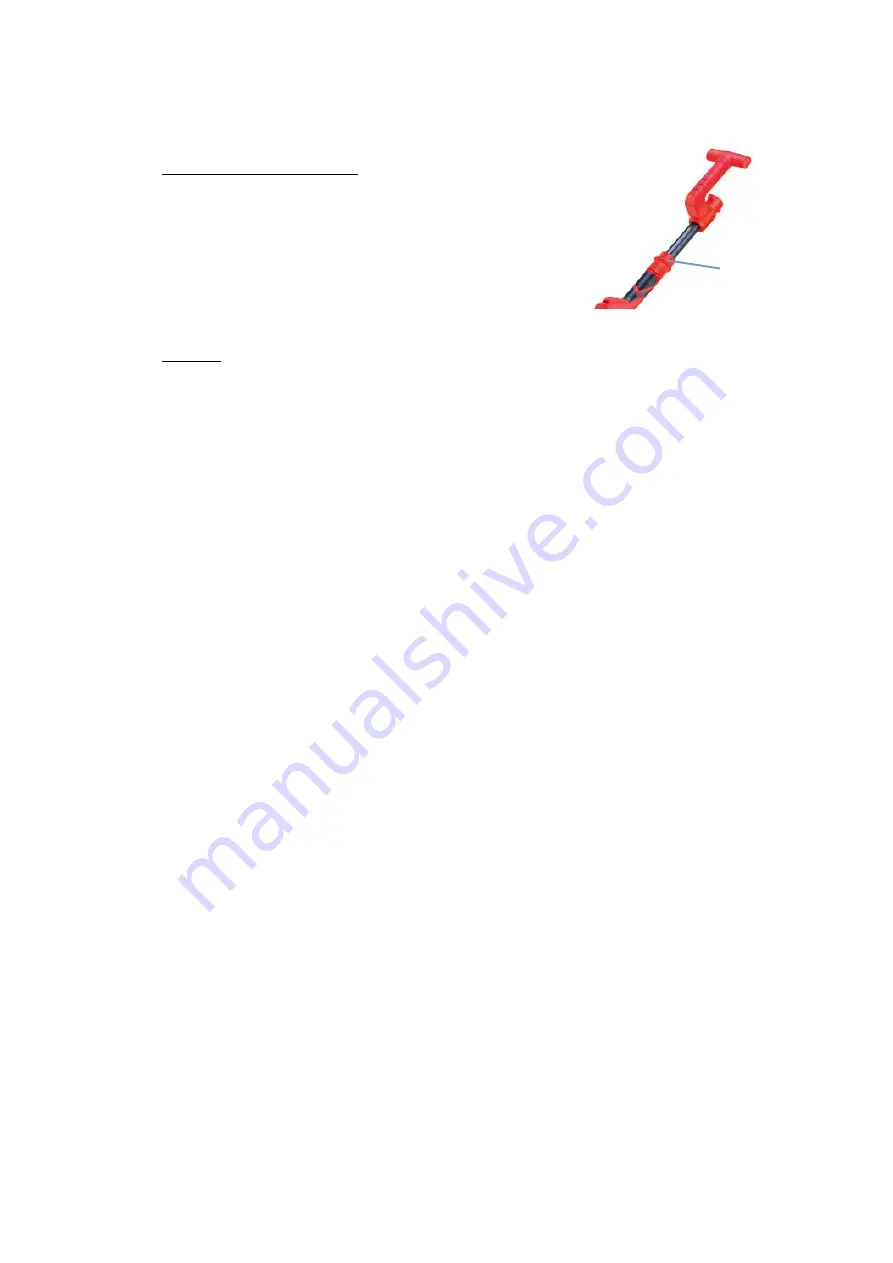
h. Adjustment of the tube size

Depending on the different grinding positions,
the length of the machine can be adjusted
between 1100-1800mm. Turn the lock nut
counter clockwise to loosen, pull the hose to
the correct length and then turn the lock nut
clockwise to lock.

i. Sanding

The head of the sander the head can rotate in several directions, allowing the abrasive
pad to fit the work surface. This allows the operator to sand the top, middle and bottom of a
wall or ceiling bracket without changing position.

-

Plug in and turn on the sander.

-

Hold it with both hands, one on the tube and another on the additional handle at the
back

-

Place the sander slightly against the work surface (apply a slight pressure to align the
sanding head with the work surface).

-

Apply extra pressure to push the abrasive pad towards the work surface and move
the sander to smooth the surface.

-

Apply sufficient pressure to keep the abrasive pad flat against the work surface.
Excessive pressure can cause micro scratches and damage the work surface.

-

The sander must always be in motion when the abrasive pad is in contact with the
work surface. Use a regular sweeping motion. Stopping the sander (on the work
surface) or moving the sander may cause micro scratches and affect the uniformity of
the work surface.

NOTE: Do not allow the rotating abrasive pad to come into contact with sharp
or sharp edges. Contact with sharp objects can severely damage the abrasive
pad.

Locking nut

Summary of Contents for FPG7202P

Page 1: ...1 ORIGINAL INSTRUCTIONS Drywall Sander FPG7202P Instruction manual WARNING READ THESE INSTRUCTIONS BEFORE USE THIS MACHINE BUILDER SAS 32 rue Aristide Berg s ZI 31270 Cugnaux France Made in PRC 2021...

Page 2: ...2 CONTENTS 1 SAFETY WARNINGS 3 2 YOUR PRODUCT 8 3 USE 10 4 MAINTENANCE AND STORAGE 14 5 DISPOSAL 14 6 DECLARATION OF CONFORMITY 15 7 WARRANTY 16 8 PRODUCT FAILURE 17 9 WARRANTY EXCLUSIONS 18...

Page 3: ...d risk of electric shock if your body is earthed or grounded c Do not expose power tools to rain or wet conditions Water entering a power tool will increase the risk of electric shock d Do not abuse t...

Page 4: ...d must be repaired c Disconnect the plug from the power source and or the battery pack from the power tool before making any adjustments changing accessories or storing power tools Such preventive saf...

Page 5: ...he arbour hole of the accessory must fit the locating diameter of the flange Accessories that do not match the mounting hardware of the power tool will run out of balance vibrate excessively and may c...

Page 6: ...or snagging causes rapid stalling of the rotating accessory which in turn causes the uncontrolled power tool to be forced in the direction opposite of the accessory s rotation at the point of the bin...

Page 7: ...afety requirements the potential risks of injury and damage remain The following risks may arise in the structure and design of this product Always be vigilant when using this product so you can recog...

Page 8: ...inishing methods for both new construction and renovation work Clean up time is minimized by using an external vacuum cleaner attached to the sander 2 YOUR PRODUCT a Description 1 Sanding pad 2 Motor...

Page 9: ...5 m s Vibration emission value for triangle orbital sander function o Main handle 7 965 m s Uncertainty K 1 5 m s o Auxiliary handle 8 953 m s Uncertainty K 1 5 m s The impact of noise can cause damag...

Page 10: ...ing sanding residues 100 Pigment layer drips and convex surface Removal brushing marks 120 Flat bottom material Good finished sanding for new painting 180 240 b Replacement of sanding paper Before ins...

Page 11: ...provided clips NOTE The collector dust dust bag is no provided with this model You must buy an appropriate one in specialized stores Ask device to your retailer e Installation Foldable lever Release...

Page 12: ...y To start the sander press its switch to ON I Press this switch to turn the machine OFF O g Speed setting The Drywall Sander is equipped with variable speed control The speed is adjusted by turning t...

Page 13: ...ndle at the back Place the sander slightly against the work surface apply a slight pressure to align the sanding head with the work surface Apply extra pressure to push the abrasive pad towards the wo...

Page 14: ...river to unscrew the brush cover remove the original carbon brush place a new carbon brush and screw the brush cover b Repairs There are no repairs to be provided by the user For inspection and repair...

Page 15: ...ce with the requirements of directives Machinery Directive 2006 42 EC EMC Directive 2014 30 EC ROHS Directive EU 2015 863 amending 2011 65 EU Also meets the following standards EN60745 1 2009 A11 2010...

Page 16: ...e user manual Due to our policy of continuous product improvement we reserve the right to alter or change specifications without notice Consequently the product may be different from the information c...

Page 17: ...efore dropping off the machine Go to the repair station with the complete machine packed accompanied by the purchase invoice and the station support sheet downloadable after the service request is com...

Page 18: ...ssary for repairs and more generally the costs related to the immobilization of the product The costs of a second opinion established by a third party following an estimate by a SWAP Europe repair sta...

Reviews: