surface.
The sander must always be in motion when the abrasive pad is in contact with the working surface.
Use a steady, sweeping motion. Stopping the Sander (on the working surface), or moving the sander
may cause unacceptable micro scratches and affect the uniformity of the working surface.
NOTE:
Do not allow the rotating abrasive pad coming in contact with sharp protrusions. Contact with
protruding objects (nails, screws, electrical boxes, etc.), can severely damage the abrasive pad.
ABRASIVE PAD REPLACEMENT
CAUTION: DISCONNECT SANDER FROM POWER SOURCE.
1). Grasp the abrasive belt and strap support (tighten the plate on the bracket), to prevent rotation.
2). Rotate the insert retaining nut counter clockwise and remove it..
3). Lift the large metal washer and the abrasive pad.
NOTE:
When the abrasive pad is removed from the sander, the abrasive rear disc is exposed. This
rear disc is also covered with an abrasive material.
This abrasive material is ONLY used to prevent "slippage" between the rear disc and the back
abrasive plate foam. It is NOT suitable for use as an abrasive sander. NEVER USE THE SANDER
WITHOUT PROPER ABRASIVE PAD INSTALLED (to prevent severe damage to the work).
4). Position the new abrasive pad on the rear disc, making sure that the center hole in the abrasive
disc is in the middle of the rear abrasive disc.
5). Position the large metal washer of the retaining nut on the sander.
6). Rotate the retaining nut clockwise and tighten by hand (while holding the abrasive pad).
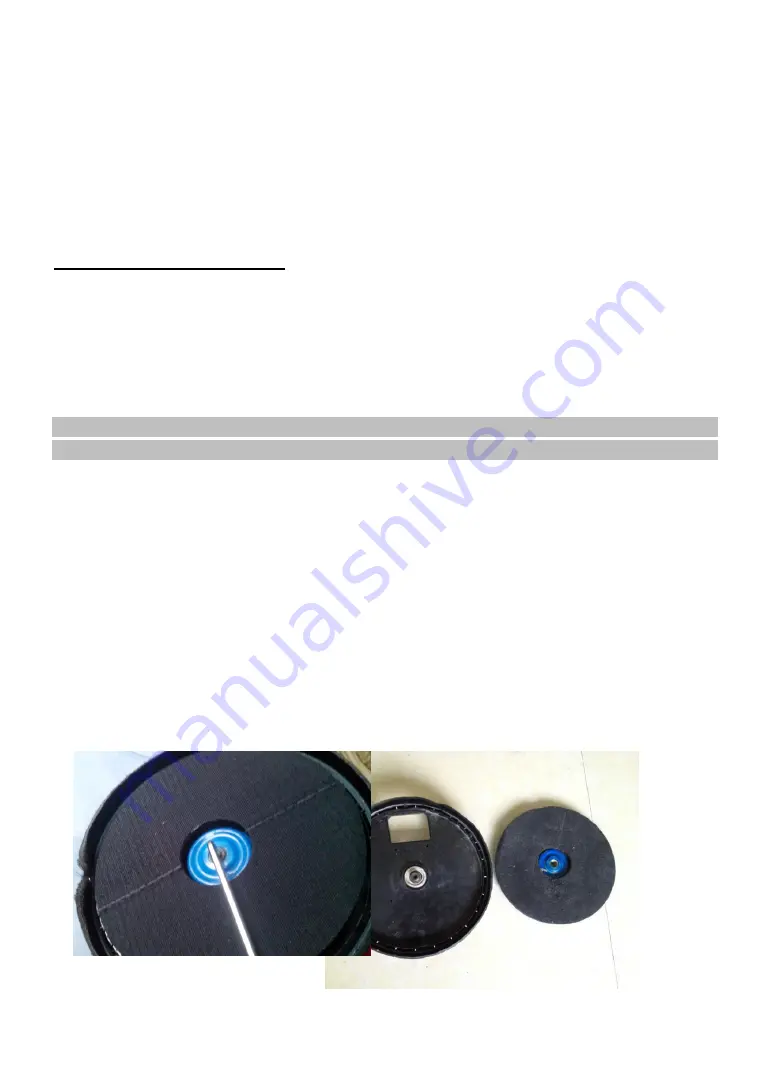
The output shaft is inserted at the centre of the adhesive disc with six angle wrench with clockwise
rotation angle in the six hexagonal holes, and at the same time, the hands hold the adhesive disc.
The grinding disc can be remove adhesive.
LARGE BRUSH


