9
Assembly instructions
……
●
Your machine cannot be used immediately after it has been removed from the box. Please understand the name and function
of each part on the second page of this manual, and then assemble it with the installation steps described in the following
figure. Note: The shape of the part contained in the assembly diagram is not inconsistent with the actual part shape.
△
Assembly step 1
)
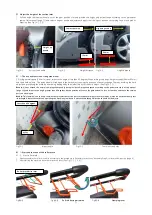
Rear wheel drive lever assembly
—
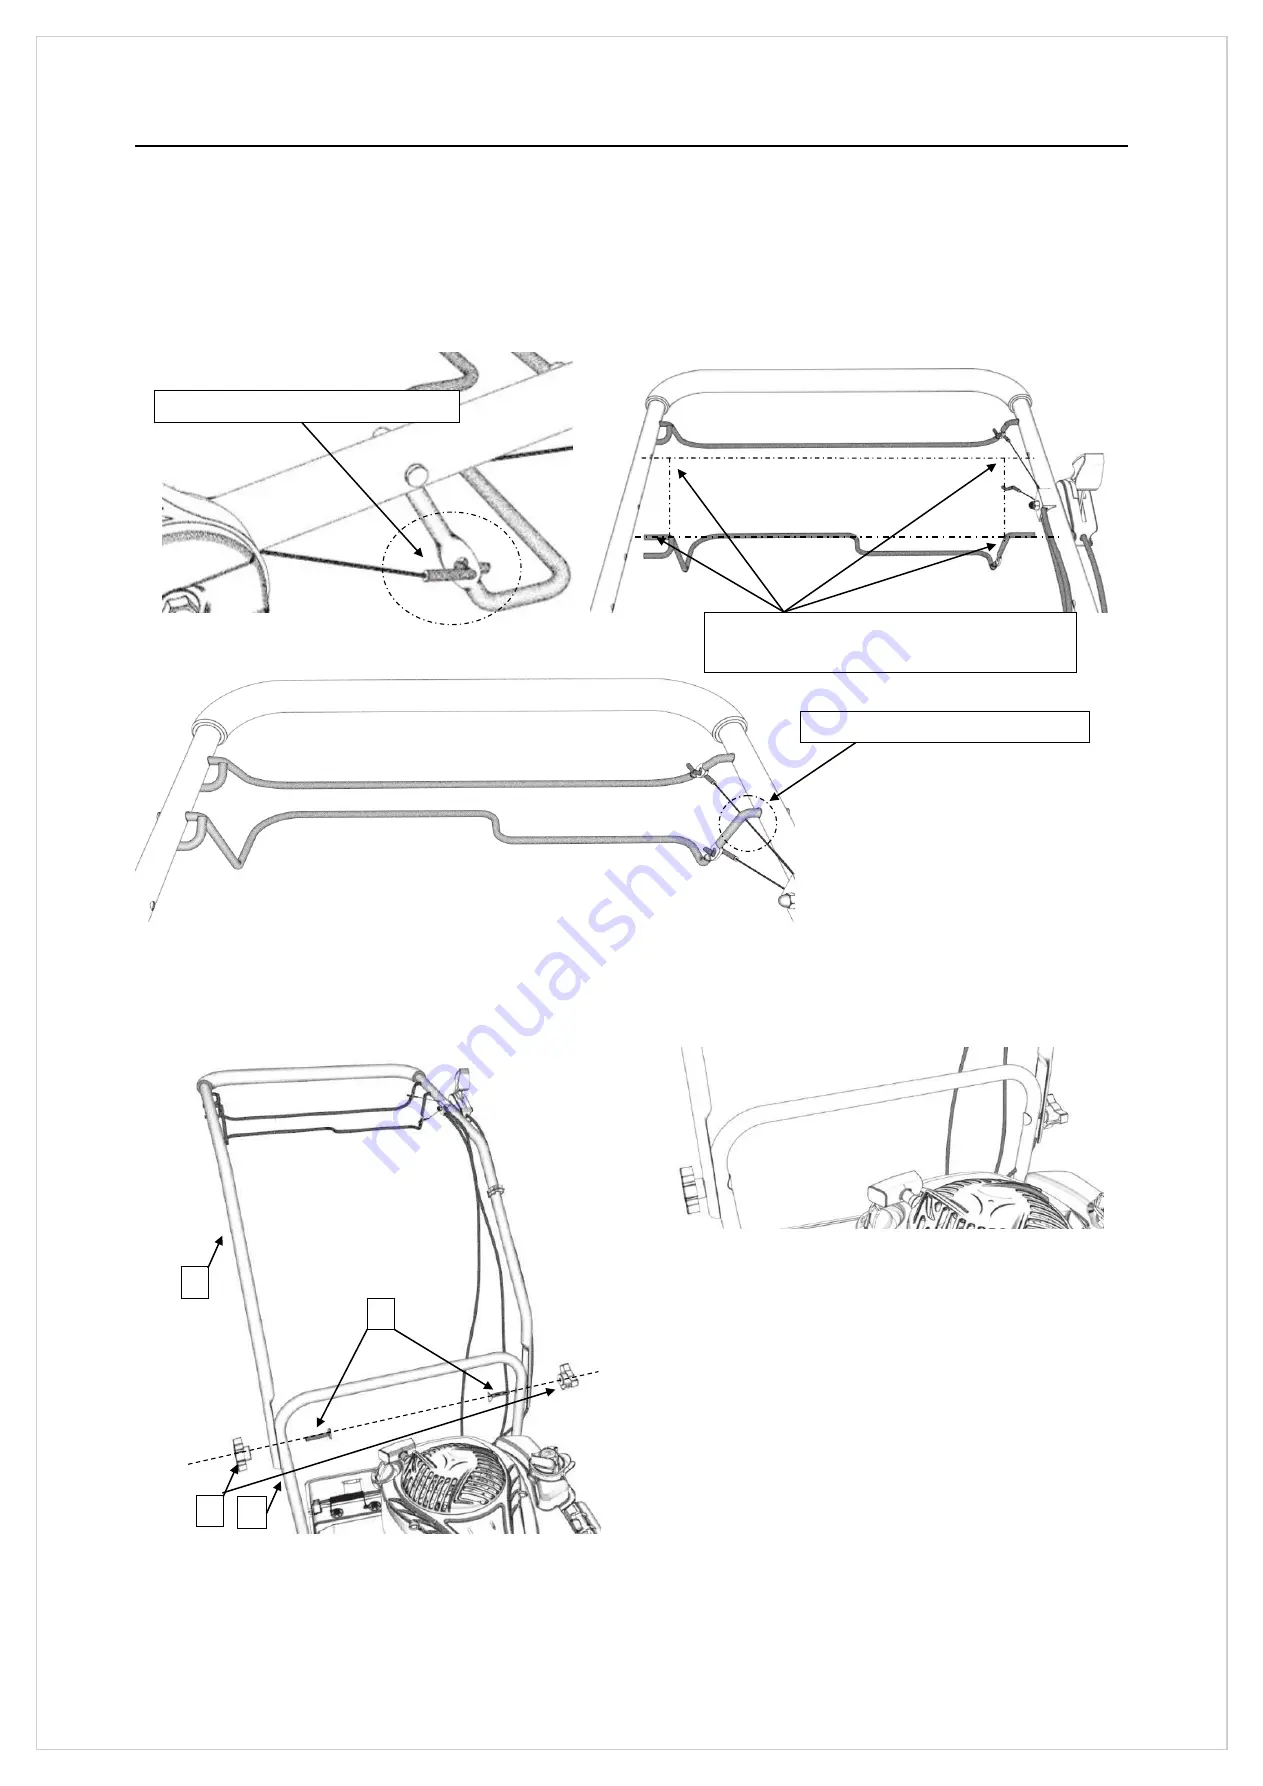
Install the wheel drive lever as directed by the diagram below
(
Please
see Fig a-1, 2, 3
)
Fig.
a-1
Fig.
a-2
Fig.
a-3
Assembly completion diagram
Assembly step 2
)
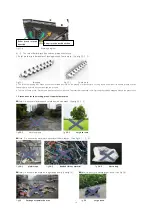
Upper armrest assembly
—
Please put the upper handrail bar assembly on the lower handrail bar, guide
according to the dotted line, and then pass the two bolts through the mounting holes, and tighten the knob firmly.
Fig.
7-1
Assembly guide
Fig.
7-2
Assembly completion diagram
Part 1
————
Upper grab bar assembly
Part 2
————
Lower grab bar assembly
Part 3
————
Knob M8
Part 4
————
Semi-circular head square neck bolt M8X46
Z-head penetrates into the fixing hole
Two ends of the tie rods, respectively inserted into
the left and right fixing holes of the handrail bar
The rope is at the lower end of the pole
1
4
2
3


