OBID
®
classic pro
Installation
ID CPR.02-x
FEIG ELECTRONIC GmbH
Page 25 of 36
2.2 Installation with surface frame ID APR-A
1. Wall installation:
•
The installation should be executed always on a surface as even as possible.
•
Make openings into the bottom part of the casing for lead-in wire, eventually attach twisting
sleeve and pull wire into the casing.
•
Screw bottom part of casing to surface.
2. Connection:
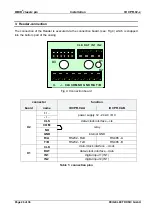
see chapter Reader-connection
3. Close casing:
•
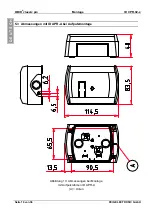
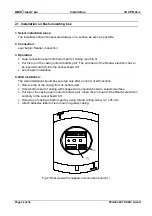
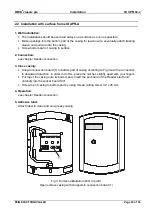
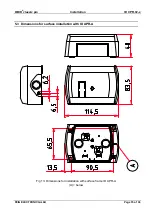
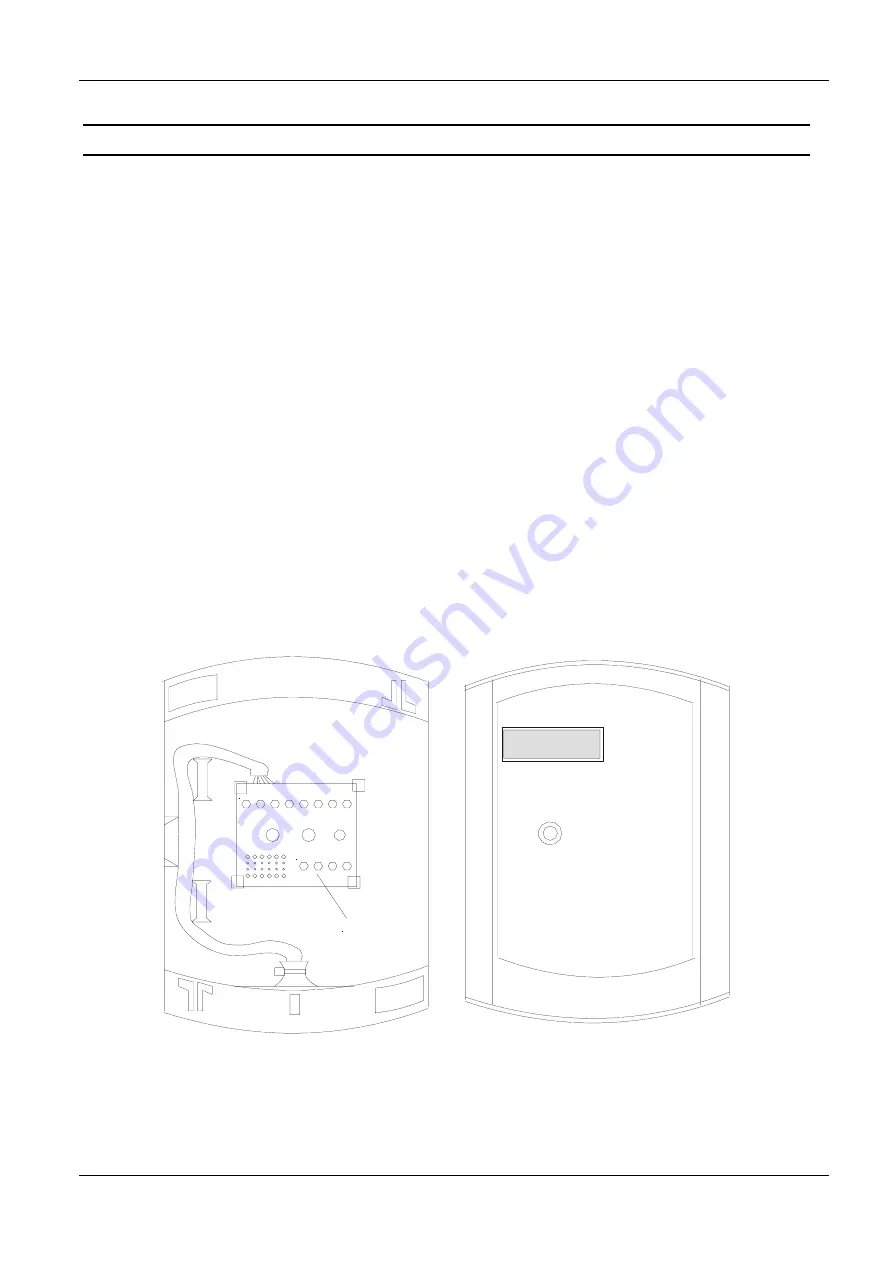
Snap-in connection board (1) to bottom part of casing according to Fig 3 with the connectors
in downward direction. In order to do this, press the notches slightly apart with your fingers.
•
Put top of the casing onto its bottom part. Insert the pin board of the Reader electronic
carefully into the socket board X3!!
•
Screw top of casing to bottom part by using thread cutting screw 3,2 x 25 mm.
4. Operation:
see chapter Reader-connection
5. Adhesive label:
Attach label to clean and non-greasy casing
+/~ -/~ R COM NO GND R/A T/B
CLK DAT IN1 IN2
(1)
Fig 3: Surface installation (LED top left)
Open surface casing with snapped-in connection board (1)


