25
!
!
"
Bandsaw
FB 540/640/740/840/940
Place the saw belt around both wheels (take note of the
direction of cut!) and tighten it with the handwheel.
The correct tension is displayed on the belt tension dis-
play, the displayed value has to correspond to the belt
width (e.g.: a 25mm wide saw belt has to be tensioned
so tightly, that a „25“ appears in the belt tension dis-
play).
Turn the wheels manually and ensure that the saw belt
glides properly around the wheels and does not collide
with any solid machine parts. The tips of the saw teeth
have to protrude over the wheel edges.
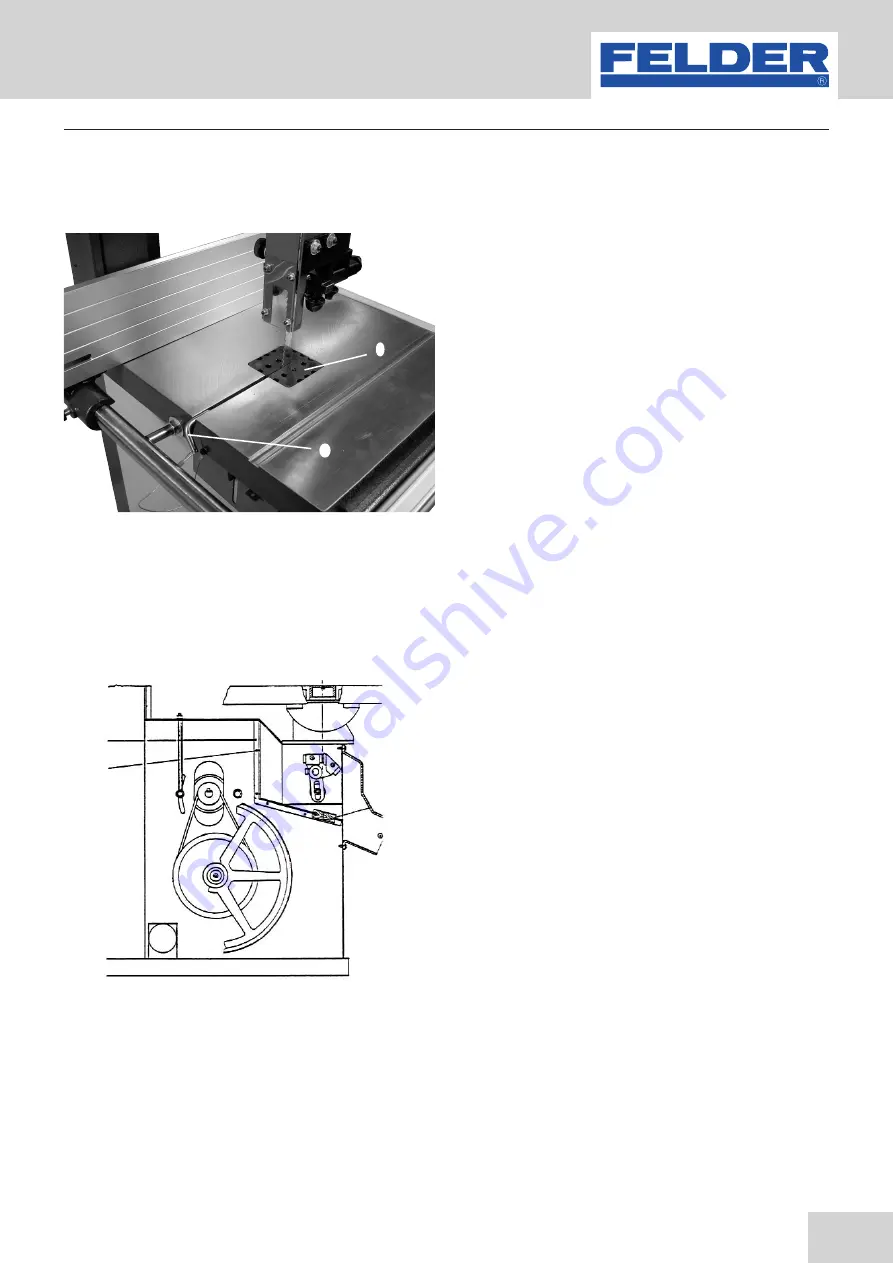
Fig. 18: Work table
7.4.2 Assembling and adjusting the saw belt
To be able to mount the saw belt, it is necessary to air
the motor brake, as it will otherwise prevent the wheels
being turned by hand. The brake is loosened, once the
machine is at rest, by setting the brake air switch onto the
ventilation symbol setting.
For machines with the star-delta switch, the switch is
pressed into the „0“ setting and twisted to the left to the
“F” setting, to air the brake.
First open the upper door and then the lower door.
Open the cover of the upper height adjustable belt pro-
tection duct (Fig. 17) and remove the wooden pad under
the working table (Fig.18).
Fig. 17: Belt protection duct
!
Table insert
"
Locating pin
!
Wooden pad
Operation
Summary of Contents for FB 540
Page 5: ...5 Bandsaw FB 540 640 740 840 940 Table of Contents...
Page 40: ...40 Bandsaw FB 540 640 740 840 940 11 Spare parts Spare parts...
Page 41: ...41 Bandsaw FB 540 640 740 840 940 Spare parts...
Page 42: ...42 Bandsaw FB 540 640 740 840 940 Spare parts...
Page 43: ...43 Bandsaw FB 540 640 740 840 940 Spare parts...
Page 44: ...44 Bandsaw FB 540 640 740 840 940 Spare parts...


