background image

7

10

REPARACIONES.

Como  cualquier  producto  manufacturado,  algunas partes de la Mufla 
puedes dañarse después de usarse por un tiempo. Para reemplazarlas, 
use siempre partes genuinas de fábrica. Una lista de estas partes es 
proporcionada  en  este  instructivo,  todas  las  refacciones  pueden  ser 
ordenadas con nuestros distribuidores o directamente a 

.

FELISA


NOTAS IMPORTANTES


.

Antes  de  realizar  cualquier  labor  de  mantenimiento,  desconecte  el 
equipo de la fuente de energía.
 Para  preservar  el  buen  estado  de  los  elementos  calefactores  no 
derrame ninguna solución dentro de la cámara.
 No Cambie de posición el sensor de temperatura.
 Conecte siempre el equipo a un contacto  debidamente aterrizado.
 Variaciones de voltaje pueden dañar los componentes electrónicos.
 No saturar la cámara con material: nunca cargue a más de 2/3partes de 
su capacidad.
 Si  el  cable  de  alimentación  es  dañado,  debe  ser  reemplazado  de 
inmediato por personal capacitado

COMO REMPLAZAR EL ELEMENTO CALEFACTOR FE


-340

1) Retire la tapa posterior (9)                                                                        
2) Retire el termopar.(11)
3) Retire la tapa interior(8)
4)  Retire  el  aislamiento  posterior(15).  Esto  deja  al  descubierto  las           
conexiones del elemento calefactor.                                                        
5) Corte o desconecte las terminales y retire el elemento.                          
6) Doble el elemento nuevo como esta el viejo.                                       
7) Invierta el proceso y coloque el elemento.                                           
8) Conecte y apriete firmemente las tuercas.                                                
9) Coloque el aislante, tapa interior, termopar y tapa posterior.                   
10) Caliente su mufla.

COMO REMPLAZAR LOS  ELEMENTOS CALEFACTORES FE


-

360  Y  

-363

FE

1) Retire la tapa posterior (9)                                                                            
2) Retire las tuercas del elemento a ser reemplazado.                                
3) Enderece las terminales.                                                                          
4) Abra la puerta de la mufla y jale el elemento para retirarlo.                     
5) Invierta el proceso y coloque el nuevo elemento.                                    
6) Conecte el elemento, apriete las tuercas y corte el exceso de alambre. 
7) Coloque la tapa posterior.                                                                       
8) Caliente la mufla y compruebe que el elemento sustituido calienta.

CYCLE SETTINGS


.

The system can store tow different cycles, cycle A, and cycle B. In the 
cycle menu (3), is where we can make a selection from cycle to use, with 
the Set button   entered the cycle type menu (4), in which we have the 
option of a single or a triple cycle, with the increment or decrement keys 
select the desired option.

(4)

(3)

CicloA

CicloB

CicloA

Simple

Triple

CONFIGURATION OF SIMPLE CYCLE


 A 


.

With the simple cycle you have the option to configure:
Operating temperature                                                                                                                                                                                                                                                                       
Timer on or off                                                                                                                                    
Cycle Time                                                                                                                                  
Bypass alarm with range of 5°C to 30°C.
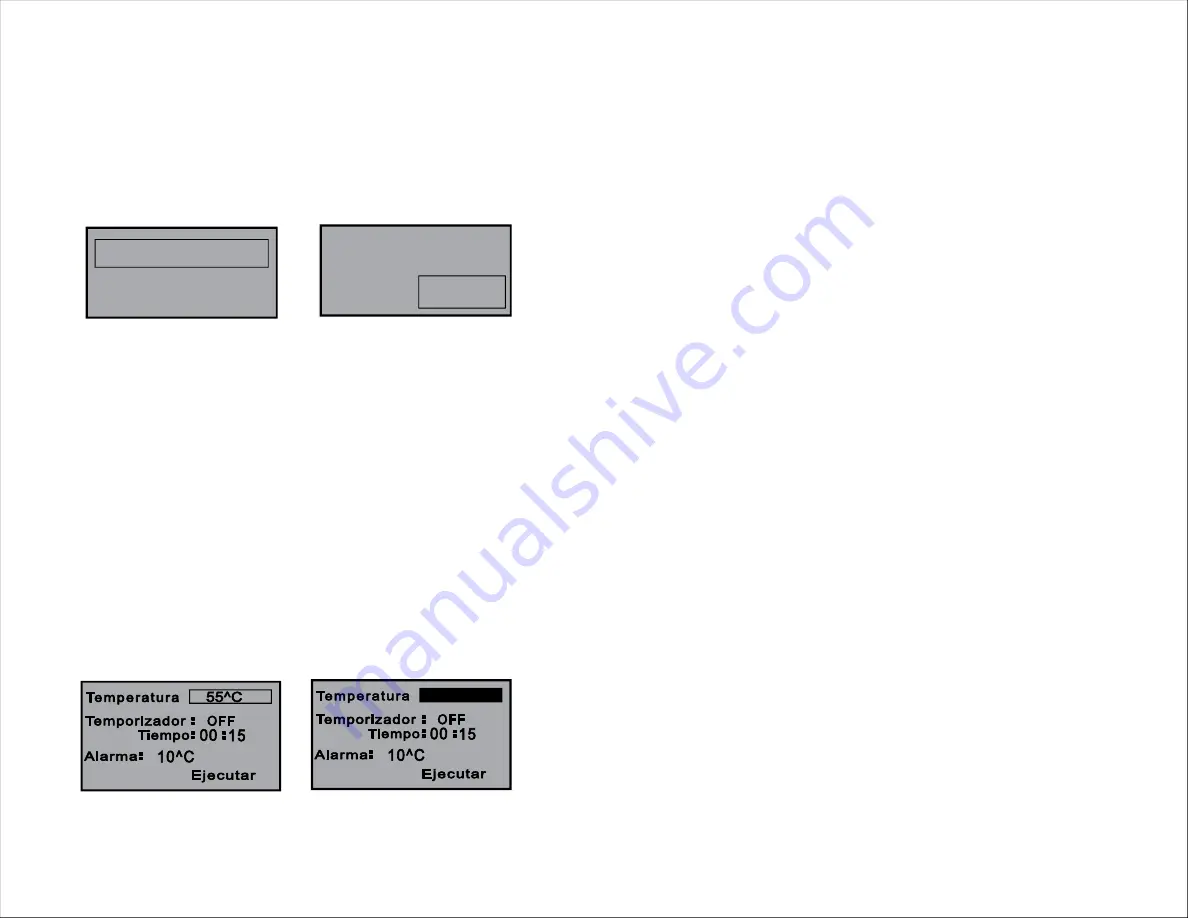
With the increment and decrement keys you can navigate within the (5) 
menu. To enable or disable each parameter, is necessary to select and 
press the Set button, then the parameter will shade (6) this indicates that 
we can change its value, with the increase or decrease buttons. When we 
get the desired value of the parameter must be pressed the Set button 

to 

add the data in the system, selecting the option Ejecutar and press 
Set, the cycle started.

 55^C

(5)

(6)

Summary of Contents for FE-340

Page 1: ...a San Juan de Ocotan C P 45019 Zapopan Jalisco M xico Tels 33 31106077 31106002 31102168 31102169 Fax 33 31106103 http www felisa com mx e mail ventas felisa com mx Instructivo de Operaci n para Mu as...

Page 2: ...es will be at customer expense Maximum liability is in no case to exceed the value of the Felisa product involved Felisa has the right to change or modify the products in order to improve their presen...

Page 3: ...n con un programador indicador micro controlado para l control de la temperatura el cual opera con un sensor termopar tipo K Este ha sido dise ado con elementos de alta calidad y precisi n su electr n...

Page 4: ...6034 1 31 6282 20 Ensamble gabinete control Assemby gabinet control 1 31 4082 1 31 6082 1 31 6283 21 Ensamble puerta Assembly door 1 31 4083 1 31 6083 4 31 6234 22 Pata de hule Bolt 4 30 3619 4 41 092...

Page 5: ...l voltaje de l nea Al terminar estas tareas se escuchara un beep y se imprimir la pantalla de revisi n 2 El sistema de control requiere se conecte a una l nea aterrizada para evitar problemas de ruido...

Page 6: ...it out gently These will leave in sight the terminals of the heating element 4 Cut the terminals or disconnect Remove the element and the base 5 Place the element downwards place a ruler over the bore...

Page 7: ...emperatura dentro de la c mara para tomar las mediciones y comparar contra el sistema de control Para ingresar a este men debe regresar al men de ciclo 3 y presionar la tecla Cancelar e Incremento al...

Page 8: ...cessary to select and press the Set button then the parameter will shade 8 this indicates that we can change its value with the increase or decrease buttons When we get the desired value of the parame...

Page 9: ...te las tuercas 9 Coloque el aislante tapa interior termopar y tapa posterior 10 Caliente su mu a COMO REMPLAZAR LOS ELEMENTOS CALEFACTORES FE 360 Y 363 FE 1 Retire la tapa posterior 9 2 Retire las tue...

Page 10: ...on of the chamber The Furnace heats up any load by radiation and will heat as fast as it absorbs this energy Try to center the load the Furnace can not be forced without risk of damage FURNACE OPERATI...

Reviews: