P
age
53
support@FELIXprinters.com
www.FELIXprinters.com
User manual FELIX 3.0 3d printer
15
Appendix: Extra checks after assembling DIY kit for
optimal operation
The following checks are done by our assembly team. The checks are of great importance and ensure
optimal operation of your 3d printer.
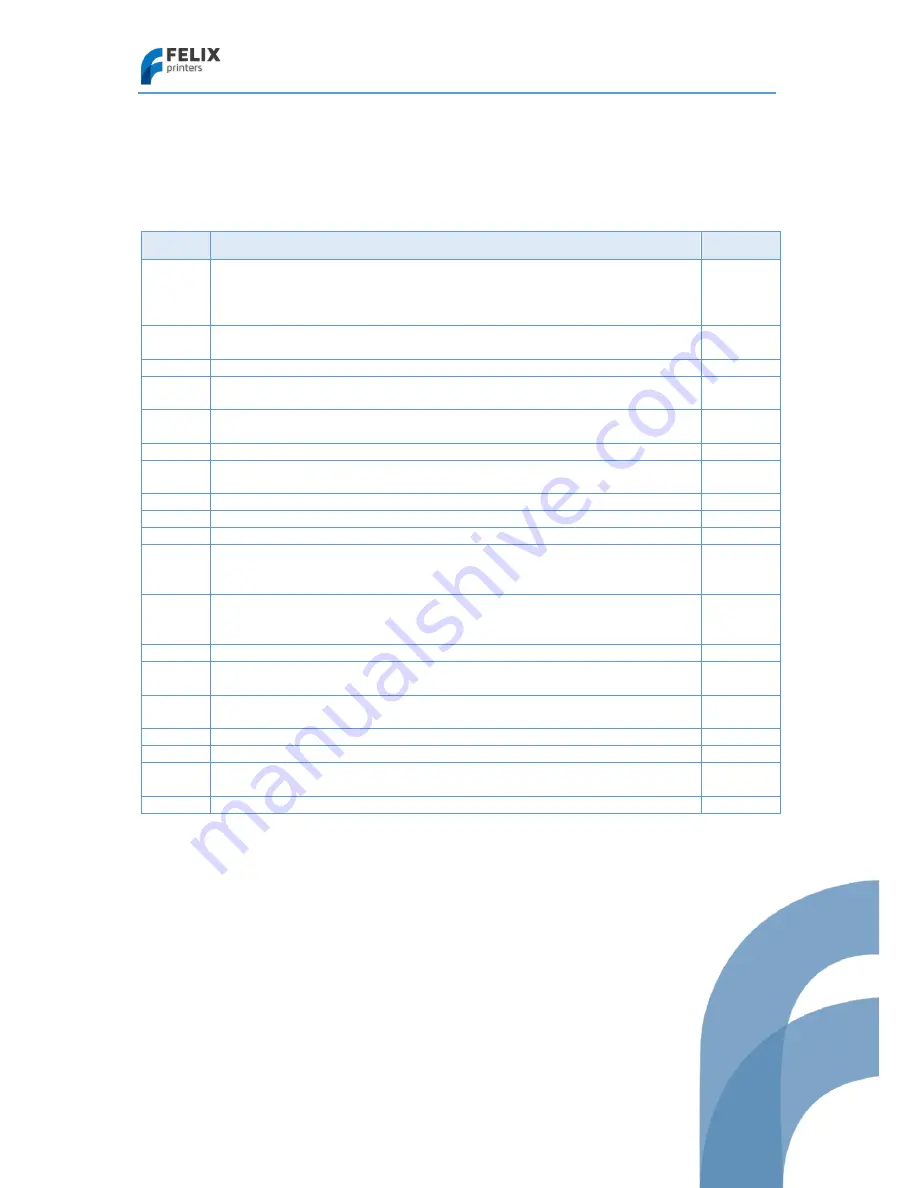
No
Mechanical tests
Check
1.
Belt tension for x and y-axis is ok
Tension must be high enough that :
You don’t feel the teeth of the belts when moving the axis by hand
You don’t see sideways movement of the belt when you turn direction.
2.
Belt of x-axis is parallel to top beam, when looking from the side.
If not parallel, pulley is probably mounted too high on motor)
3.
Pulleys are fixed ok with the setscrews.
4.
Washers are placed underneath the nuts which hold the y-axis brackets onto the y-
axis rail.
5.
Four screws fixing the linear y-rail onto z-axis carrier, must have rings and must be
firmly tightened.
6.
Stacked guide bearings in z-axis bracket are fixed and perpendicular to bracket.
7.
Check if washers are present under the 4 m3 bolts to mount y-axis rail.
(Without
washers the rail cannot be fixed properly.)
8.
Make sure M4x25 bolts are used for tensioning mechanism of x and y axes
9.
Hot-end must be flat on extruder base
10.
Hot-ends have the same height (only for dual extrusion)
11.
Hot-end should be firmly in place, no movement/rocking is allowed after mounting.
The bolts that mount the hot-end clamps onto the base must be fixed firmly to
ensure this.
12.
Extruder tensioning arm adjustment.
Tension must be strong enough that the filament is very hard to stop by hand. Not too
tight that the filament is squashed very wide.
13.
Table is aligned properly
14.
Leveling springs underneath bed are sufficiently compressed,
to prevent loosening
during printing
15.
Frame bolts are fixed firmly.
It can be disastrous if frame bolts are not tight during
transport
16.
Put grease on z-axis spindle
17.
All cable-ties are neatly cut off
18.
Finished testprint, belt_guide, filament holder. 3-4hr
Must be clean, straight walls, no gaps.
19.
After test prints do a quick check if all bolts are still properly tightened


