background image

13

14

Installing Bearings:

IMPORTANT -

 The properties that make Acetone and similar solvents work so well as a 

cleaner can also harm paint and break down carbon fiber resin. Be very careful where 

you apply the solvent as it may compromise the integrity of the rear triangle and/or the 

paint finish of your frame.

(Caution-Eye and Hand protection should ALWAYS be used when handling 

solvents to avoid contact!)
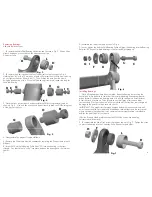
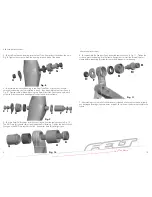
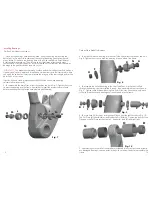
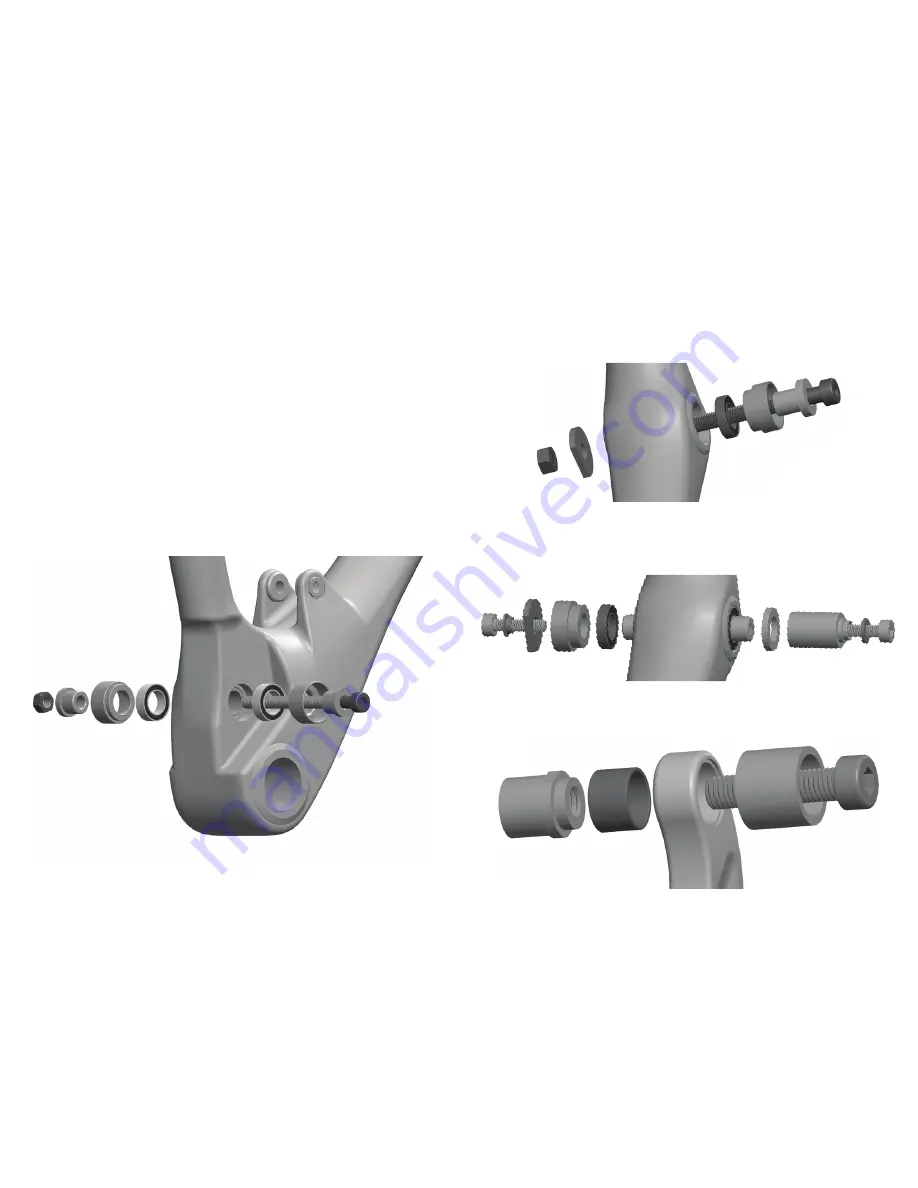
2. To reassemble the Main Pivot, orient the tools as shown in Fig. 7. Tighten the screw 

to press the bearing into the frame. Remember to insert the internal spacer/sleeve 

before repeating this step for the second main pivot bearing.

1. Once all the bearings have been removed, clean the bearing bores using the 

dental pick or X-acto knife to remove all traces of old bearing seating compound/

green loctite. Wipe down the bearing bore with a Q-tip soaked in a small amount 

of solvent such as acetone. This will remove any last traces of loctite and other 

contaminants. Don’t get solvent on any other portion of the frame or rear triangle as 

damage to the paint or carbon resin may occur.

Carbon Fiber Model Instructions

7. After making sure that all of the hardware is cleaned of any contaminants, discard 

any damaged bearings, spacers, axles or bolts. You are now ready to re-assemble the 

frame.

5. To press fresh DU Bushings into the shock links orient the tools as seen in Fig. 10. 

The DU Press (M) should center itself inside the DU Bushing.  Tighten the bolt until the 

Flange on the DU Press touches the link.  Repeat for both left and right links.

4. To assemble the second bearing in the Seat Tube Pivot, first slip the Link Axle 

through the bearing you just installed in step 3, then assemble the tools as shown in 

Fig. 9.  Tighten the tool assembly using two 5mm Allen/Hex Wrenches, one in each 

screw, to draw the second bearing over the axle and into the frame.

3. To install the first new bearing into the Seat Tube Pivot orient the tools as shown in 

Fig. 8. Tighten the screw to draw the bearing into one side of the frame.

Carbon Fiber Model Instructions

H M

J

J

M

A

H

F

A

N

K

Fig. 7

Fig. 8

Fig. 9

Fig. 10

B I

C

E

P

R

K

F

Q

O

D

Summary of Contents for Edict Nine

Page 1: ...Edict Nine Manual...

Page 2: ...ble loss of control injury or even death Refer to the fork owner s manual for instructions on setting correct sag air pressure and damping settings If you did not receive or misplaced your fork owner...

Page 3: ...ion as shown in Fig 1 it should feel smooth with light resistance from the carbon rear triangle Any grinding notchiness or tight spots may be signs that the bearings need to be overhauled 3 If the sus...

Page 4: ...your bike in a work stand Remember to NEVER clamp any part of the frame in a repair stand remove the wheels rear derailleur rear brake caliper crank set and BB The fewer components on the frame the e...

Page 5: ...et solvent on any other portion of the frame or rear triangle as damage to the paint or carbon resin may occur 2 To remove the bearings from the Seat Tube orient the tools as seen in Fig 4 Holding Too...

Page 6: ...sure that all of the hardware is cleaned of any contaminants discard any damaged bearings spacers axles or bolts You are now ready to re assemble the frame 4 To assemble the second bearing in the Seat...

Page 7: ...ed on the shock link 6 Once complete re inflate the shock to your preferred pressure and or recommended sag see Section 3 of this manual for proper sag settings 7 Reinstall any parts you removed initi...

Page 8: ...ntaminants Don t get solvent on any other portion of the frame or rear triangle as damage to the paint or carbon resin may occur Carbon Fiber Model Instructions 7 After making sure that all of the har...

Page 9: ...riding which may result in serious personal injury or death Congratulations The Felt Suspension frame you have chosen is among the finest products available in cycling The Carbon fiber that is used i...

Page 10: ...g 12x21x5 M6x40 SHCS M6x20 SHCS Acetyl Thrust Washer Link Axle Seatstay Pivot Axle O Ring M4x12 Socket Head Cap Screw Bearing Spacer Main Pivot Main Pivot Bolt w 22mm cap Main Pivot Nut w 22mm cap 608...

Page 11: ...g 6801 2RS MAX Bearing 12x21x5 M6x40 SHCS M6x20 SHCS Acetyl Thrust Washer Link Axle Seatstay Pivot Axle O Ring M4x10 Flat Head Cap Screw Bearing Spacer Main Pivot Main Pivot Bolt Main Pivot Collet Con...

Page 12: ...Felt Racing LLC 12 Chrysler Irvine CA 92618 www feltbicycles com Industriestr 39 26188 Edewecht Germany...

Reviews: