
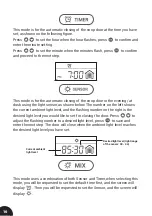

13
14.
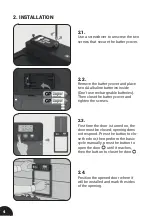
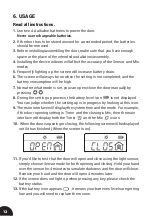
It is recommend to install the door in a dry place away from any rain.
This will prolong the life span of the opener
.
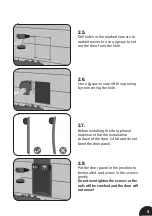
15.
When there is a lot of dust on your chicken door, please clean it up in
time.
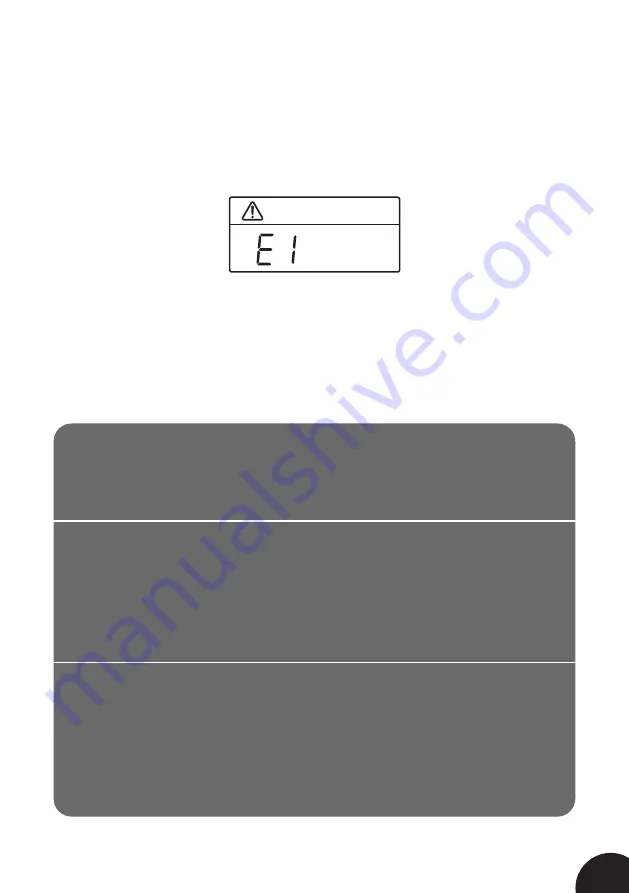
16.
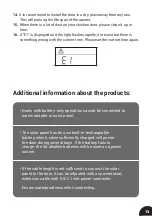
If "E1" is displayed and the light flashes rapidly, it means that there is
something wrong with the current time. Please set the current time again.
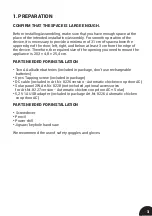
Additional information about the products:
• Doors with battery-only operation cannot be connected to
mains adapter or solar panel.
• The solar panel has its own built-in rechargeable
battery, which, when sufficiently charged, will power
the door during several days. If the battery fails to
charge, the AA alkaline batteries will be used as a power
source.
• If the cable length is not sufficient to connect the solar
panel to the door, it can be adjusted with a conventional,
extension cable with 5,5/2,1 mm power connector.
Ensure waterproofness when connecting.
Summary of Contents for 8225
Page 15: ...15...


