background image

UNPACKING INSTRUCTION 


CAUTION!

 Carefully unpack the box upon receipt. Check the contents to ensure that all parts are present and have been 

received in good condition. Notify the shipper immediately and retain packaging material if any parts appear damaged from 
shipping or the package itself shows signs of mishandling. Save the package and all packaging materials. If the product must be 
returned, it is important that the product is returned in the original factory box and packaging. 
 
If the device has been exposed to drastic temperature fluctuation (e.g. after transportation), do not switch it on immediately. The 
arising condensation water might damage your device. Leave the device switched off until it has reached room temperature. 
 

OVERVIEW 


1.  Tone arm Lever 

The fixed tonearm can be raised and lowered pressing the raise / lower lever. 

2.  Tone-arm Stand 
3.  33 / 45 / 78 RPM Switch 

This switch controls the RPM of the turntable platter.  

4.  Autostop Switch ON/OFF 

This switch turns auto stop on or off. When the automatic stop is enabled, the platform will start rotating as soon as the 
tone arm is placed over the record and will stop rotating when it has reached the end of the record. Some vinyl records 
stop before the end or do not stop when the end is reached. In this case set Auto-stop to OFF. 

5.  Tone arm Clip  

This specially designed arm clip secures the tonearm while at rest or when not in use. 

6. 

Cartridge with needle


When the turntable is not in use, it is recommendable to place the removable protection cover on the stylus.  

7.  Volume control  

Adjust the volume for the speakers. 

8.  LED Indicator 

Indicator lights up when power turned on. 

9.  Function Mode  

Select the BT or phono play function. 

10.  Platter 

Place your record here. 

11.  45RPM Platter 
12. 

DC IN port


Connecting the 12Volt/DC power adaptor.


13.  Line output  

The sound signal from long-playing record is sent to this line output. Connect this signal to the line input of an such as 
an amplifier or a line input of a CD/DVD player.


OPERATION  

1. 

Switch the function mode (9) to PH. Turn on the power switch at the rear of the turntable player. The indicator will 

become red colour. 

2. 

Place a record on the turntable platter and select the desired speed (33/45/78RPM) according to the record.  


NOTE:

 when playing a 45RPM record, use the included 45RPM adapter located inside the 

accessories bag. 
 

3. 

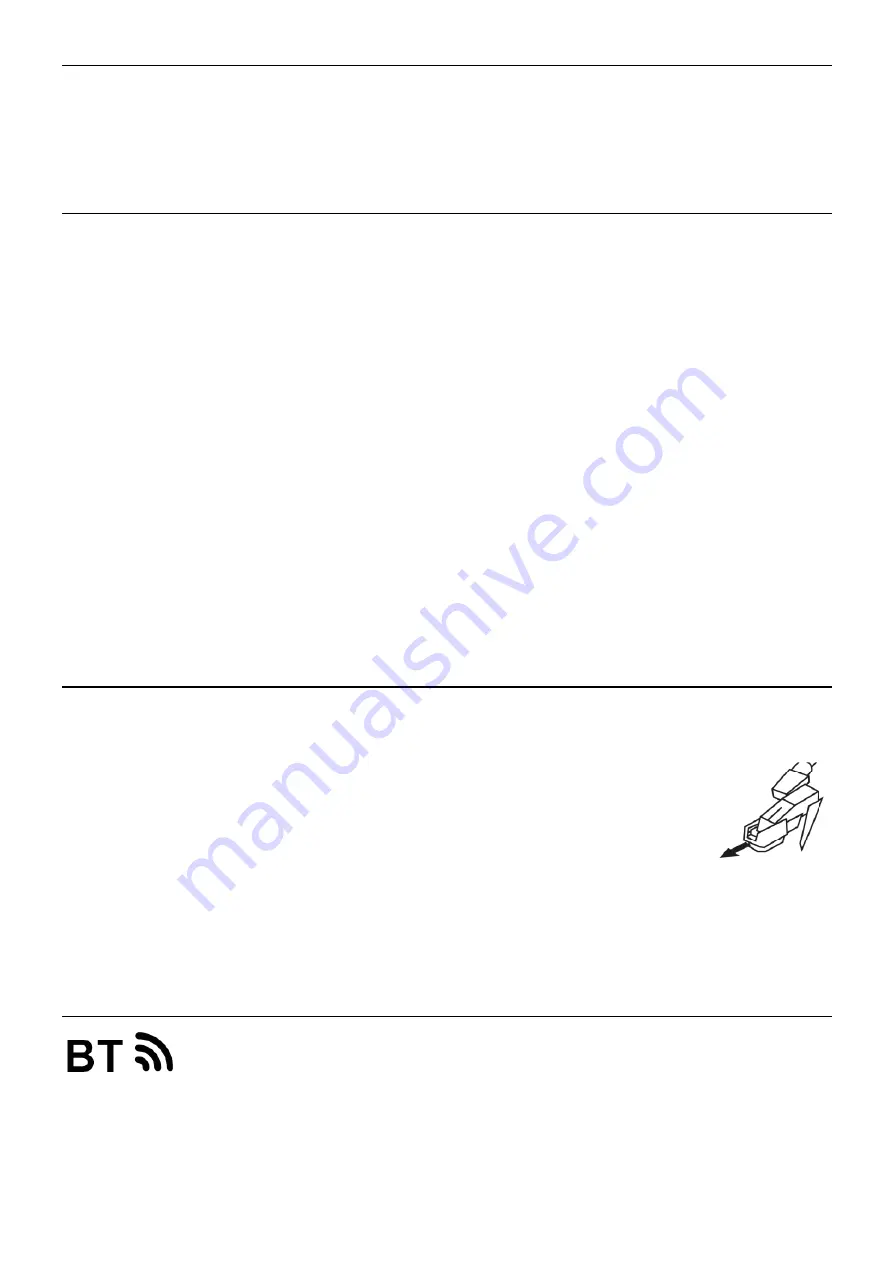
Remove the stylus protector. Open the tone-arm clip to release the tone-arm. Push the lift lever 

backward to raise the tone-arm and gently move the tone-arm to the desired position over the 
record. The turntable will begin to spin when the arm is moved toward the record. Push the lift 
lever forward to lower the tone-arm slowly onto the desired position on the record to begin playing 
the record.  


NOTE:

   -The record will begin to spin only when the tone-arm is moved toward the record if the Auto Stop is turned on. 

- If the AUTO STOP ON/OFF Switch is turned ON, the record will stop automatically when finished (For some 
few vinyl records, it will stop when it does not come to the end OR it will not stop when it comes to the end.). If 
Auto Stop Control is turned OFF, record will NOT stop automatically when finished. 
 

4. 

Turn the Volume Control Knob to adjust the volume.


CONNECT BT-DEVICE 

1. 

Switch the function mode (9) to BT. The LED indicator will flash in blue colour. 

2. 

Turn on the BT function of your mobile phone, tablet or other BT device and search the turntable 

player with its name Fenton recordplayer.  

3. 

After pairing and connection, the LED indicator will stop flashing. You can play your music from 

your BT-device. 

4. 

Turn the volume control knob to adjust the volume. 

Noted:

 This device does not have a BT transmitter, this means that it is not possible to send sound via BT to, for example, a BT 

speaker 
 
When the unit is used as a BT speaker, all other playback functions cannot be used at the same time.


Summary of Contents for 102.150

Page 1: ...Series Record Player Set Ref nr 102 150 102 151 102 152 102 153 102 154 102 155 INSTRUCTION MANUAL GEBRUIKSAANWIJZING BEDIENUNGSANLEITUNG MANUAL DE INSTRUCCIONES MANUEL D INSTRUCTIONS INSTRUKCJA OBSŁUGI V2 0 ...

Page 2: ...2 OVERVIEW BEDIENINGSELEMENTEN BEDIENELEMENTEN VISIÓN DE CONJUNTO PRESENTATION OPIS URZĄDZENIA ...

Page 3: ...ce from a specialist Do not force the controls This unit is with speaker inside which can cause magnetic field Keep this unit at least 60cm away from computer or TV If this product have a built in lead acid rechargeable battery Please recharge the battery every 3 months if you are not going to use the product for a long period of time Otherwise the battery may be permanently damaged If the battery...

Page 4: ...ound signal from long playing record is sent to this line output Connect this signal to the line input of an such as an amplifier or a line input of a CD DVD player OPERATION 1 Switch the function mode 9 to PH Turn on the power switch at the rear of the turntable player The indicator will become red colour 2 Place a record on the turntable platter and select the desired speed 33 45 78RPM according...

Page 5: ...gen worden gevolgd Het apparaat buiten bereik van kinderen houden Bovendien mag het apparaat nooit onbeheerd gelaten worden Gebruik geen schoonmaakspray om de schakelaars te reinigen Restanten van deze spray zorgen ervoor dat smeer en stof ophopen Raadpleeg bij storing te allen tijde een deskundige Gebruik geen overmatige kracht bij het bedienen van het apparaat Dit apparaat kan magnetisch veld ve...

Page 6: ...ier u uw langspeelplaat voordat u deze afspeelt 11 45RPM plateau 12 DC IN ingang Aansluiting voor de 12Volt DC voedingsadapter 13 Lijn uitgang The sound signal from long playing record is sent to this line output Connect this signal to the line input of an such as an amplifier or a line input of a CD DVD player BEDIENING 1 Zet de functieschakelaar 9 in de PH stand Vervolgens kunt u door middel van...

Page 7: ...s Gerät niemals unbeaufsichtigt lassen Die Regler nicht mit Reinigungssprays reinigen Diese hinterlassen Rückstände die zu Staub und Fettansammlungen führen Bei Störungen immer einen Fachmann um Rat fragen Das Gerät nur mit sauberen Händen bedienen Das Gerät nicht mit Gewalt bedienen Dieses Gerät kann dazu führen Magnetfeld Halten Sie das Gerät mindestens 60 cm vom Computer oder Fernseher Wenn die...

Page 8: ...eil 13 Line Ausgang Das Tonsignal von Langspielplatten wird an diesen Line Ausgang geleitet Verbinden Sie dieses Signal mit dem Line Eingang eines Verstärkers oder dem Line Eingang eines CD DVD Players BETRIEB 1 Stellen Sie die Funktionsschalter 9 in dem PH Modus Sie können dann mit Hilfe des Ein Aus Schalter auf der Rückseite den Plattenspieler einschalten Die LED Anzeige leuchtet rot 2 Platziere...

Page 9: ...s niños No deje el aparato sin vigilancia No utilice sprays limpiadores para limpiar los interruptores Los residuos de estos sprays producen depósitos de polvo y grasa En caso de mal funcionamiento siempre consulte a un profesional No fuerce los controles Si el aparato se ha caído siempre haga que lo verifique un técnico cualificado antes de encenderlo otra vez NO utilice productos químicos para l...

Page 10: ...e alimentación de 12 voltios DC 13 Salida Linea La señal de sonido del disco de larga duración se envía a esta salida de línea Conecte esta señal a la entrada de línea de un amplificador o a la entrada de línea de un reproductor de CD DVD OPERACIÓN 1 Cambie el modo de función 9 a PH Encienda el interruptor de encendido en la parte posterior del tocadiscos El indicador se pondrá de color rojo 2 Col...

Page 11: ...areil contient un haut parleur pouvant engendrer des champs magnétiques Tenez cet appareil à 60 cm au moins d un téléviseur ou ordinateur Si le produit comprend un accumulateur intégré plomb acide rechargez l accumulateur tous les 3 mois en cas de non utilisation prolongée de l appareil Sinon l accumulateur pourrait être endommagé de manière permanente Si l accumulateur est endommagé remplacez le ...

Page 12: ... ou à l entrée de ligne d un lecteur CD DVD FONCTIONNEMENT 1 Activez le mode 9 PH Allumez ensuite l interrupteur sur la face arrière de la platine disque Le témoin devient rouge 2 Placez un disque sur le plateau de la platine et sélectionnez la vitesse voulue en fonction du disque 33 45 78 tours mn NOTE pour lire un disque 45 tours utilisez l adaptateur 45 tours livré et situé dans le sac pour acc...

Page 13: ...zełączników nie używać sprayów czyszczących Pozostałości tych sprayów powodują osadzanie się kurzu i smaru W przypadku awarii należy zawsze zasięgnąć porady specjalisty Nie wolno wymuszać używania elementów sterujących Wewnątrz urządzenia znajduje się głośnik który może powodować pole magnetyczne Urządzenie należy trzymać w odległości co najmniej 60 cm od komputera lub telewizora Jeśli ten produkt...

Page 14: ...enia zewnętrznego zasilania 12V 13 Wyjście liniowe Dźwięk odtwarzanego nagrania jest wysyłany do wyjścia audio o poziomie liniowym Nie można podłączać pod to gniazdo urządzeń o poziomie phono UŻYTKOWANIE 1 Ustaw tryb pracy 9 na PH Uruchom urządzenie włącznikiem na tylnym panelu gramofonu Zapali się czerwona dioda 2 Umieść płytę winylową na talerzu oraz wybierz odpowiednią prędkość 33 45 78RPM stos...

Page 15: ... kg 5 40 The specifications are typical The actual values can slightly change from one unit to the other Specifications can be changed without prior notice The products referred to in this manual conform to the European Community Directives to which they are subject European Union United Kingdom Tronios B V Bedrijvenpark Twente Noord 18 7602KR Almelo The Netherlands Tronios Ltd 130 Harley Street L...

Page 16: ...Specifications and design are subject to change without prior notice www tronios com Copyright 2022 by Tronios The Netherlands ...

Reviews: