background image

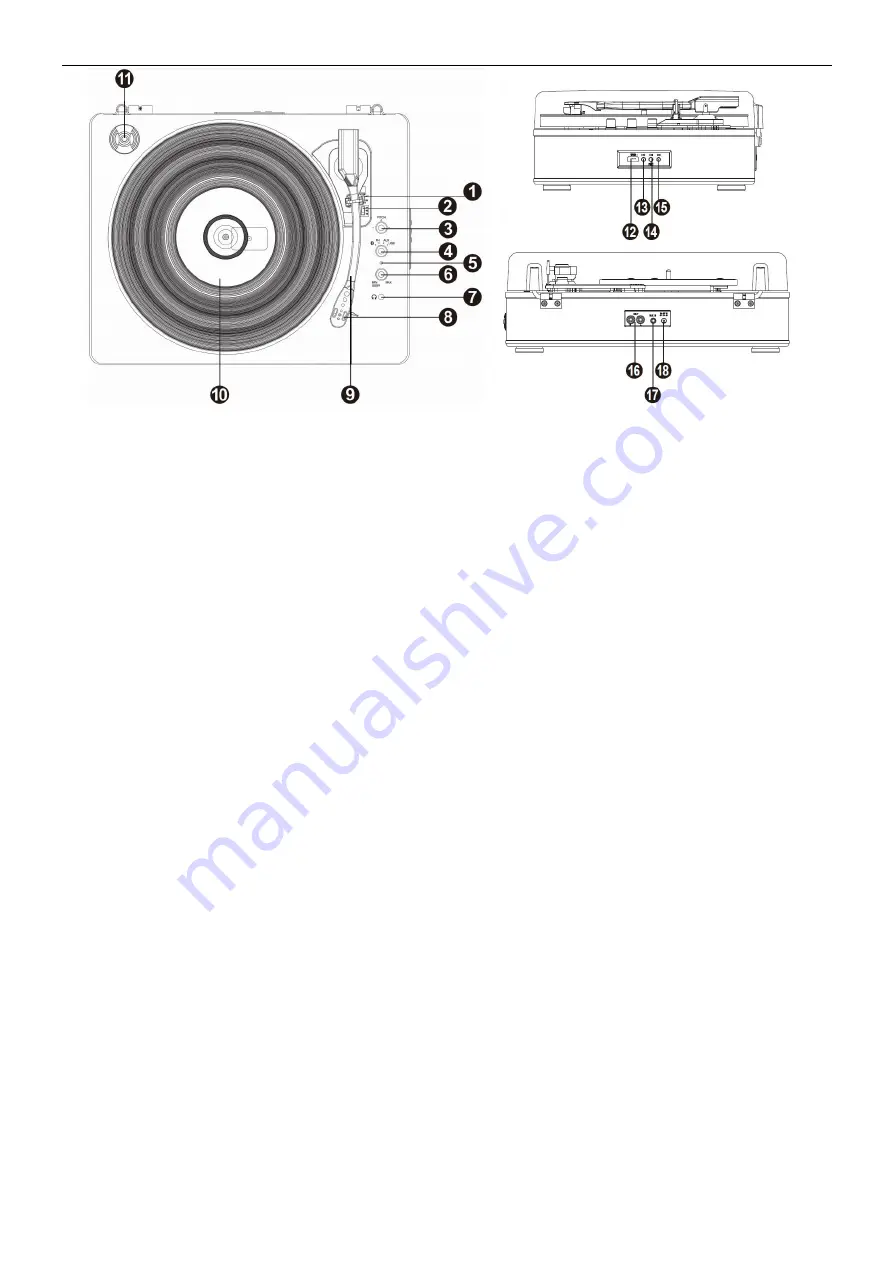
OVERVIEW 

1.  Autostop Switch ON/OFF 

This switch turns auto stop on or off. When the automatic stop is enabled, the platform will start rotating as soon as the tone 
arm  is  placed  over  the  record  and  will  stop  rotating  when  it  has  reached  the  end  of  the  record.  Some  vinyl  records  stop 
before the end or do not stop when the end is reached. In this case set Auto-stop to OFF. 

2.  33 / 45 / 78 RPM Switch 

This switch controls the RPM of the turntable platter.


3.  Pitch control 

Turn to adjust the speed of the platter little by little. 

4.  Function switch knob 

Knob to select BT, phono, aux or USB input. 

5.  LED indicator 
6.  Power & volume control knob 

To power on the record player, turn this knob clockwise until it clicks. When powered on, use this knob to adjust the volume 
for the internal speakers and headphones. To turn off the record player, turn this knob counter clockwise until it clicks.


7.  Headphone connector 

Connect your headphone with this 3.5mm(1/8) jack connector.


8.  Cartridge with needle 

When the turntable is not in use, it is recommendable to place the removable protection cover on the stylus.


9.  Tonearm 
10. Platter


Place your record here. 

11. 45RPM Adaptor


This adaptor allows you to play 45RPM records.


12. USB port 

To play music from a USB drive: Turn the mode selection knob to USB and plug in a USB drive to play music. 
Press PLAY/PAUSE/REC to play or pause. Press PREV button to play the previous track, press NEXT button to play the 
next track. 
 
To record from vinyl: Plug your USB stick into the USB port. Press the REC button during the vinyl records playback and the 
indicator will flash red and blue intermittently. The vinyl recording starts. 
Press the SPLIT button when recording, the current record will be cut off and automatically stored in a file. Press SPLIT 
button again and it will generate another file. Press the REC button to stop the recording. The indicator will be red during 
recording, and the recorded files(MP3 format) will be saved in the USB stick. 

13. PREV button / BT OUT function 

Press to play the previous track in USB mode.


14. PLAY/PAUSE/REC button 

Press to play, pause or record in USB mode. Depending on the current status. 

15. NEXT button 

Press to play the next track in USB mode.


16. RCA Line output  

The sound signal from long-playing record is sent to this line output.  Connect this signal to the line input of an such as an 
amplifier or a line input of a CD/DVD player.


17. AUX input 

3.5mm(1/8) jack connector for auxiliary input. 

18. DC IN port 

Connecting the 5Volt/DC power adaptor.


Summary of Contents for RP162

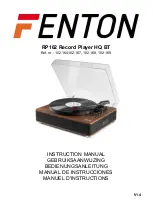
Page 1: ...RP162 Record Player HQ BT Ref nr 102 164 102 167 102 168 102 169 INSTRUCTION MANUAL GEBRUIKSAANWIJZING BEDIENUNGSANLEITUNG MANUAL DE INSTRUCCIONES MANUEL D INSTRUCTIONS V1 4...

Page 2: ...2...

Page 3: ...s seek advice from a specialist Do not force the controls This unit is with speaker inside which can cause magnetic field Keep this unit at least 60cm away from computer or TV If this unit have a buil...

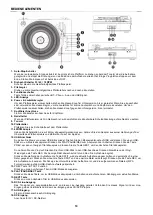
Page 4: ...tor This adaptor allows you to play 45RPM records 12 USB port To play music from a USB drive Turn the mode selection knob to USB and plug in a USB drive to play music Press PLAY PAUSE REC to play or p...

Page 5: ...T speaker in BT mode and press button 13 on the record player Then the LED light on the record player will start flashing and the BT speaker will be connected Once the connection is established the LE...

Page 6: ...n moeten de aanwijzingen waarschuwingen worden gevolgd Het apparaat buiten bereik van kinderen houden Bovendien mag het apparaat nooit onbeheerd gelaten worden Gebruik geen schoonmaakspray om de schak...

Page 7: ...p van deze adapter kunt u 45RPM platen afspelen 12 USB poort Om muziek af te spelen vanaf een USB stick Draai de modusselectieknop naar USB en plaats een USB stick om muziek af te spelen Druk op PLAY...

Page 8: ...de platenspeler Dan begint het ledlampje op de platenspeler te knipperen en wordt er verbinding gemaakt met de BT luidspreker Als de verbinding tot stand is gebracht stopt het lampje op de platenspele...

Page 9: ...on Kindern halten Das Ger t niemals unbeaufsichtigt lassen Die Regler nicht mit Reinigungssprays reinigen Diese hinterlassen R ckst nde die zu Staub und Fettansammlungen f hren Bei St rungen immer ein...

Page 10: ...s Plattenspielers und platzieren ihn auf der Spindel 12 USB Anschluss So geben Sie Musik von einem USB Stick wieder Drehen Sie den Moduswahlknopf auf USB und stecken Sie einen USB Stick ein um Musik a...

Page 11: ...r Dann beginnt die LED Leuchte auf dem Plattenspieler zu blinken und stellt eine Verbindung zum BT Lautsprecher her Wenn die Verbindung hergestellt ist h rt die LED Leuchte am Plattenspieler auf zu bl...

Page 12: ...y encienda repetidamente Esto acorta su tiempo de vida Mantenga el aparato fuera del alcance de los ni os No deje el aparato sin vigilancia No utilice sprays limpiadores para limpiar los interruptore...

Page 13: ...ite reproducir discos de 45RPM 12 Puerto USB Para reproducir m sica desde una unidad USB Gire el mando de selecci n de modo a USB y conecte una unidad USB para reproducir m sica Pulse PLAY PAUSE REC p...

Page 14: ...ocadiscos ponga su altavoz BT en modo BT y pulse el bot n 13 del tocadiscos Entonces la luz LED del tocadiscos empezar a parpadear y comenzar a conectarse al altavoz BT Si est n conectados la luz led...

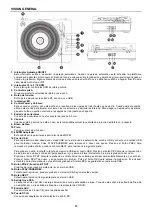
Page 15: ...r glages L appareil contient un haut parleur pouvant engendrer des champs magn tiques Tenez cet appareil 60 cm au moins d un t l viseur ou ordinateur Cet appareil contient un accumulateur rechargeable...

Page 16: ...Pour jouer de la musique partir d une cl USB Tournez le bouton de s lection de mode sur USB et branchez une cl USB pour jouer de la musique Appuyez sur PLAY PAUSE REC pour jouer ou faire une pause App...

Page 17: ...votre enceinte BT en mode BT et appuyez sur le bouton 13 de la platine Le voyant lumineux de la platine commence alors clignoter et se connecter l enceinte BT S ils sont connect s le voyant de la plat...

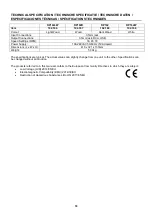
Page 18: ...ettings RPM 33 45 78 Power Supply 100 240VAC 50 60Hz 5V Adapter Dimensions L x W x H 410 x 321 x 130mm Weight 5 00kg The specifications are typical The actual values can slightly change from one unit...

Page 19: ...19...

Page 20: ...Specifications and design are to change without prior notice www tronios com Copyright 2022 by TRONIOS the Netherlands...

Reviews: